While working on my 14 year old 986 across the last year I've occasionally come across cracked or broken plastic body parts. Rather than to continue to order and wait to receive a new part via UPS (my nearest Porsche dealer is a ~4 hr round trip), I decided to check out plastic welders to try and make repairs. This saves project time waiting for parts and sometimes $$$. Also, I'm waiting on my wheels and Brombacher to be delivered so I have some downtime.
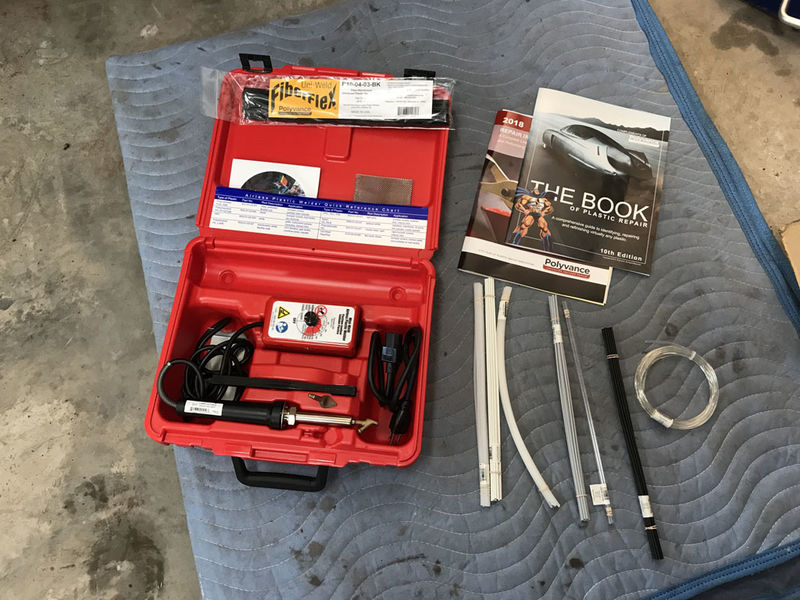
As always, a lot of junk out there. Turns out there are two types of serious plastic welders - ceramic core/metal tip and nitrogen forced air tip. I decided that the nitrogen forced air was too much for my needs (although generally considered superior), so I went for a Polyvance 5700HT Mini Weld Model 7 Airless Plastic Welder. It's basically a 200 watt instrument similar to a soldering iron on steroids with an adjustable temp control, two special tips (a feeder tip and a finishing tip), a bunch of different welding rods, reinforcing screen, an instructional DVD and an invaluable book on plastic types and plastic repair methods. Here's a pic:
There are two principal types of plastic welding - fusion repair and adhesive bonding repair. You generally use fusion repair when you know specifically the material you are repairing (so you can use a compatible welding rod and correct welding temperature) and you use adhesive bonding repair when you are unsure of the material or under other certain special circumstances. I did a fusion repair.
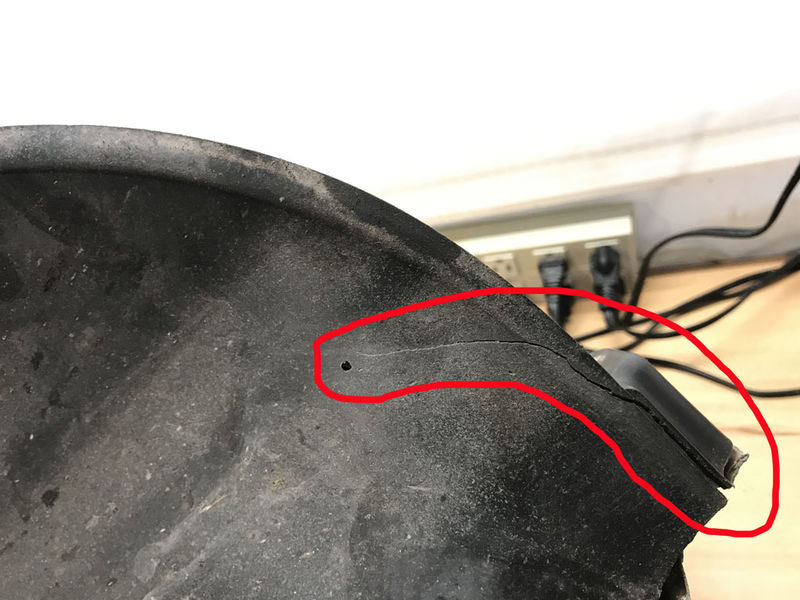
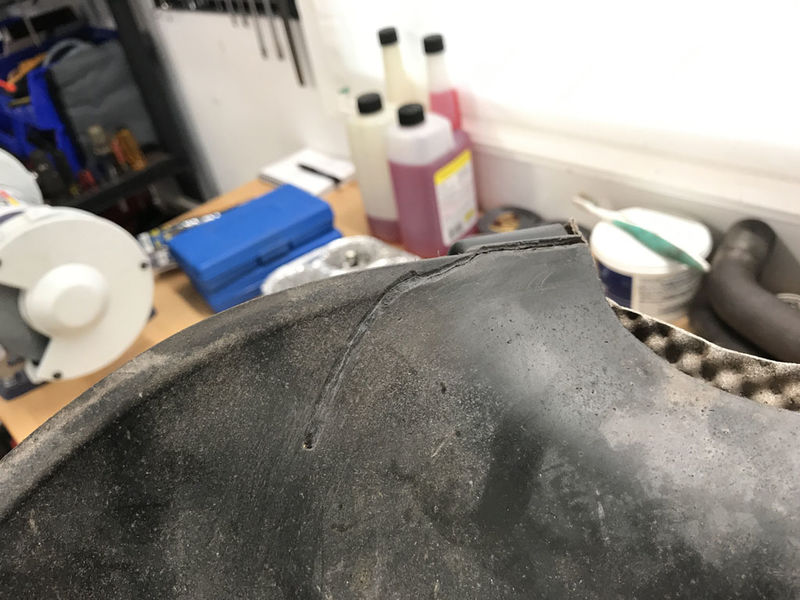
The Problem - a crack on the rear left side inner fender liner that started on the corner seam and that was making its way up the liner. I drilled the hole seen in the left side of my red outline to stop the crack (it had turned, you could see the crack end better from the side not shown):
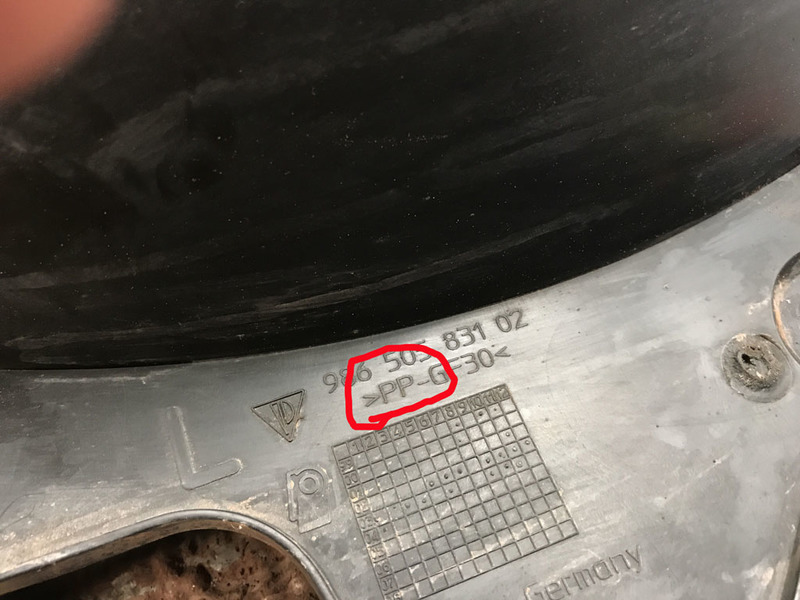
First step was to determine what type of material I was repairing. It's the first two letters of the circled marking (PP - polypropylene) :
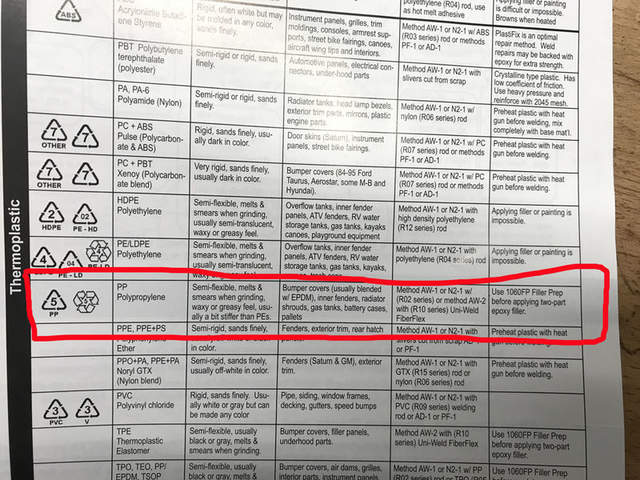
Check the handy included booklet to determine material type, repair processes and welding rod type :
Select the correct rod and set the control unit to "PP":
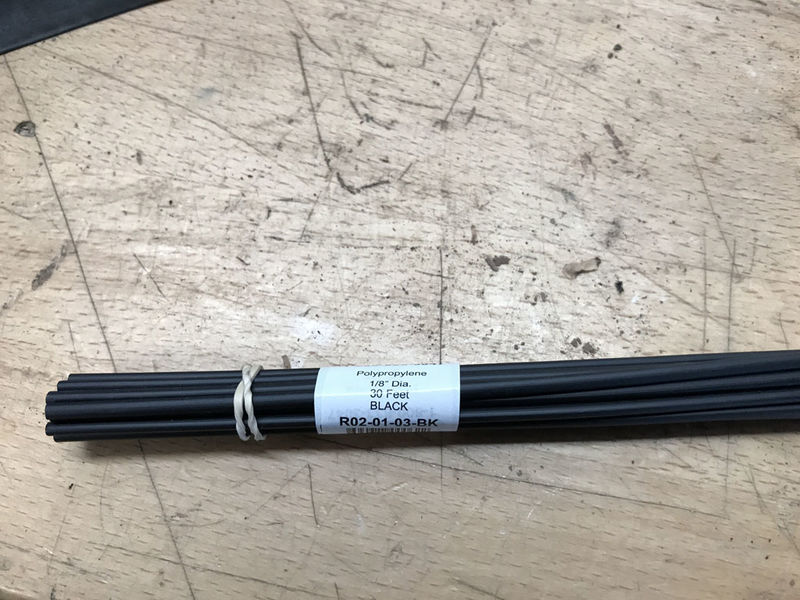
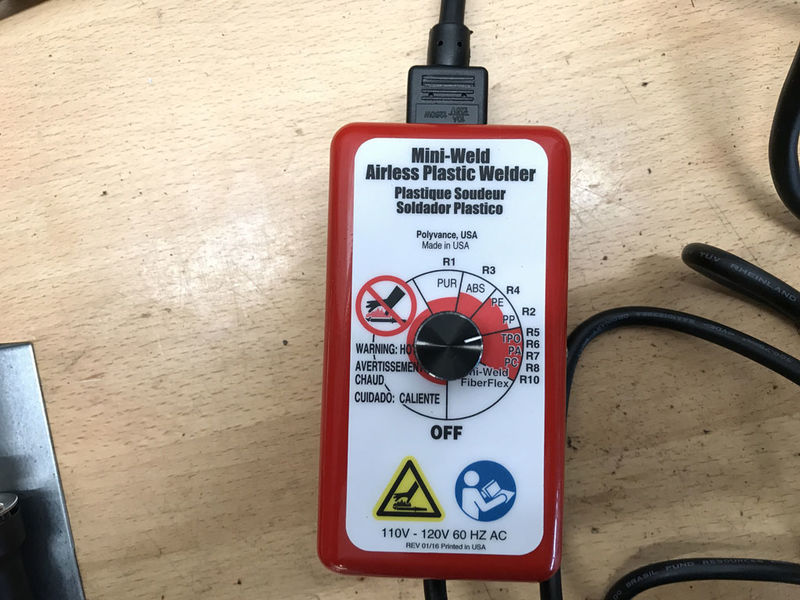
While the iron is heating up, make a valley cut in crack that is 1/2 the thickness of the material. A dremel on low speed worked the me. Be careful, too fast and you'll melt the plastic:
Apply rod material in the valley and fuse/blend the rod material with the feeder tip and smooth with the feeder tip or finishing tip. I used aluminum tape to hold the piece together while welding:
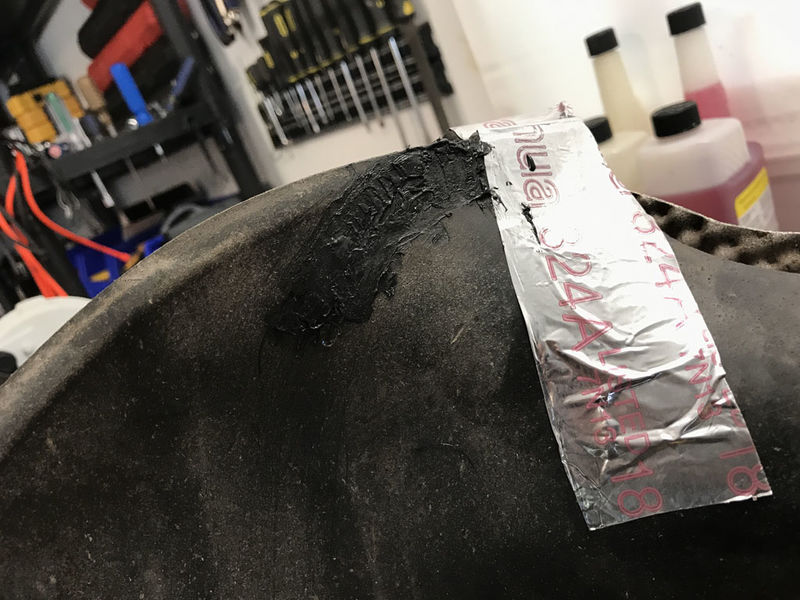
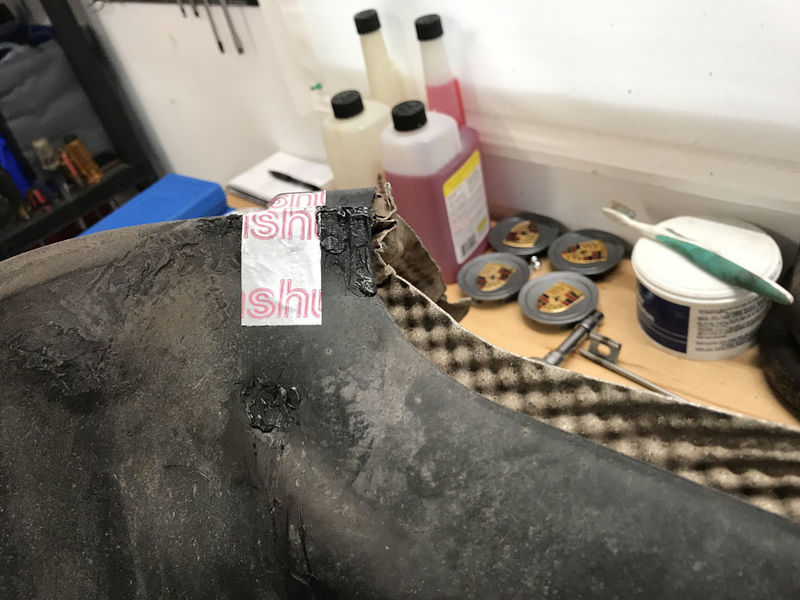
Let the repair cool, test it for integrity, sand it and you're gold!
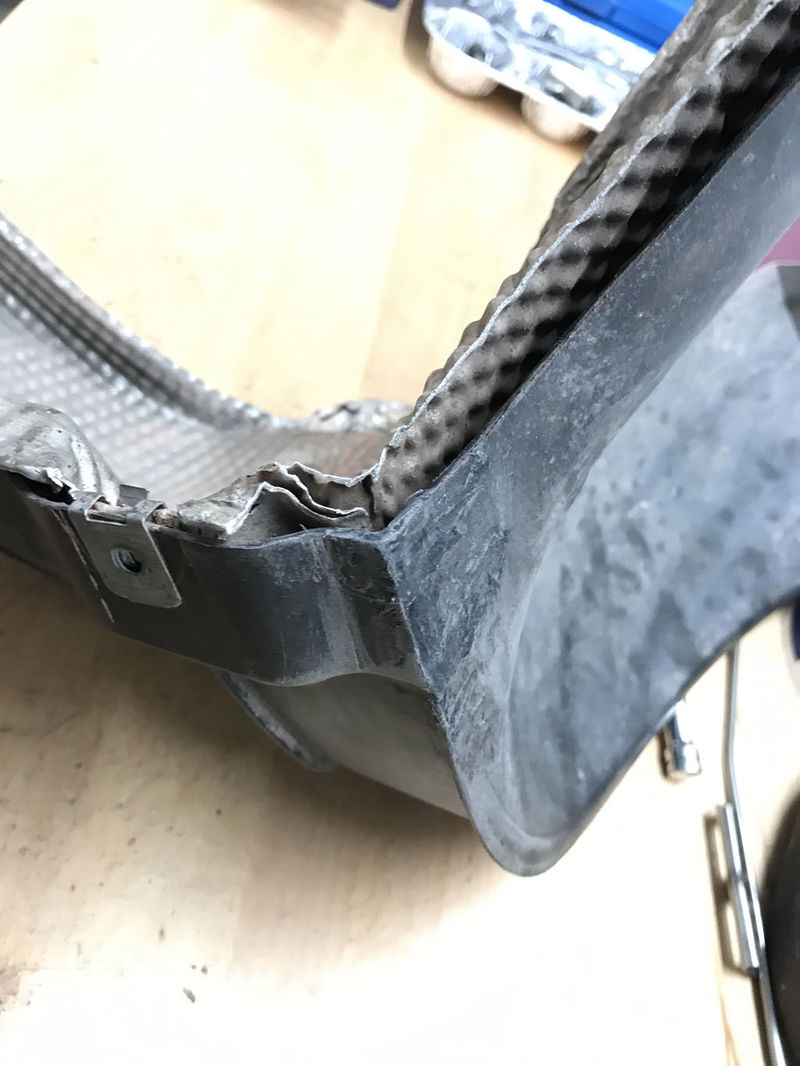
Because the repair is at the back bottom of the inner fender I did not spend any time with finish sanding. Just knocked off the rough edges. If needed, you can sand to body work prep readiness. No amount of reasonable tugging or pulling could separate the repaired crack and everything flexed just as it should.
Now I'm ready for the next crack, broken tab or cracked bolt hole I come across without waiting for parts, and I have another new tool - bonus!