As an alternative to
replacing the rear trailing arms with new parts, as initially suggested in
this renntech thread, I found it is indeed possible to rebuild the existing, rattling rear trailing arms. Through this I also gleaned some additional observations and recommendations, not covered in either above-linked thread, which I'll outline below.
Because arm removal and reinstallation are already covered above, I won't focus more than just this one paragraph on those aspects, but will mention I had no problem simply jacking up the rear, placing the rear on jack stands, removing the rearmost undercar shield, and using a 21mm combination wrench above with 18mm socket below with breaker bar to remove the two bolts holding each arm. No wheel removal was necessary, no preloading of the suspension was necessary, and the trailing arm could be easily removed and installed this way (rear undercar shield not yet removed in below picture, FYI):

Once the old arms are removed, you may want to clean them up. Brake parts cleaner and paper towels are very effective to clean aluminum. I find the chlorinated brake parts cleaner will not attack nitrile gloves. (Non-chlorinated will eat nitrile gloves up over the course of a couple minutes or so.). You can use more gentle, water-based "all-purpose cleaners" also, but they'll just work slower. However, as brake parts cleaner is probably not good for the rubber boots, its good case for using milder options around them. Cleaned up trailing arms below, even at ~120k miles, are already looking like new:

(Also shown above are snap-ring pliers and screwdriver, to remove boot retention clips.)
Next, we'll want to make these used arm perform at least as good as (or ideally, better than) new!
I was able to feel some shifting in the one spherical bearing which in my car, I believe was making noise. I went ahead and preventively rebuilt the bearing in both. By rebuilding, I mean cleaning, re-lubricating, and tightening up the clearances. It's amazing how much noise just a few thousandth of an inch of play in these bearings can allow to be transmitted into the cabin!
To get at the spherical bearing for service, use snap ring pliers to remove the outer c-clips...
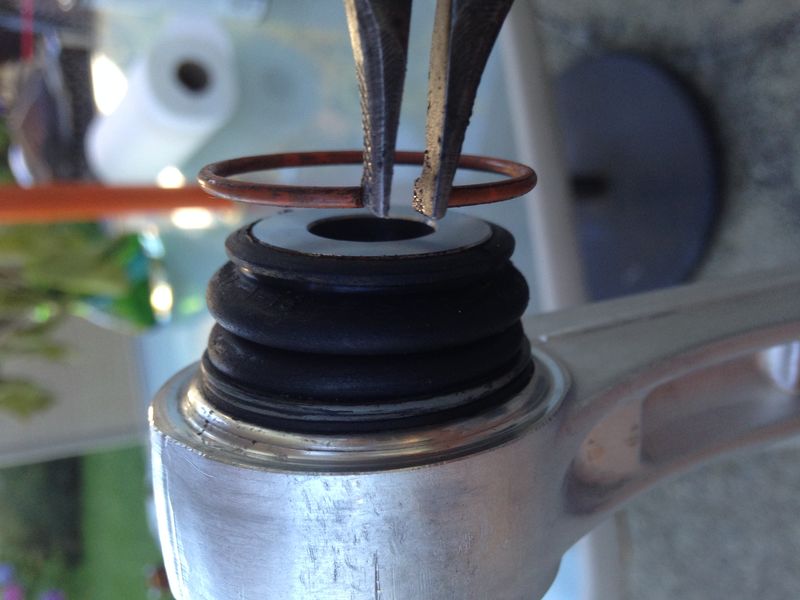
...and the small screwdriver the work off the spirolox retainer on the boots on either side of the spherical bearing:
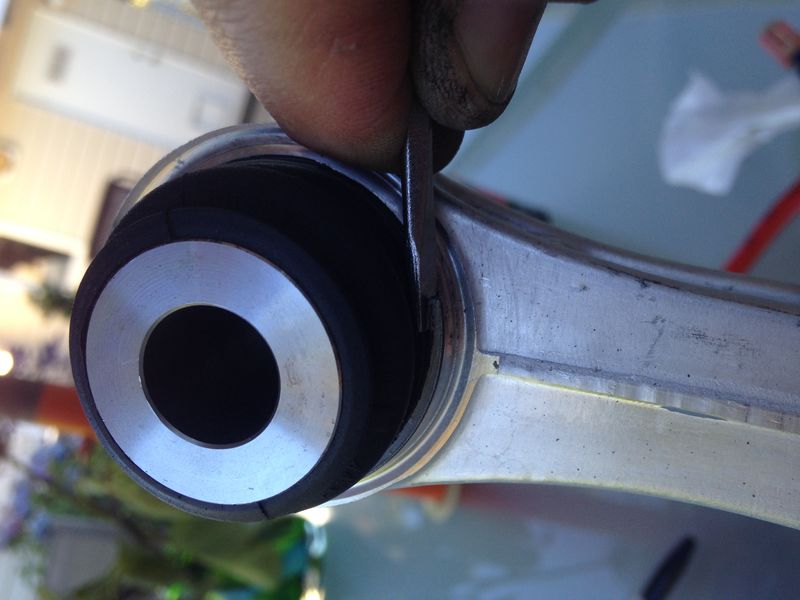
You will find the spherical bearing is retained by the machined aluminum housing on one side...

...and a pressed-in steel retainer on the opposite side (along with a thin, white plastic insert lining the spherical joint):
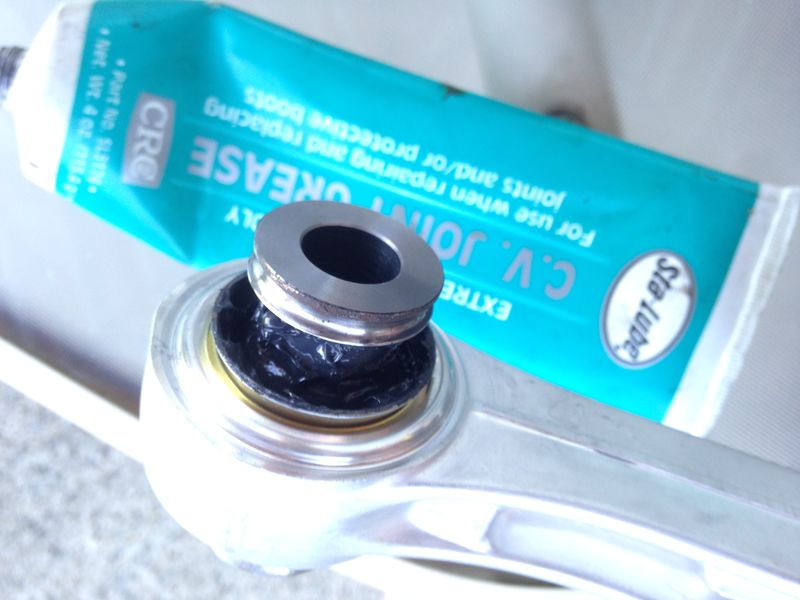
Since the bearing was fairly tight, instead of completely disassembling this crimped together assembly, I decided to try add additional lubrication in place and trying working it in, prior to tightening the crimped assembly to take up the play. The old grease was not in bad shape, but I added extra which I thought seemed most likely to be compatible. The dark color of the grease and extreme pressure application indicated likely molybdenum disulhide additive ("moly") was used. CV joint grease has moly, so I added some of that and worked it into the joint by both pivoting and spinning around the moving part afterwards:
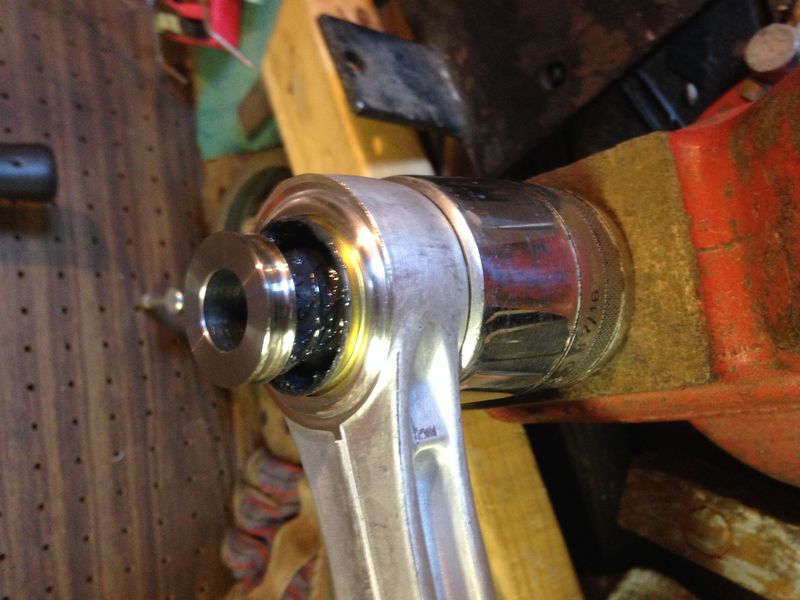
I used a 1-7/16" socket to support the all-aluminum side of the housing...
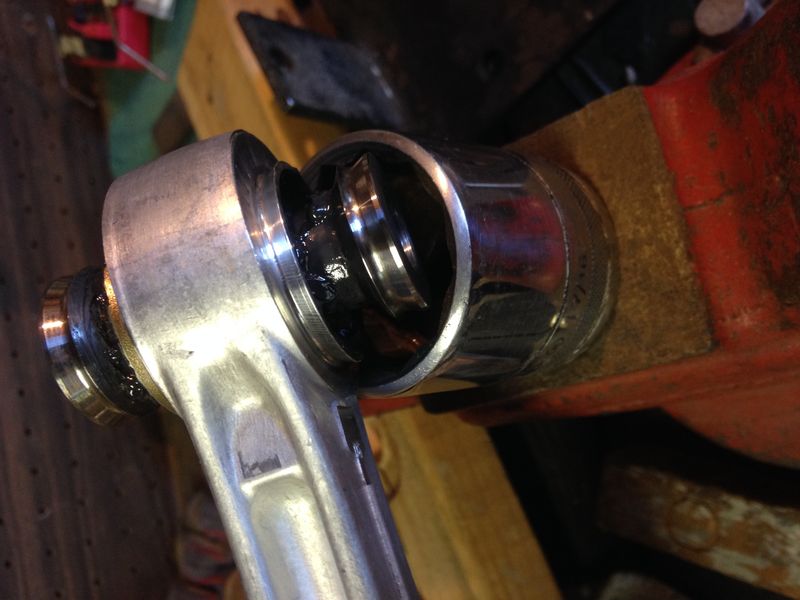
...and a 1/8" round punch, with a small sledge hammer, to "upset" or add additional crimping at the rolled up "hump" where the aluminum housing retains the steel insert:

I supported the bearing-free end up the trailing arm with a piece of wood to hold the bearing end flat on the socket, so I could repeatedly hammer blows with the punch around the crimped circle:

[DIY content continues on next post...]