Quote:
Originally Posted by Terryg

Cheers Fred, we can exchange pics!
|
Ahh, I already rendered those using my boxster as backplate. You go first, I'll upload right after you

Below are pics that I can show right away though.
Quick Update: Already started full speed on the anodizing. Been a while since I've anodized my own parts and was hoping that the smell be different. Unfortunately it does smell exactly the same - rocket fuel :/ (NO SMOKING)

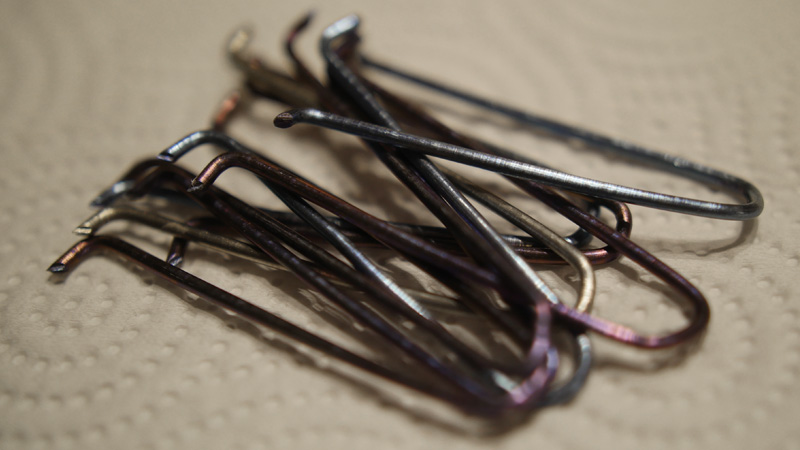
^ Some of the most advanced fixture ever built. A spring clip! Made out of medical grade 2 Titanium though... hence the weird purples and bronzes shades

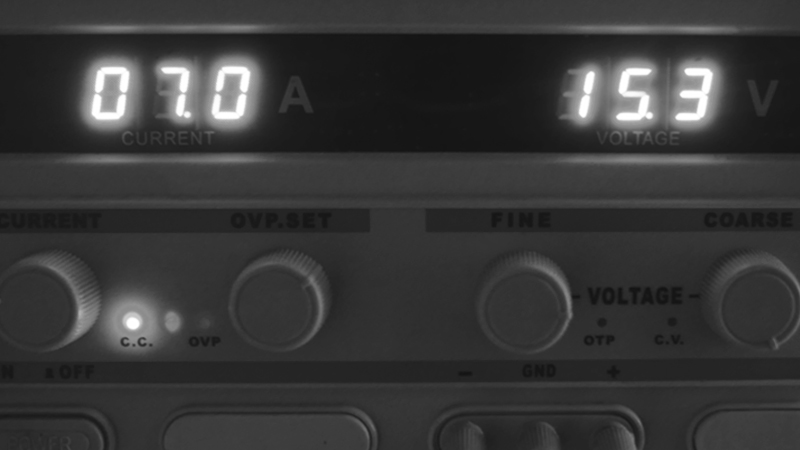
^ Type II anodizing here. Running amps on affordable residential electrical current. Commercial electricity (e.g. my shop location) is 3x the price in Shanghai. Things you learn in China includes how and where to 'cheap out and cut corners' lolll

^ Ran a few batch of those centers. Clear anodized first then we'll move to the colors. A batch of 20x like these takes aprox 15min.

^ Rinsing in distilled water to avoid minerals to be trapped in the open pores of the anodized layer (the oxidation layer its called). One drop of tap water and that part is destroyed (bad stains, very very bad stains!)
.

^ Now that is not preety at all. But it is what it is; "boiling H2O". To seal the part after anodizing we normally boil them for about 15min and dip them into cold water. It closes the open pores of the oxidation (sealing). Some prefer chemicals sealant (1min) but most avoid - nasty stuff and it never works anyway

^ Here I think we can see what I meant by getting rid of that silly shine. Left is not anodized, right is. Results are phenomenal... the very same classic Porsche aluminum style (mostly found in interiors though!). A tad better than having DVD'like rotating reflections on your wheels anyway LOL
Next: Clear coating of the badges, anodizing centers + colors and main caps. Lots of work but all quick and easy to do (so I wish)