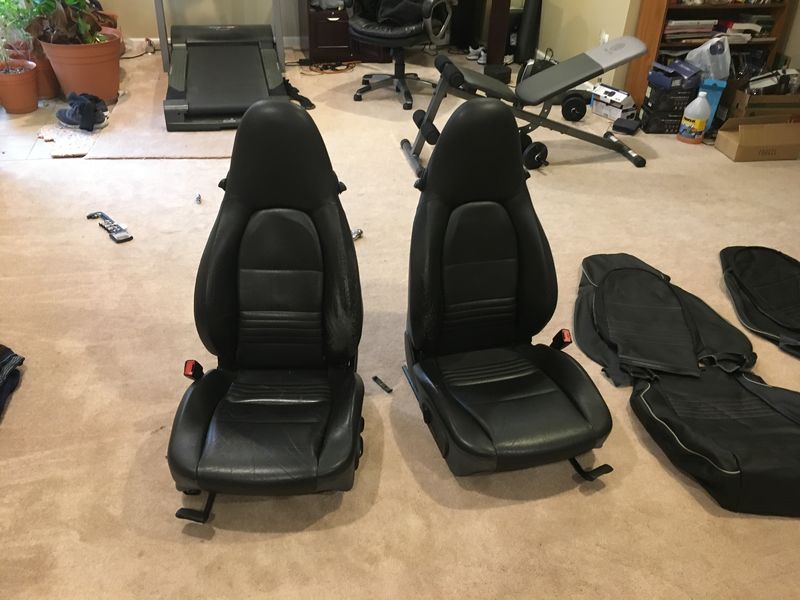
OK! I finally finished changing out the leather seats. I started the project yesterday around 1 PM and just got done. It is a pretty tedious task, but can definitely be done. My father in law helped as well and a second pair of hands is definitely a must!
1. I started with removing the four bolts that held each seat. It uses a E12 socket which I did not have. A universal socket from Lowes did the job. I recommend getting the E12 socket so you don't strip the bolts. I was then able to bring both the seats into the basement to work on it.
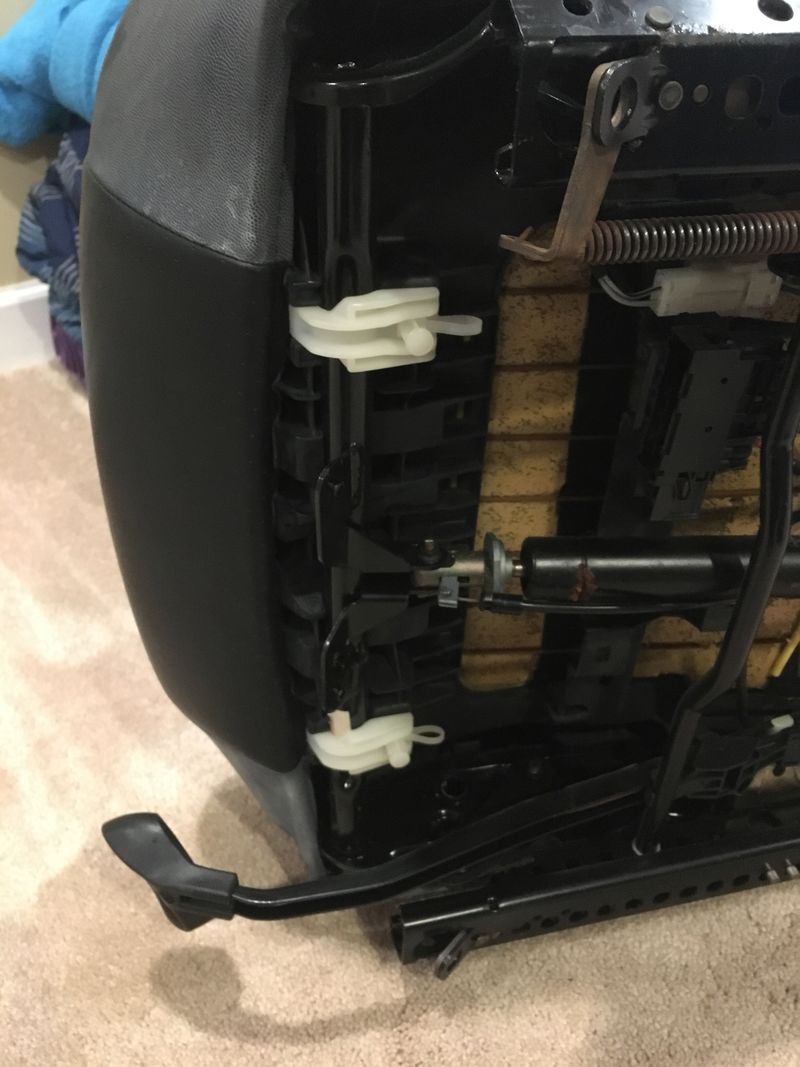
2. I started disassembling the seats using the video below,
https://www.youtube.com/watch?v=vpX4D693D1I
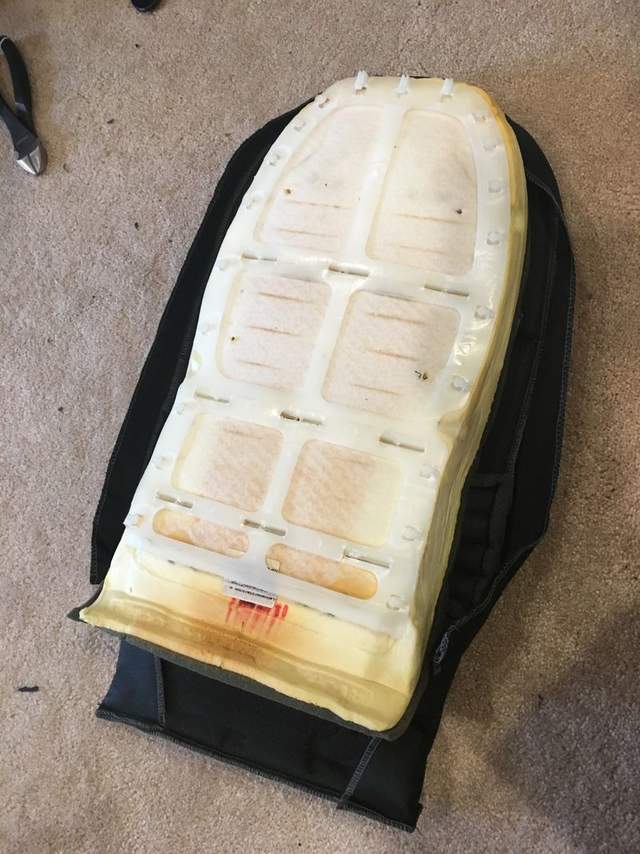
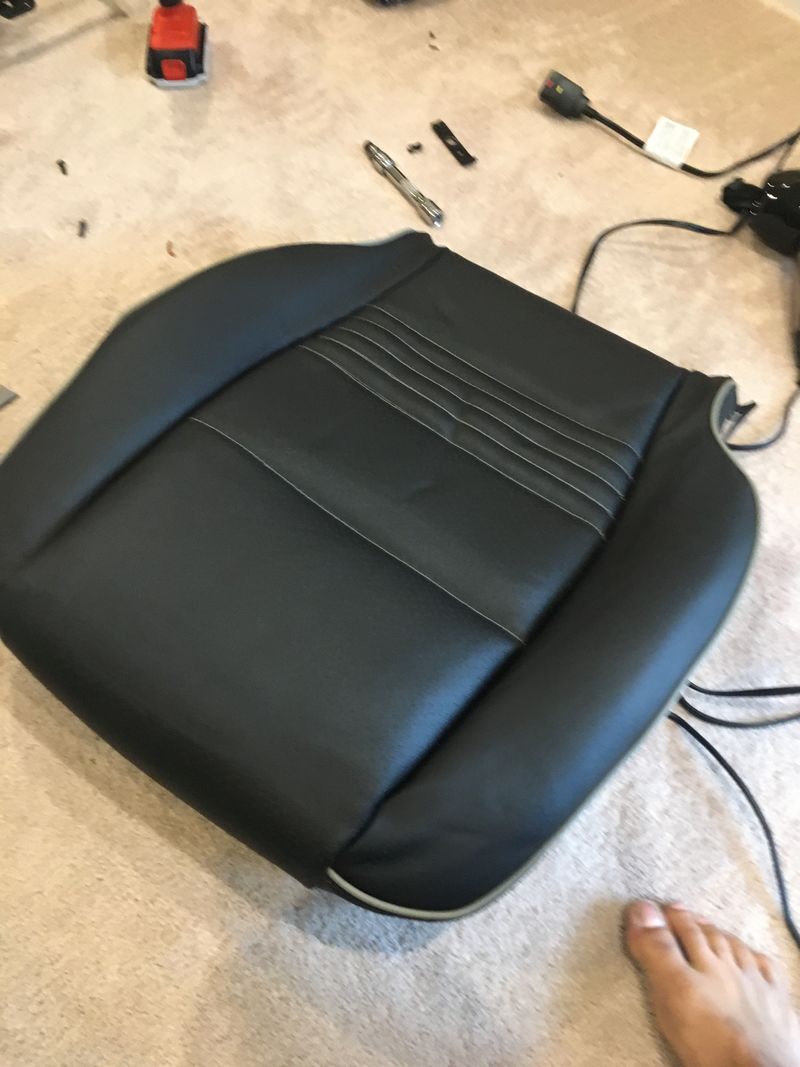
3. I started with the bases first. These are easily the toughest. The LSeat.com replacement has all the pipings you need to secure the leather to the foam. take your time getting the leather around the foam and the base. Use a hair dryer to heat the leather so you can stretch the leather into the grooves.
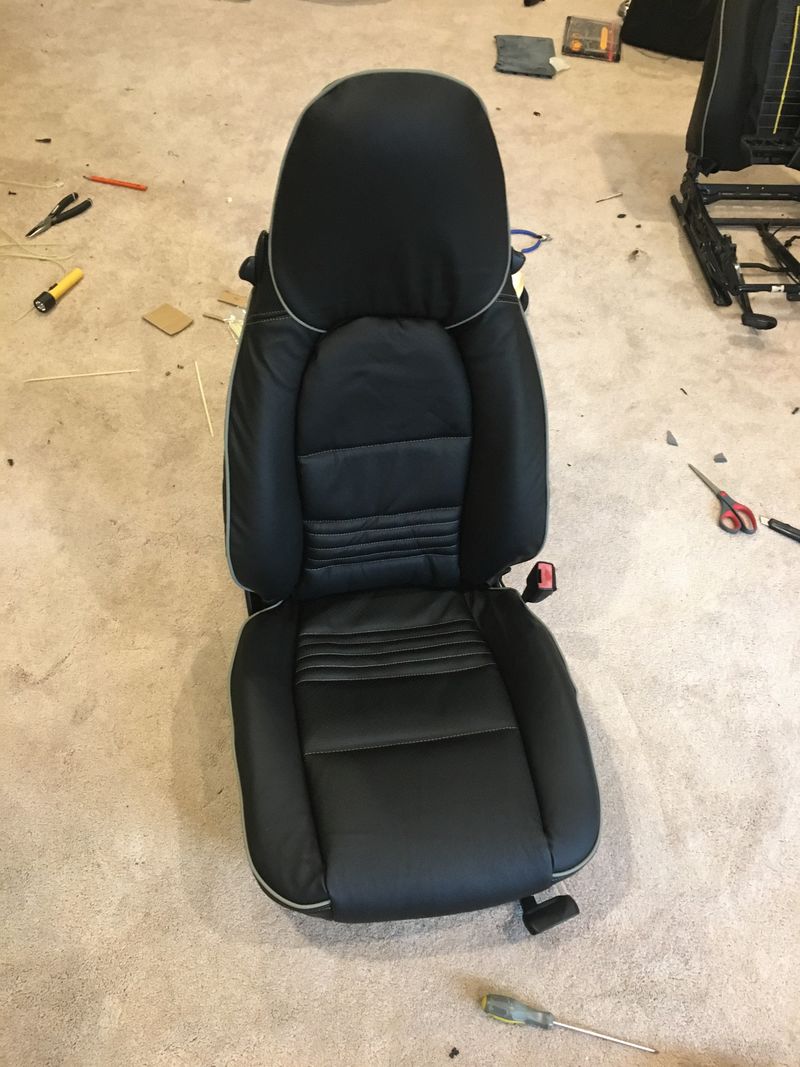
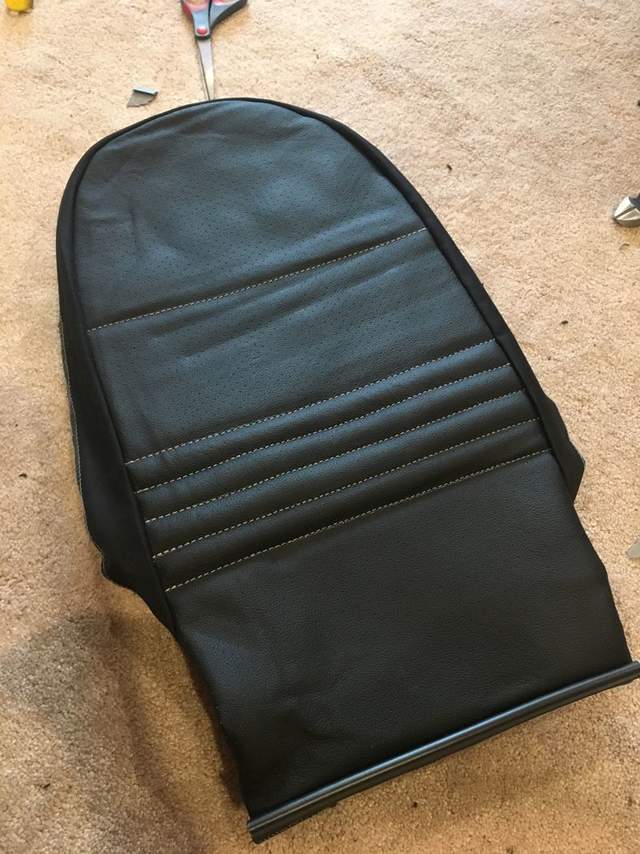
4. The backrest has two pieces, both were pretty easy to wrap. You need an extra pair of hands here to hold the leather piece in place while securing it to the hooks on the back support. The backrest also use hog rings to secure the leather to the foam, which I did not have, so I used zip ties and they actually worked very well!
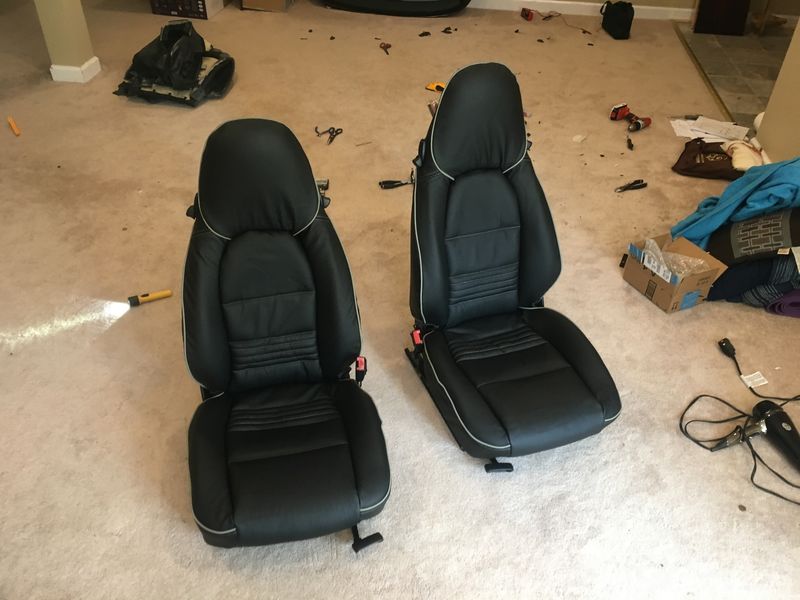
5. Assemble all the pieces back together and you are ready to bolt the seats back on.
My review of lseats.com:
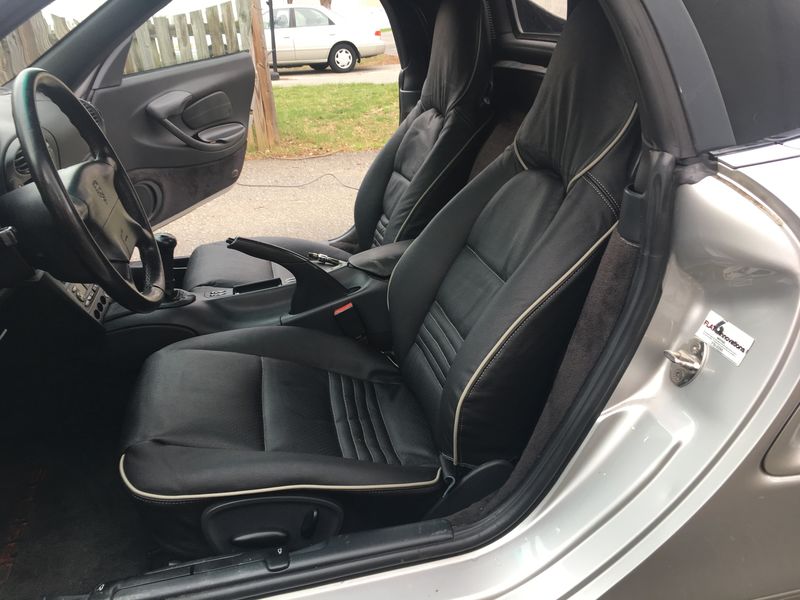
The leather itself is good. It is not as good as factory-new, but a huge improvement over the 20 year old stained leather. The biggest negative is that the leather does not have holes pre-cut for the seat controls, coat hook and seat release lever. I had to cut it out using a blade and you can never get it right every time. My seats actually have holes extending past the release lever. Not too much and cannot be seen easily, but still there.
I just wish they had precut holes for all levers. it would have been very professional looking.
Here are some pics from my installation.