This is my experience installing Fred's kit
First on the kit, it is high quality - I have the angel eyes which have been problematic particularly if run with the HIDs. I left my options open when installing the kit by drilling an additional hole in the stock reflector for those wires and the high beam solenoid so I can use the original high beam and parking light bulb holes.
There is plenty on line regarding removing the lens and installing the kit available on Fred's post.
What is not available is a guide to rebuilding the light wiring harness.
to start with, if you live in the south as I do, you can expect the electrical insulation on the wires in your headlights to be rotted away.

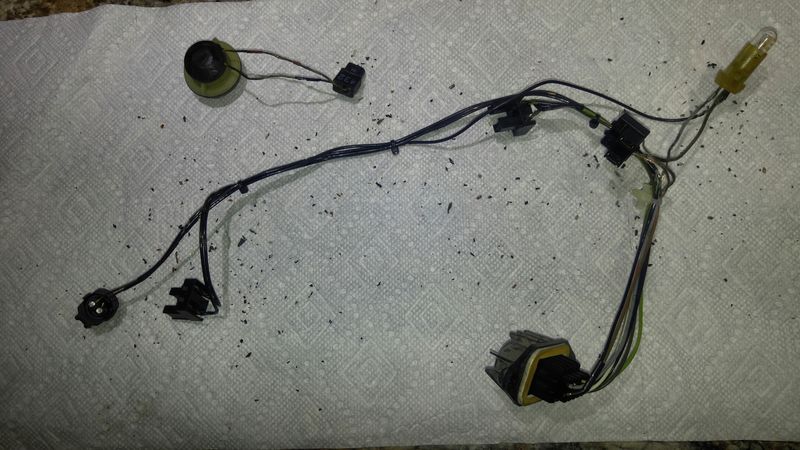
The flakes on the paper towel fell off the wires as they were handled. Note the bare wires. The entire harness has to be rebuilt.
To do this solder, wire and a few tools are needed.
A small jewelers screw driver can be used in the square holes next to the pins in the headlight connector. There are two small metal tabs,one on either side of each pin that have to both be released at the same time to pull the pin. To do this, pull back on the wire while trying to release one pin, switch sides and try the other pin - never stop slightly pulling on the wire. Keep switching back and forth until both tabs are depressed and the pin pulls free

You'll end up with this - note there is no insulation left on the wire, it simply fell off.
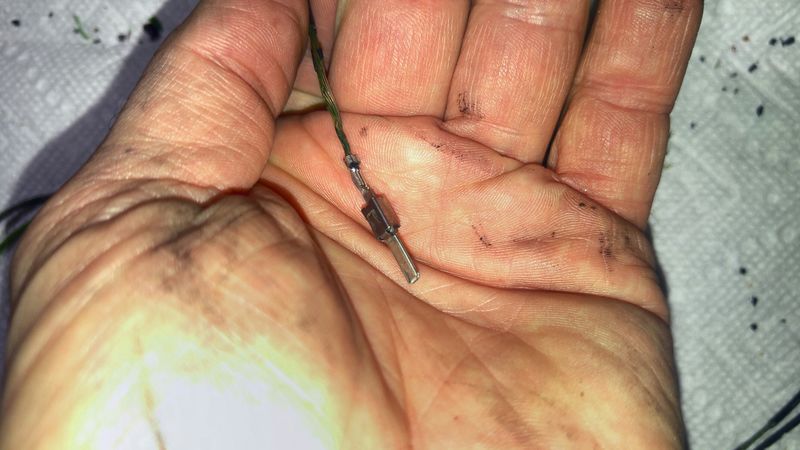
You'll need to know how to make a solder splice, a simple way to do that follows:
About 1/8 to 5/32 inch of wire is needed on the connector or between wires to be spliced. Interleave the strands of the wires to be spliced. Here I have 2 wires interleaved with one. The next photo shows a pin with the next step after interleaving the wires.

Then bind the interleaved wires together with a single strand of wire (sorry for the wire color change - poor photo documentation)
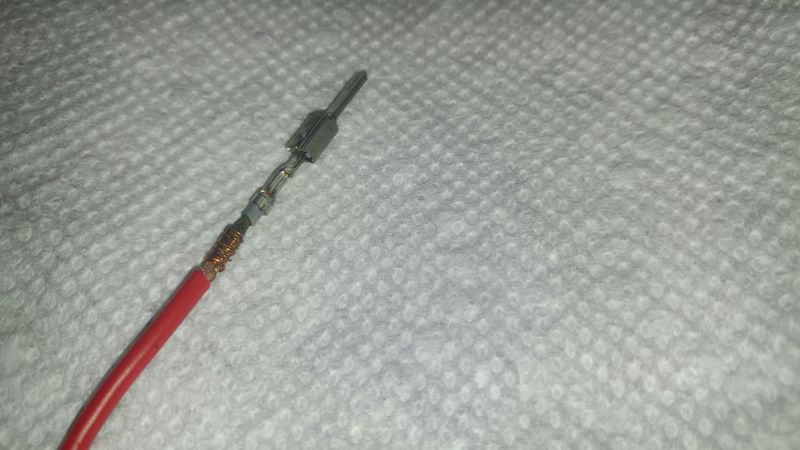
Solder the spliced joint by heating the wires with a soldering tip and touching the tip and heated wire with the solder, it will flow into the wire. You'll need to flip the wire do the same to the other side.
The splice is finished with shrink tubing
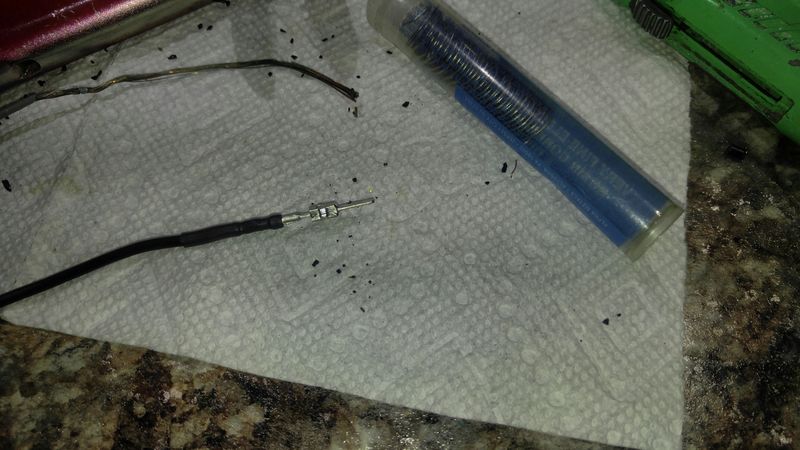
Rebuilding the harness one wire at a time helps to avoid mixing up the wires. Measure the length of the new wire against the one being replaced. Photo documenting the harness is also very helpful in putting it back together correctly. It's easy to mix up pins if more than one is removed at a time.
You end up with a new harness after going through this process - it will be modified from the OEM to take into account Fred's kit, and to add PWs relay to turn off the angel eyes when the headlights are on.
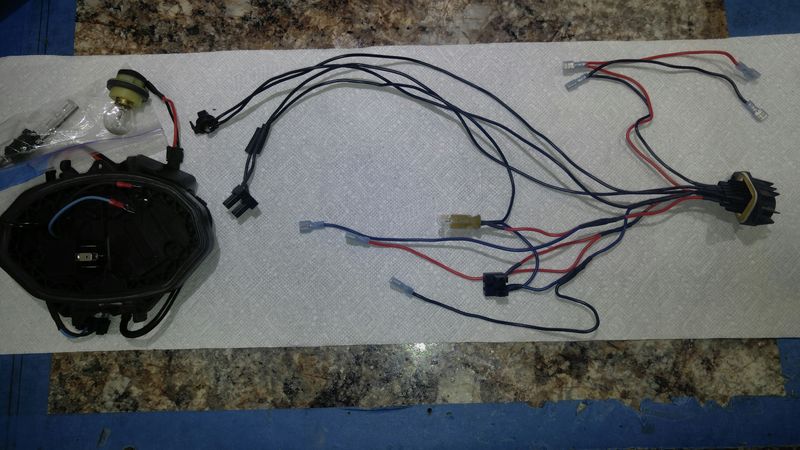
After that its a matter of stuffing the new harness into the light assembly.
Ifound a 3/4 inch conical griner anda small flat grinding wheel made quick work of modifying the reflector assembly
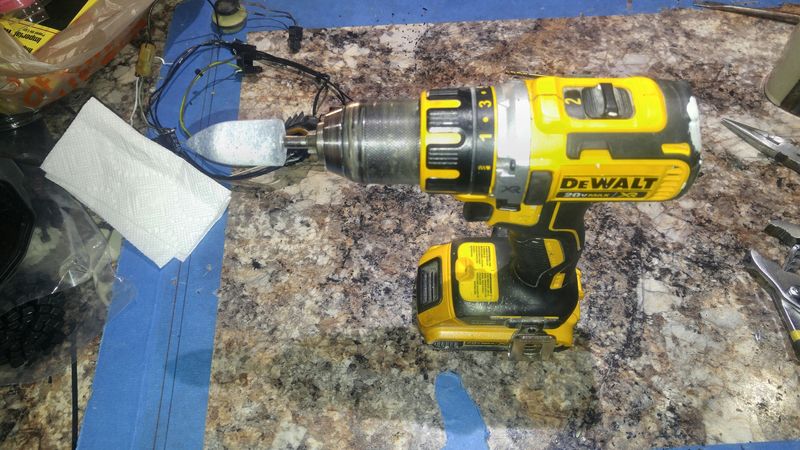
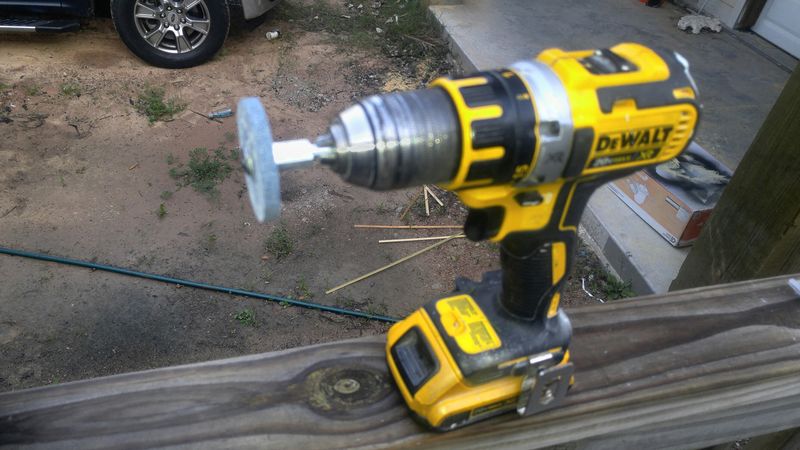
I'd show a shot of new wiring installed in the light, note the blue and white wires coming out of the new hole in the reflector, but I'mout of photo's, so thats it unless someone has a question.