Some pretty good progress to share with you guys!
Besides the amazingly sunny and warm weather of today, I am very (very) happy about the result of this part. This goes to show how important proof of concept and part validation work are. Without CAE it wouldn’t have been half-possible to make this part successfully at first attempt. I would have had to blindly machine 5~10 different parts with different thickness, hoping it doesn’t fail, and worst… hoping for it to be clamping properly. Think about the time it would have taken without CAE lolll e.g. Model mods X10, CAM mods X10 and machining a prototype part X10 (ouch).
CAE add-ons are not cheap but do save a considerable amount of time/pain and most importantly; “add peace of mind”. We are now 100% certain this part will not fail when repeatedly inserted into the wheel hub, it will hold well and tight, and perform in temperatures ranging between -50 up to +50 Celsius.
Ladies and gent, I present you
The Great, official and most advanced Center Cap wheel adapter In-The-World
^ (LOLL jeezzz… side effects of smoking CNC machine coolant fumes)
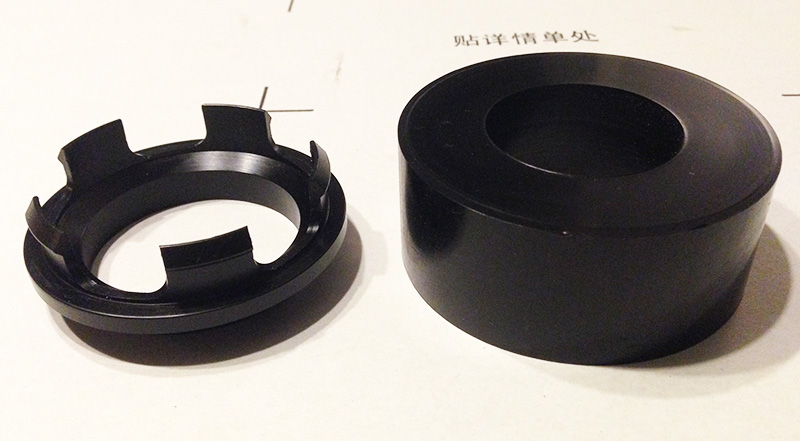
^ Some may find it interesting to see what was once a raw stock of Acetal, converted into a fully functional car part!

^ Here goes the final product (involves 2 turning operations + 1 multiaxis milling operation). Also showing in this pic is the precision thread required to mate with the main cap (I'll explain later how this 'permanently' thread locks)
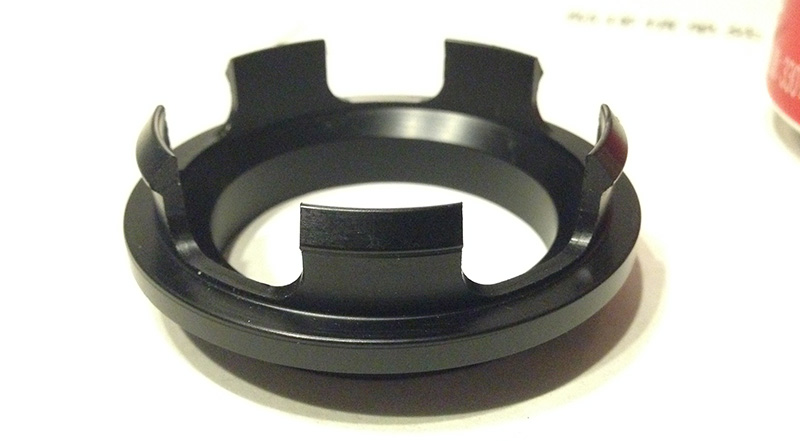
^ Same part, upside down, showing the 5 clips.

^ View from inside a Porsche wheel (sorry for the messy pic!). The clamping is phenomenally accurate and amazingly strong. It does snap nasty in there and its goes in with a loud and clear “SNAP” noise. Absolutely love Acetal. Nothing better (dare to challenge me here).
The bad news: the wheel will need to be removed off the car if you plan on removing your center cap. It just won't come out without a good push from behind the hub. Call it "Anti-Thief System"

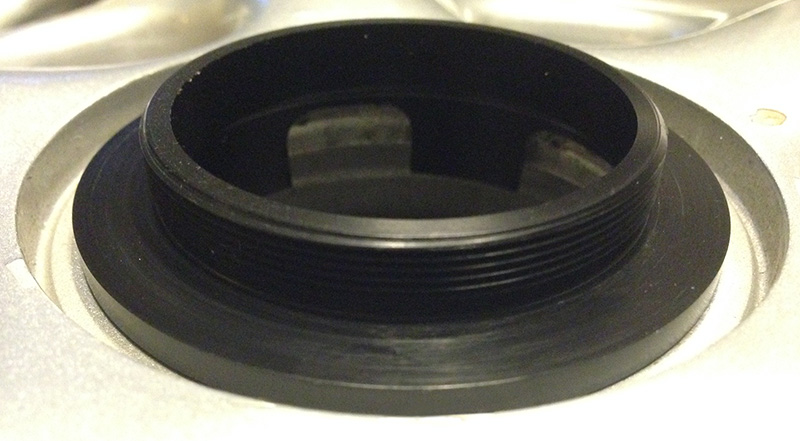
^ Quickly snapped in my old Twisties wheel hub. Again, flawless. Sits flat and pressed onto the edge of the hub by-pressure as intended and not moving in any direction. Unlike the CGT style cap, this Acetal adapter concept will ensure that when you install your center cap, you'll be dead sure it is concentric to the hub and not offset. Something that was hard to acheive, but not impossible, with the previous CGT style design.
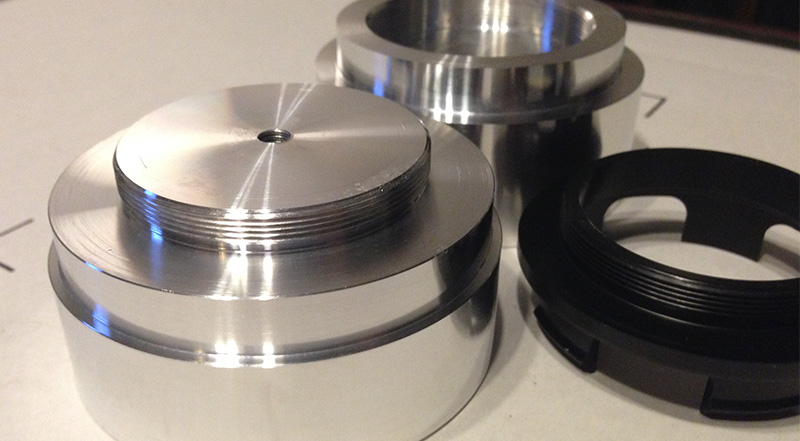
^ Here goes the two fixtures I ended up having to machine to hold the workpiece for the various CAM operations involved. The first fixture (nearest) will in use later this evening to machine the main aluminum cap.
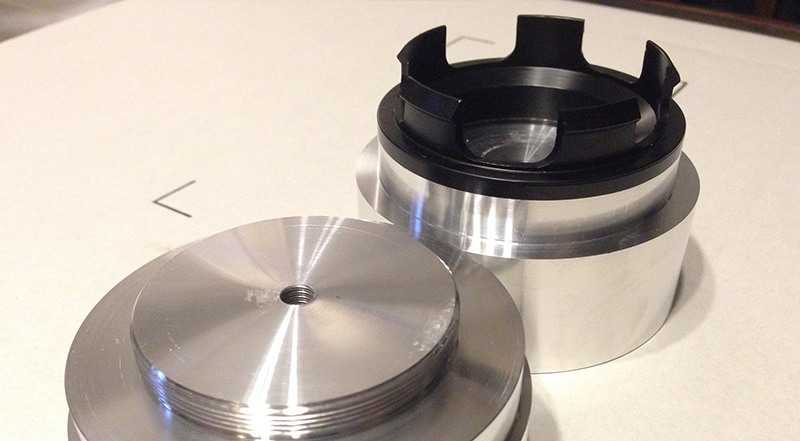
^ Same fixtures. This one showing how I mount the hub adapter so I can machine/turn the OD profile and also this is how it mounts into the 4th axis rotary to mill the clip using the multiaxis toolpaths you’ve seen in the toolpath pic4 (previous post).
Enjoy!