Weekend Update:
Not much time this weekend for Boxster work. New tires mounted, 2nd cats cut out for test pipes and new muffler and some little things but reversing the trend is getting things bolted back on now.
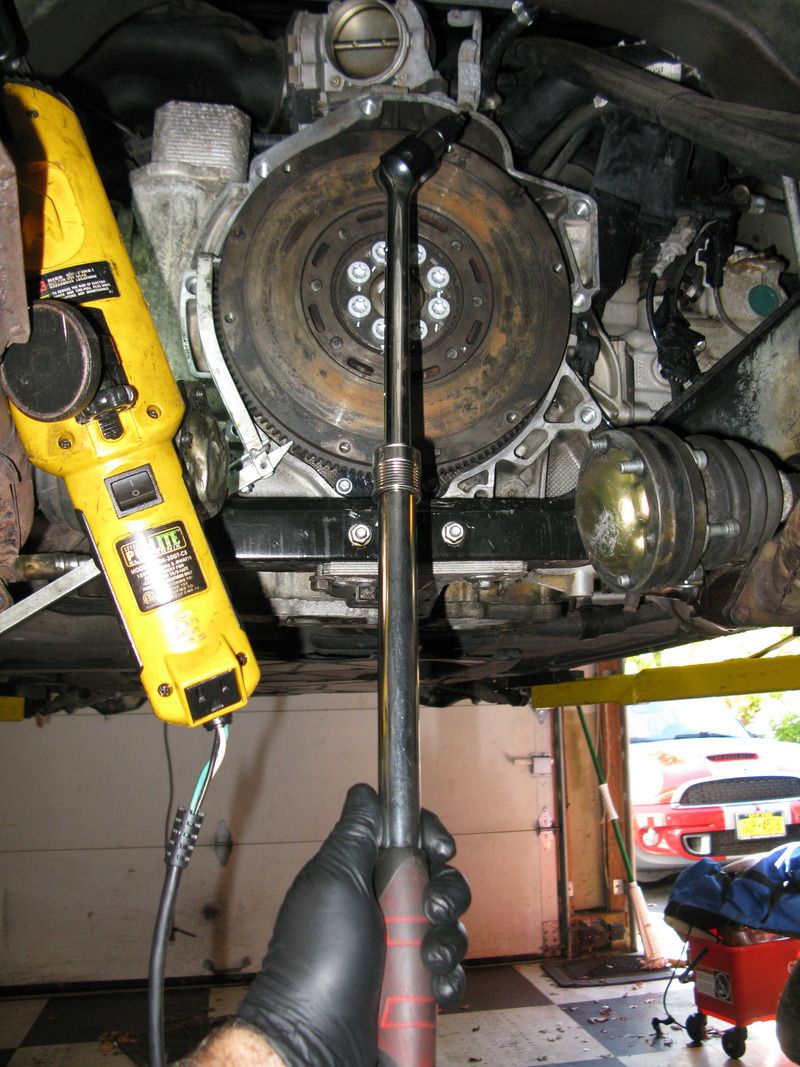
Used flywheel showed up and is in much better shape than the original. About 10MM movement and returns nicely to "center". Surface is also much better. If course Porsche uses a much more arcane procedure for tightening the SINGLE use flywheel bolts. So I got my new bolts out, mounted the flywheel after giving it a good cleaning and torqued the bolts to the step 1 of 19Ft. Lbs. Why torque and then use "angle of turn" you ask? Well the low torque value stiffens the joint or takes out any slop, smile or opening between the back of the flywheel or crank face. The reason to use angle of turn, is that the friction between the bolt thread surfaces or the load bearing surface under the head does NOT need to be used in the load calculation. friction plays a big part of the load losses and this makes toque too inaccurate when trying to load a bolt very close to it's yield point.
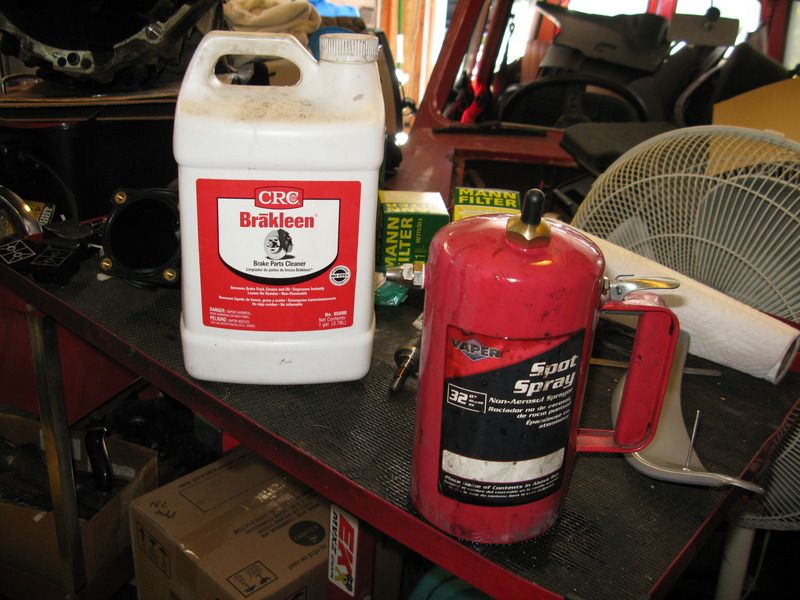
The BEST cleaning tools you can have in your garage. A gallon of BrakeKleen and the Vapor sprayer. I think the sprayer cost me about $25 and if you do any work in your garage you MUST get one.
After torque, I maked the bolts for 120 degrees of movement. This is east by downloading and printing a circle divided into 3 pieces and then cutting out one section:
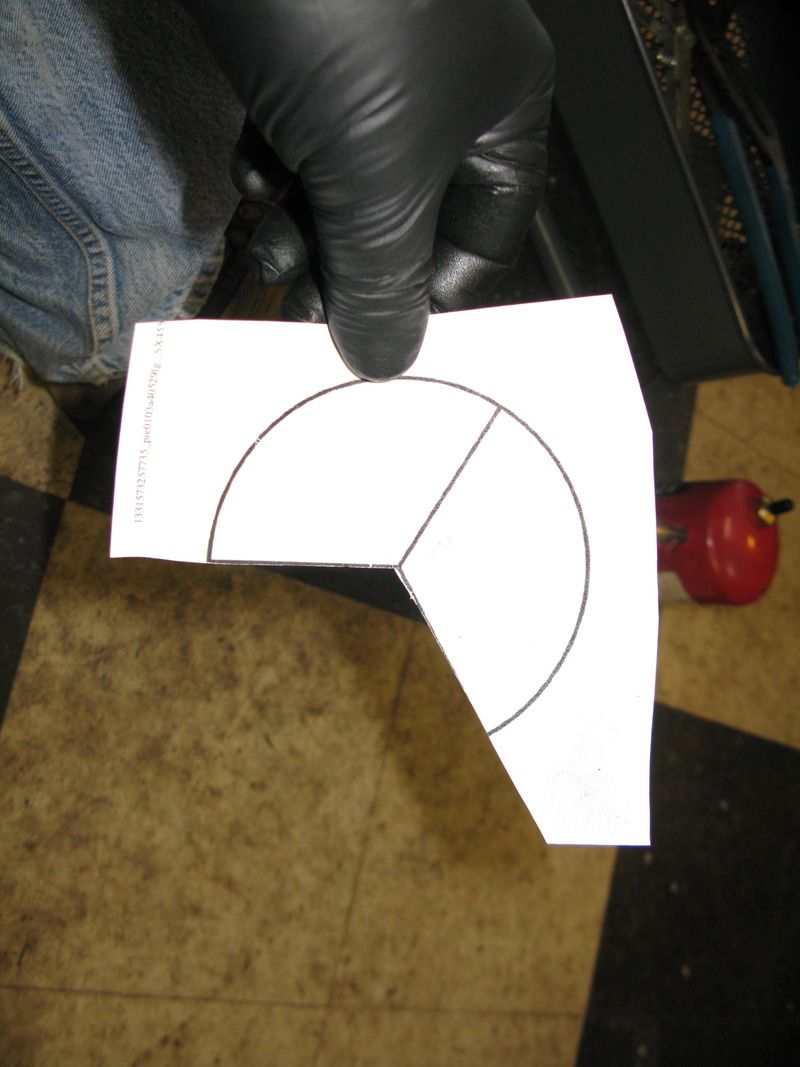
Place this over the bolt and mark the head at 1 point and mark the 2nd point, 120* away on the flywheel.
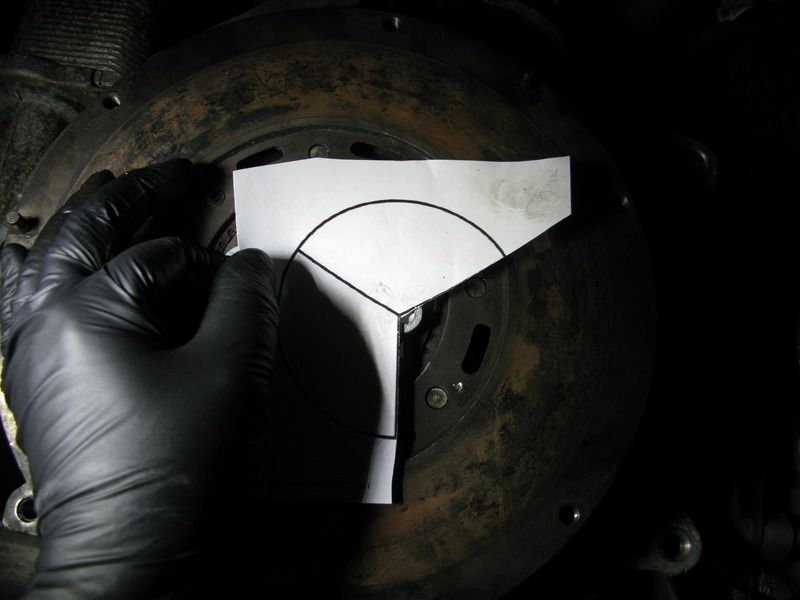
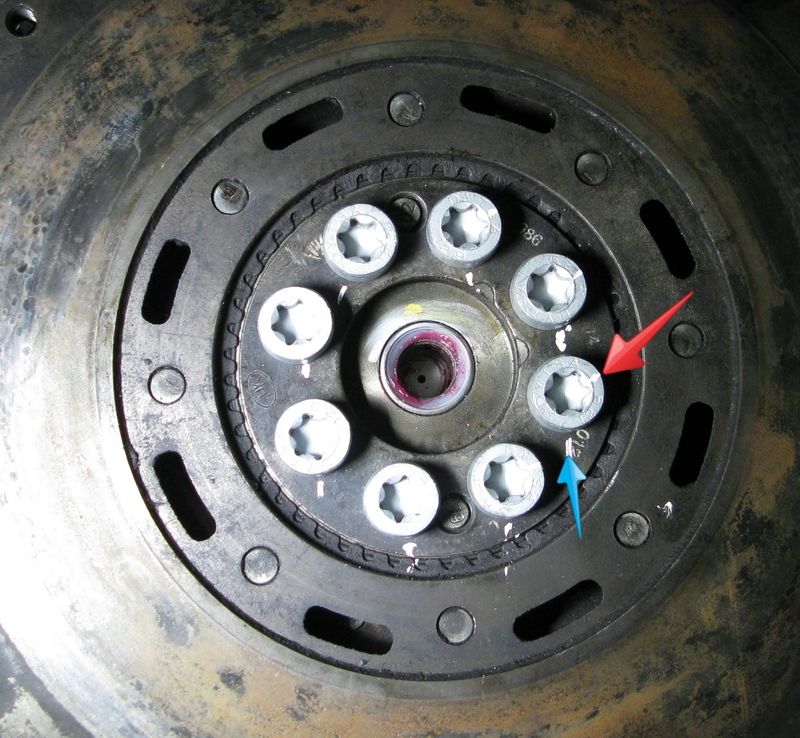
All you do then, is grab your long 1/2" drive breaker bar and move the bolt mark to the next mark on the flywheel. These bolts get tight so the breaker bar is needed!!
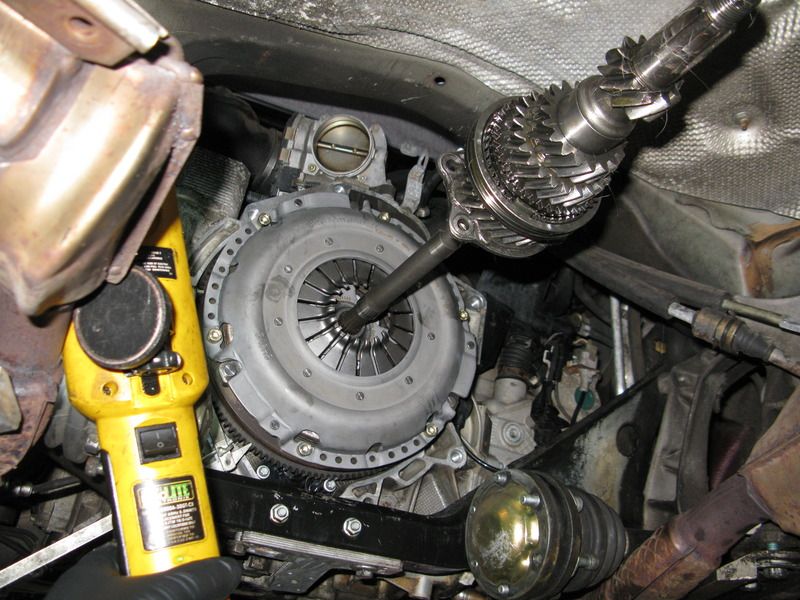
I cleaned the new pressure plate oils off and then mounted it to the flywheel with new bolts. New bolts are not needed for this application but they were cheep, so I got new. The kit I bought didn't come with a plastic friction disc alignment tool so I used an input shaft from a 915 rebuild that we are doing for Allie's 911.
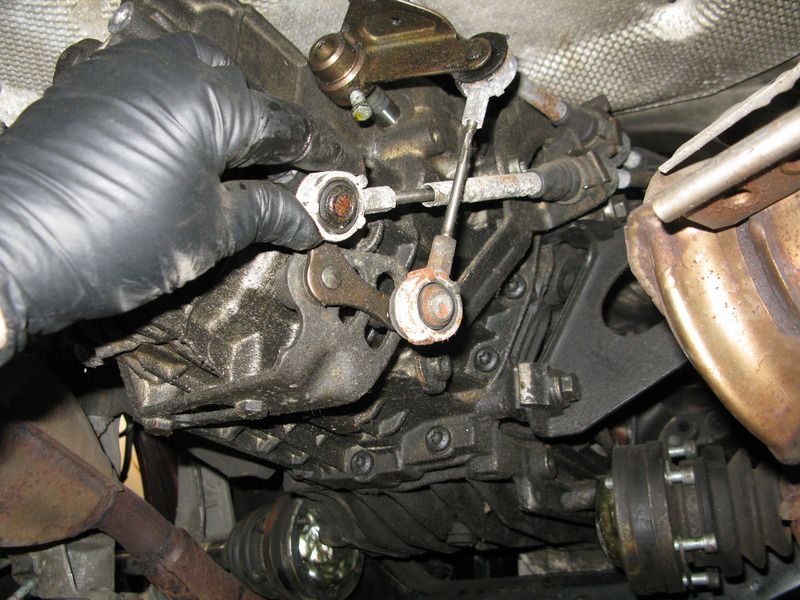
Once that was all bolted up, I moved on to cleaning the grunge off of the trans, yuk. I will share one of my closely held trade secrets with y'all. The BEST way to clean this type of thing is by using wheel cleaner, not just any wheel cleaner but SONAX wheel cleaner. The stuff cuts right thru the $hite like a hot knife thru butter. I put the trans out in the sun for a few hours while I was doing the clutch work. This heats up the gunk and gets those dirt atoms moving and ready to leave the surface of the trans. I then soak it with wheel cleaner and make sure that the trans is now in the shade. You don't want it drying on there. This is where you must have some patience and allow this stuff to sit and do it's job. wait 20 minutes and then give it another coating of cleaner and allow to sit for 20 minutes in the shade. Now get the garden home turned on, use an old paint brush to give it some agitation and spray with the hard direct stream of water. The grunge will melt away and you will be left with a nice clean tranny.
From this:
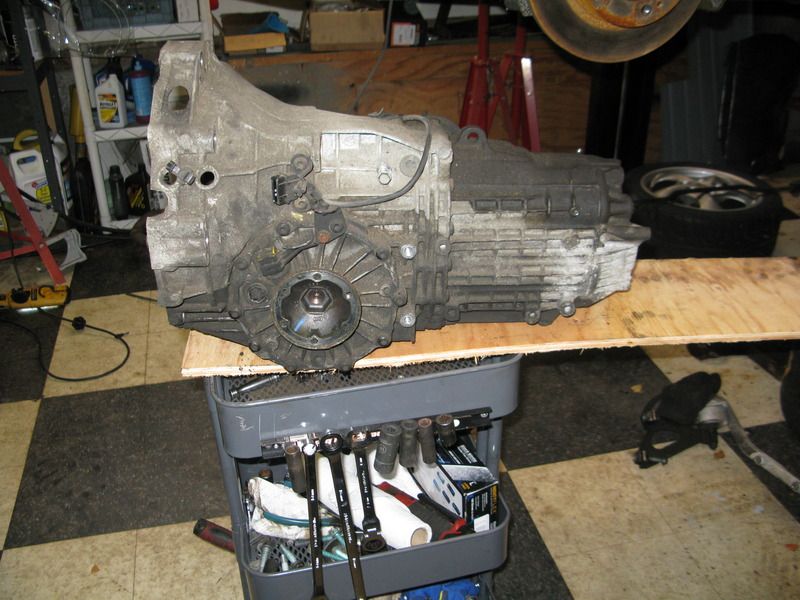
To this:
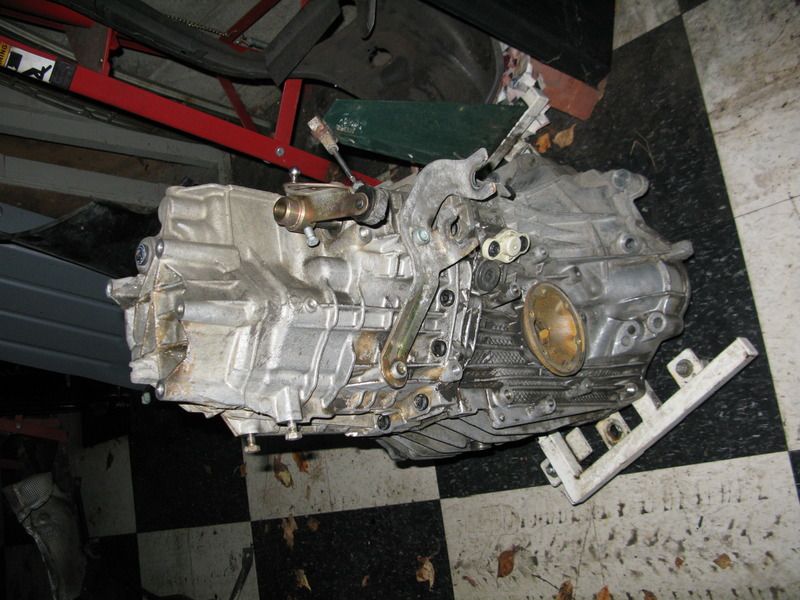
Much nicer to work with the clean parts vs filthy parts!! The trans might meet the engine again tonight, if I can get Missus Better 7/8ths to run the lift for me.