Got it out this weekend.
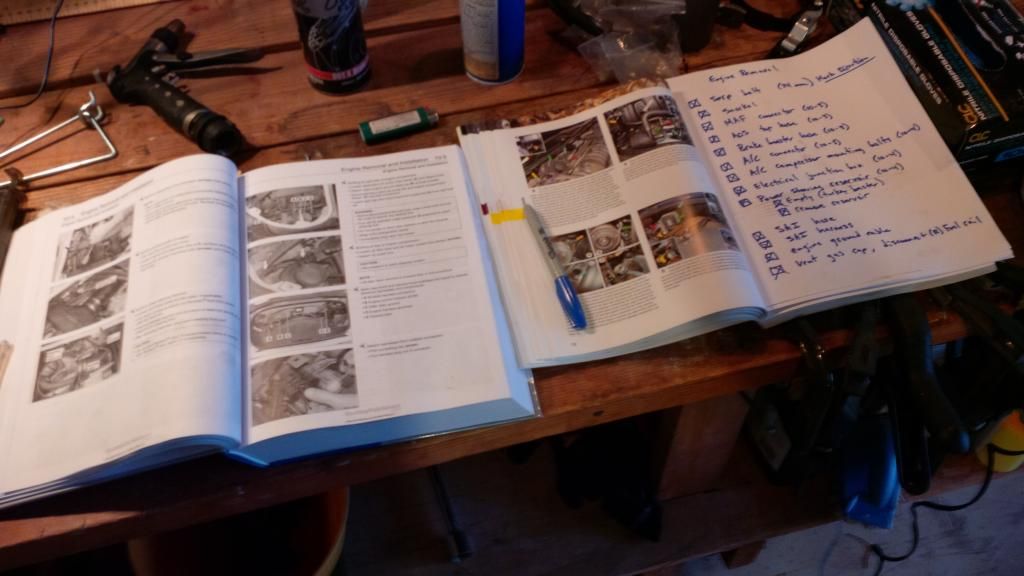
Getting organized. To minimize the amount of greasy hand prints on my books, to eliminate steps already performed by removing engine, and to take care of model specific things (e.g. my car doesn't have a throttle cable) I made a check list. On it I documented the page of the Bentley manual and/or Wayne's book which had the best description and pictures.
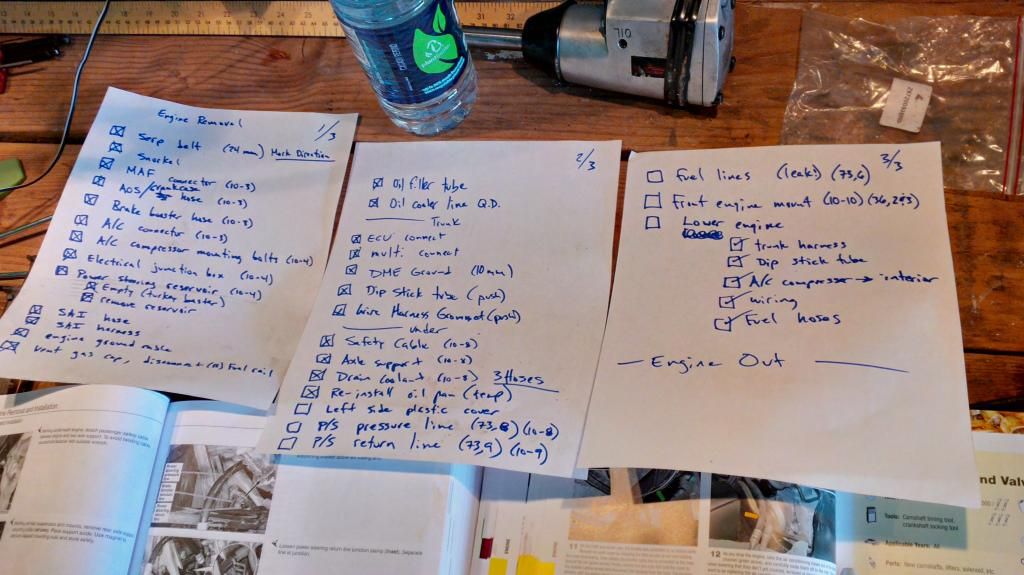
Another, while in work. Oh, and there are four hoses not three...
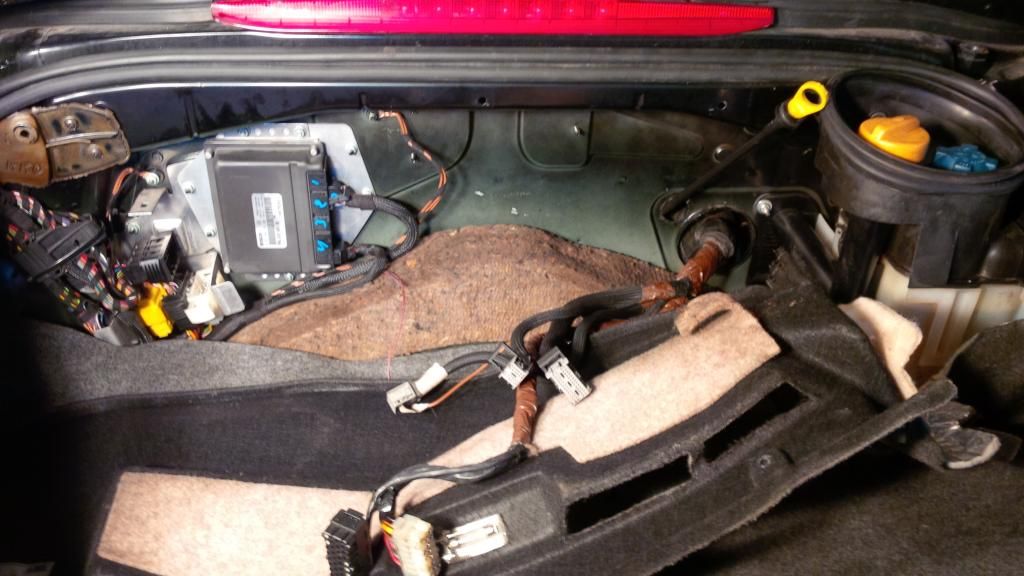
Trunk shot. This is one of those steps that when I read it, it wasn't clear. I mean, if I'm going to remove a bunch of connections on the engine, wouldn't I just leave this part of the harness hooked up? Well, no as it turns out. There are a ton of sensors still plugged in when you drop the engine and the least amount of them to pull are when you disconnect the harness in the trunk.
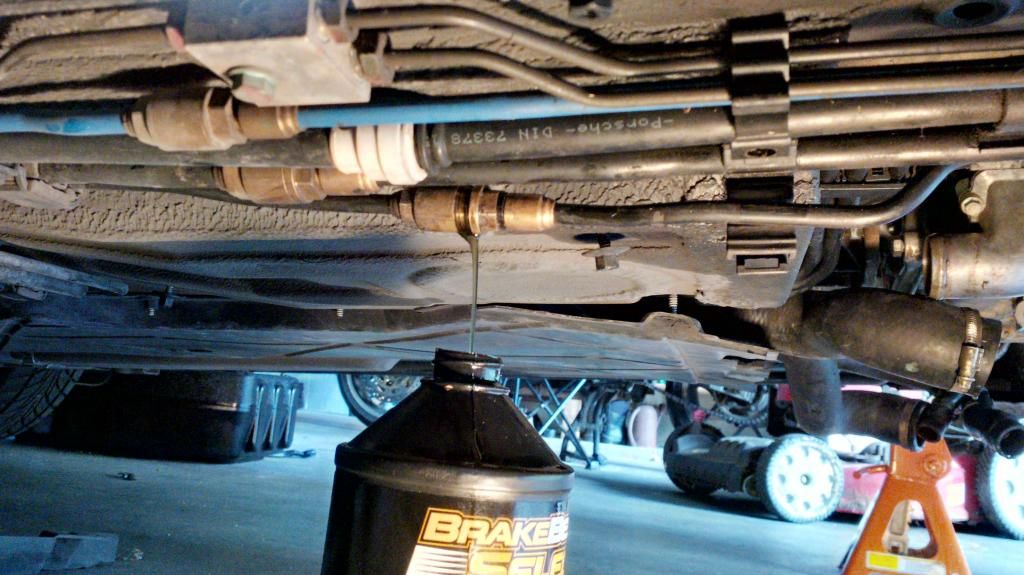
Regarding the steps in the book I'd like to expand on one or two. For example when you split the power steering pressure line it tells you to be prepared to catch some fluid. We're not talking "have a rag handy" fluid. I guessed this was going to happen and had a mostly empty container of discarded brake fluid handy to catch this stream which lasted several minutes.
Another point or two.
When it has you disconnect the big electrical cable at the top front of the compartment, do not assume that just because the cable is black and that the housing is black that it is a ground cable and therefore inert. It's not.

Disconnect your battery ground in the frunk before doing that step.
Speaking of the cable junction. The steps have you remove the three A/C compressor bolts, but the top one is sort of blocked off by the power steering reservoir. Since it has to come off anyway it makes sense to remove it first. But. Reaching the twist ring at the base is easier if the ground cable is out of the way. Not just the ground cable but the junction it is mounted to. So it's: cable, reservoir, A/C bolts.
The A/C removal was cake by the way. All three easily reachable from the top with a long extension.
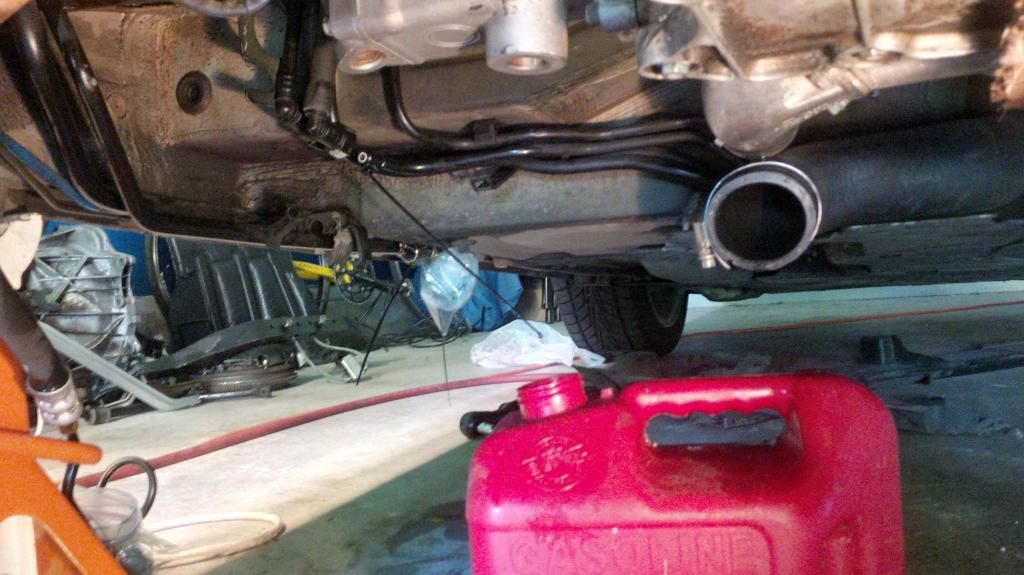
Okay, goofy MacGiver trick. When you pull the fuel line connections the books also mention to be prepared for some gas, so I had an old lawn mower jug available. Gas continued to drip from the hard line (mounted to the car) and wasn't that good about dripping precisely into my container. So I put a small zip tie around the end which would serve as the low point and path of least resistance. At first I just pointed it down into the gas can but then decided that if I rotated it at an angle I could see at a glance when it was done dripping.
After an hour I got annoyed and created a plug out a piece of fuel line and a bolt.
Front mount disconnected and I was out of excuses. Time to get my #3 son to help me lower it down. I didn't know how smoothly it would go so I ran him through the various jobs I might be yelling at him to do on short notice. Like the A/C compressor, or going back up a 1/2" in case anything was hung up.
I had done a pretty careful job of tending to the various hoses and connections that might get hung up. An obvious one is the power steering return line, which looked like it would just love to get hung up on the left suspension. So I zip tied it to the pressure line, tucking it nicely out of the way.
After lowering the engine about 5" I was able to rearrange the various items that had been intertwined and push the main harness in and get it situated. Likewise the A/C compressor was moved to behind the driver's seat at about this point.
Then it was on down, eventually working it off the jack and onto a long piece of wood that will allow me to slide it like a pizza.
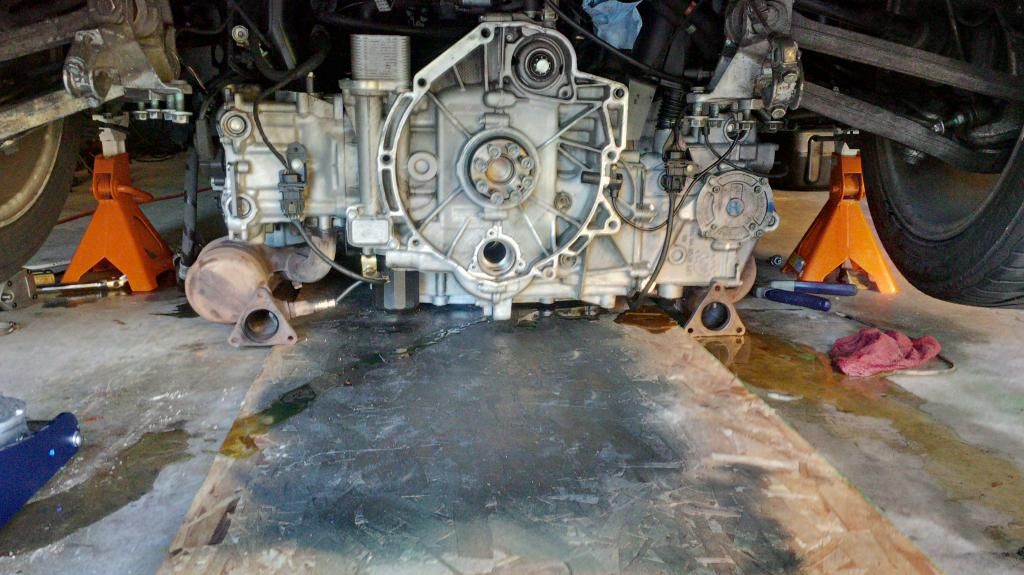
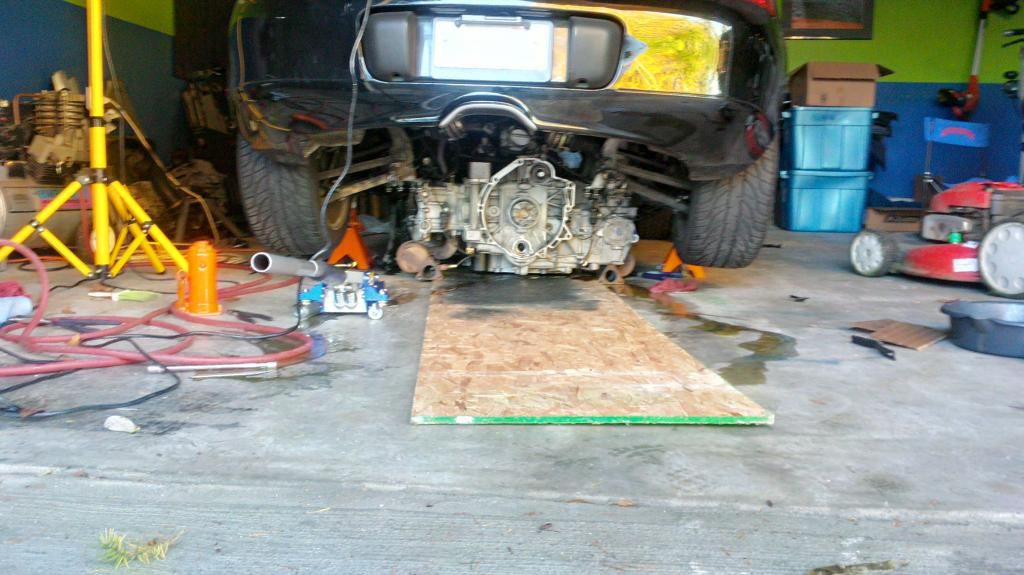
Done. On the ground and bleeding its last. I had to quit for the day and didn't check how much clearance I needed to create before twisting the engine 90 degrees and sliding it out the back. Quite sure it's too tall, just not sure how much.