DIY top replacement. Part 3 of 3
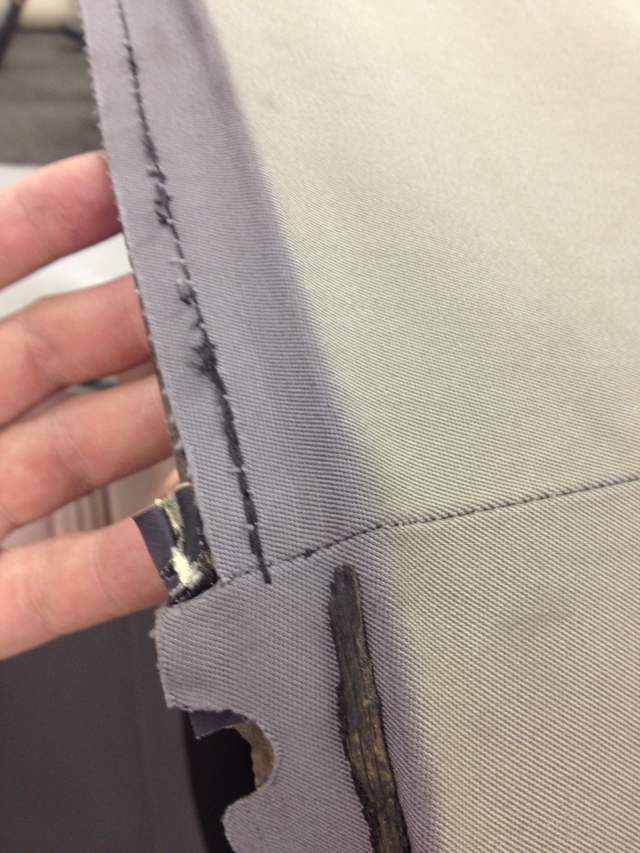
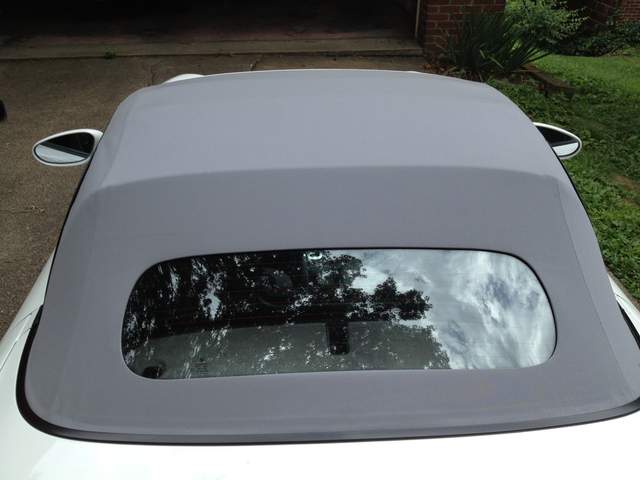
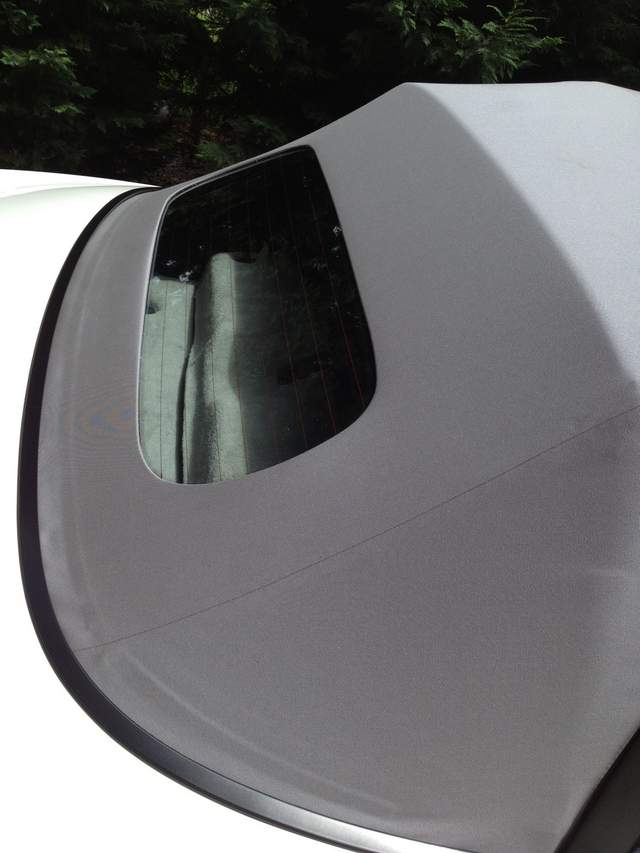
Two interesting differences in the factory top and the ATD - One is the amount of fabric around the back where it tucks and locks in the back channel. I found there was more than needed on the new top. After trying it as it came, I had problems with it wanting to "bunch" in the locking channel. Several failed attempts and I ended up cutting about 5/8" off. The top then folded perfectly and locked very well with the locking strips. This cutoff piece is what I used later to test removing the glue goofup...

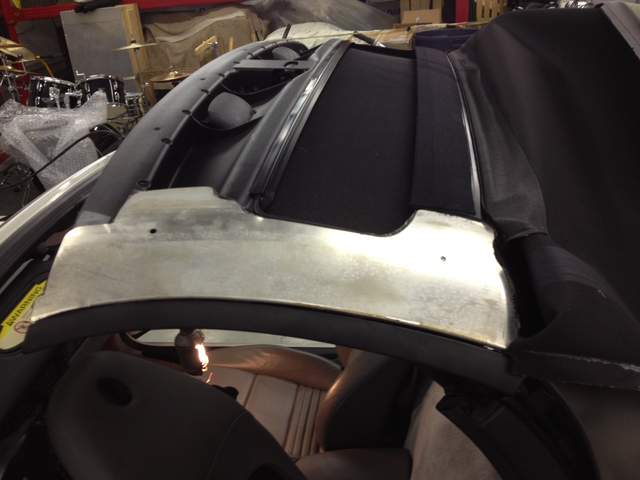
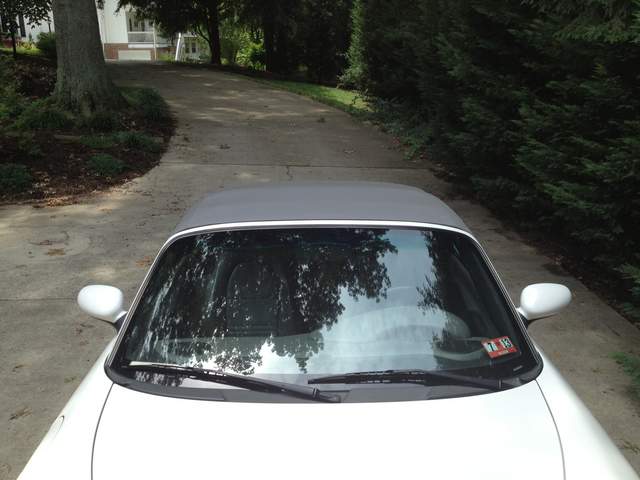
The other area of difference was across the header panel. The factory cardboard strip was stitched to the top but the ATD top came with the cardboard unattached. It wasn't a big deal and the instruction were very clear as to how to glue the cardboard. This, however, is another "artsy" area where the front of the top must fold over the header panel just right in order for the top to lay out without wrinkles. The good news is once the sides are correct, this part is relatively simple to figure out. A little trim work may be required, but it's not much of an issue to accomplish. I used some clamps to hold things while I worked out the correct lengths and proper stretching before making the final gluing.
TIP: I would recommend masking the fiberglass frame/header panel before spraying the adhesive so you don't have to clean it later. Also, be diligent to cover the interior of the car and the top completely because the adhesive will overspray while spraying the bottom side of the top where it will folds under to the header. Pay particular attention to where double-sided tape was used when you disassembled the top and use it again in the same (corner) spots going back with the new top.
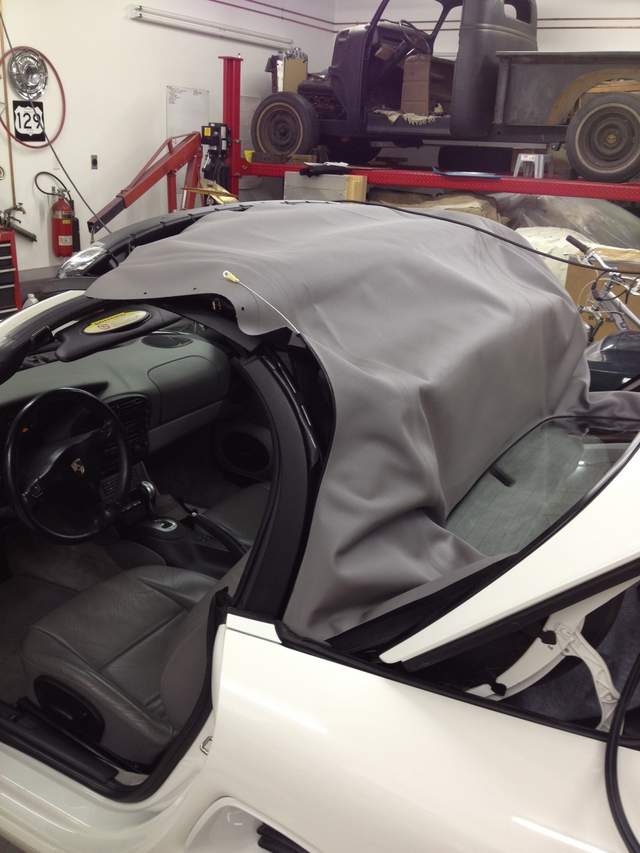
I let the top sit outside (in the closed position) in the sun several times over several days to let it stretch and settle in...this really seemed to help. One final note...once installed and closed completely, the red top light would not go out and I got a warning stating the top limit (switch) had not been satisfied...once I cycled the new top down and back up , the limit was satisfied.
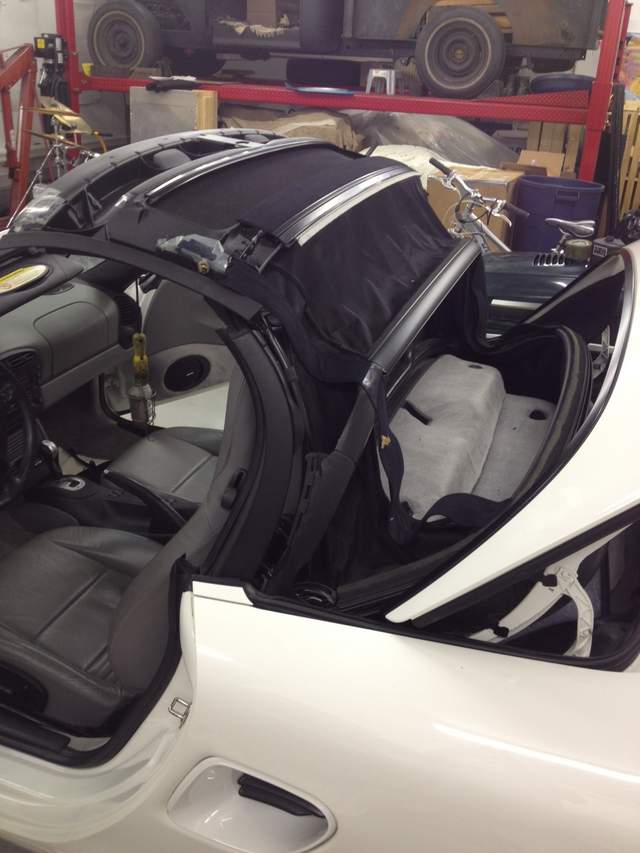
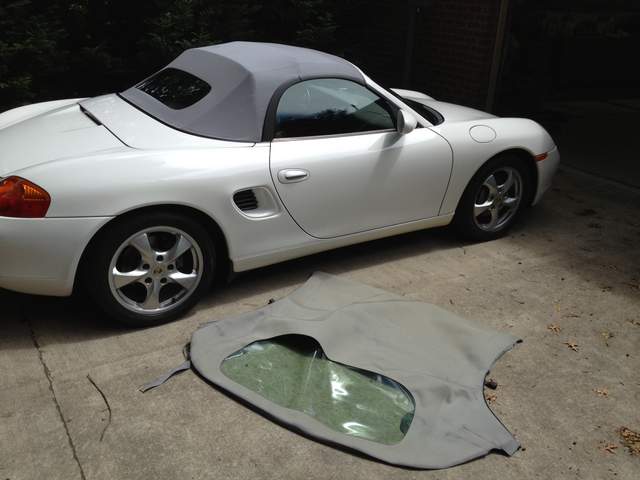
The glass defrost hookup was the nicest surprise - Porsche had the female plug-in already supplied (since the S models came with glass) and the defrost button/switch was already on the dash. ATD supplied the harness, so it was a very simple plug and play.
All-in-all not a terrible job to execute and very well worth the cost savings of having to pay a top shop....it just requires patience, planning, and the old carpenter's adage: measure twice, cut once.