DIY top replacement. Part 2 of 3
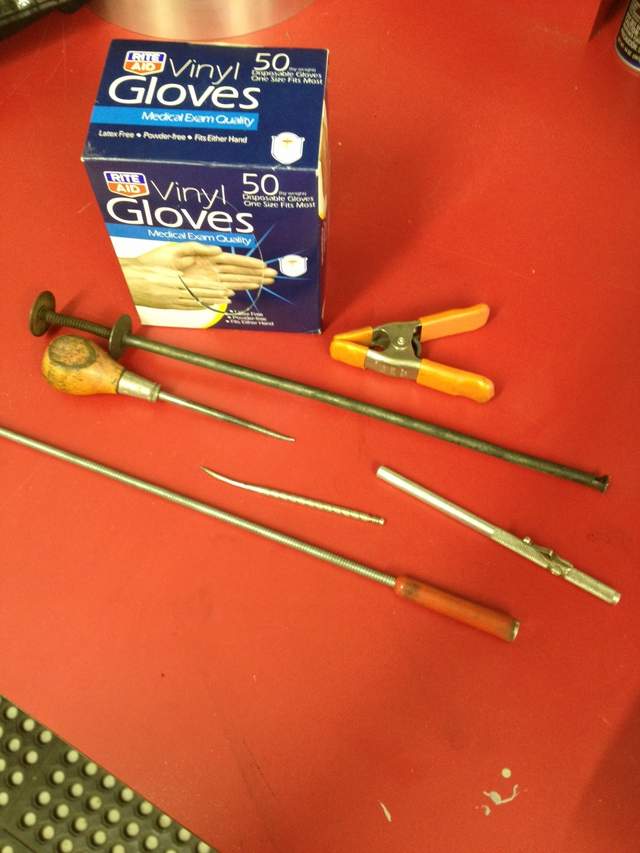
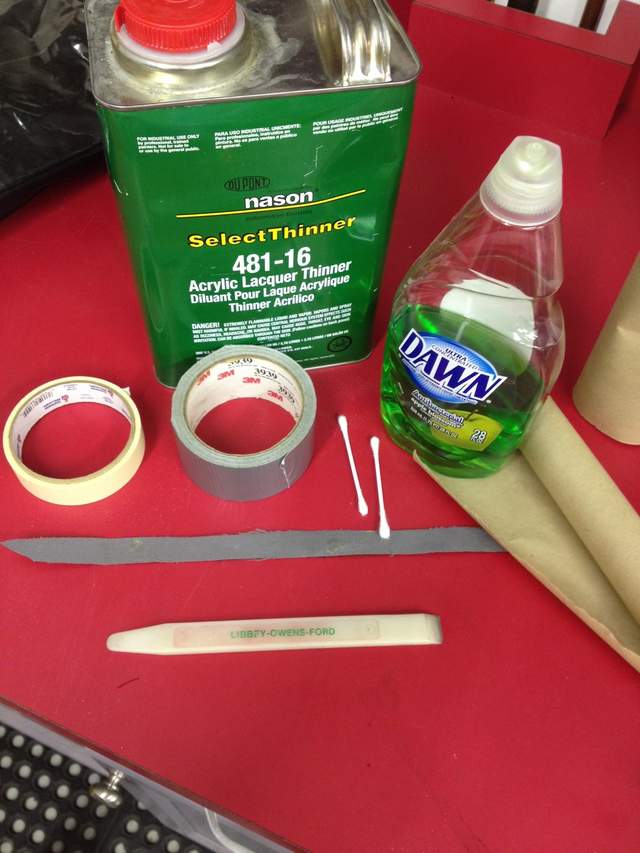
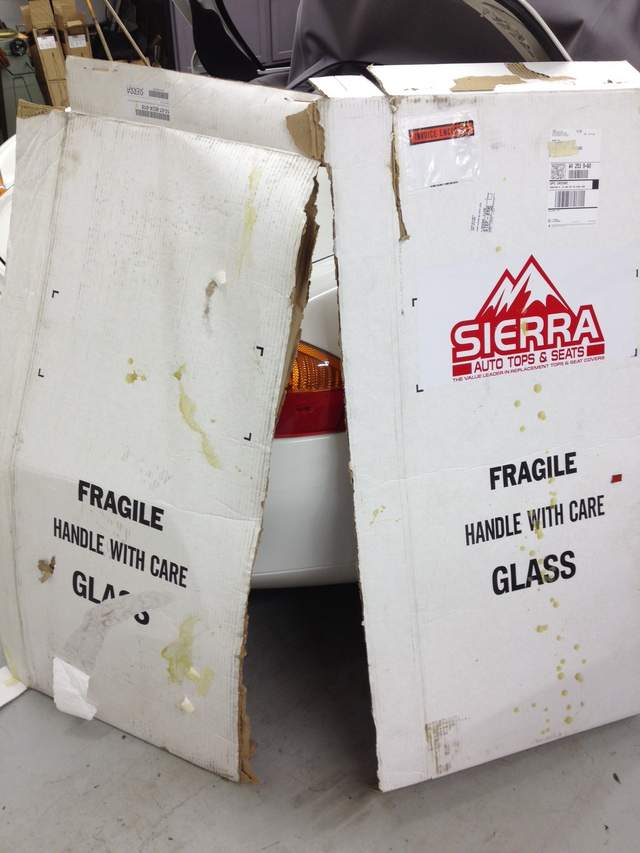
I had a fiberglass windshield tool that can work against the top and paint without causing damage (see pic). A sharp punch and an awl for a few new screw holes in the new top since they may not be in the exact location required for a good fit, and also the rear cable location. Masking tape, duct tape, and GOOD electric tape. Lacquer thinner, Q-tips, and Dawn soap to clean any glue that might find its way onto the top...ughhh... In addition, you would do well to have masking paper and, as I said, drop cloths to cover everything when you start using the spray adhesive. I used the Sierra shipping box to cover some things and to catch drips.
IF you happen to get some glue on your new top, use a piece of cutoff top fabric (you'll have some most likely from around the very back channel) as a test piece to find the best formula for removing the glue PRIOR to actually working on your new top....the voice of experience here

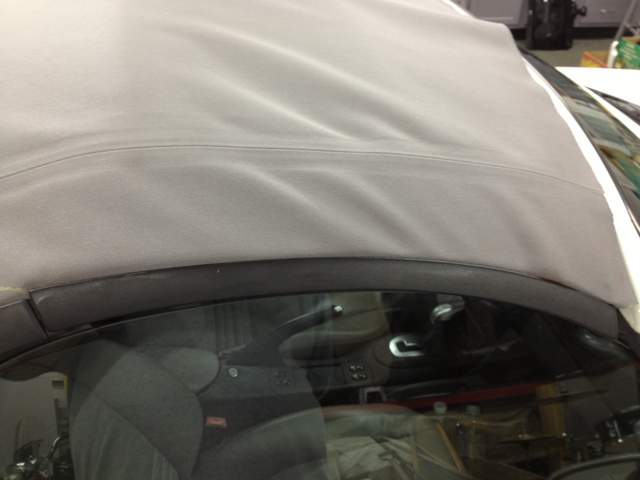
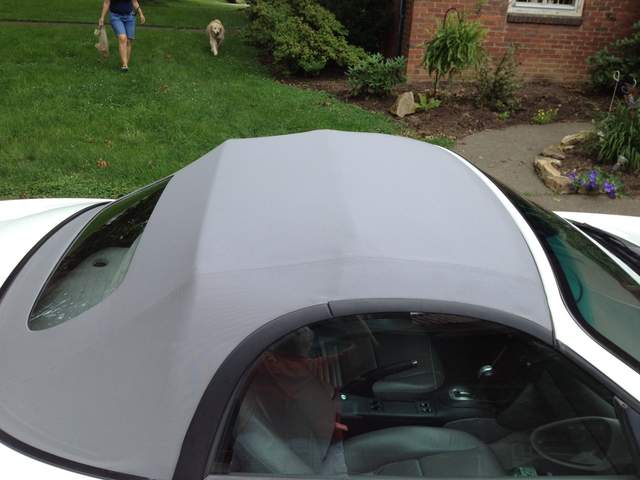
But even though my top was a light color, it all cleaned up very nicely with no traces

And finally, use rubber/latex gloves when pulling, stretching, and otherwise installing the new top...your hands get more dirty than you realize...not to mention sweat and natural oils from your hands that get the top soiled before its time

The most problematic areas I found were over the side windows. Getting the top stretched properly over the aluminum pieces proved to be tricky. On first attempt, I used the pre-punched holes in the top. Even though there were wrinkles, I presumed the factory new more than I, and therefore I went with their holdes...WRONG!!
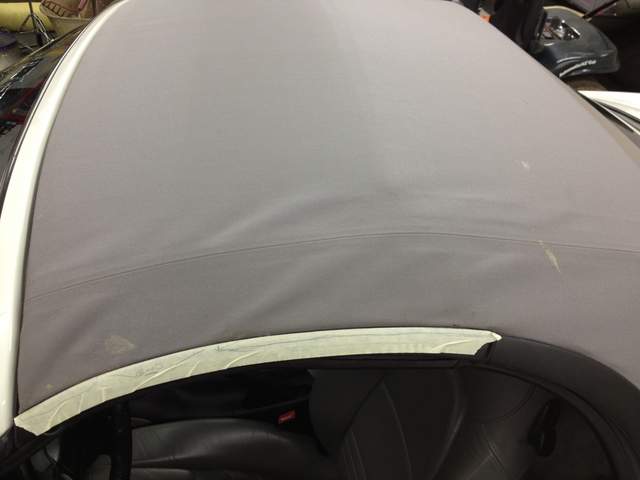
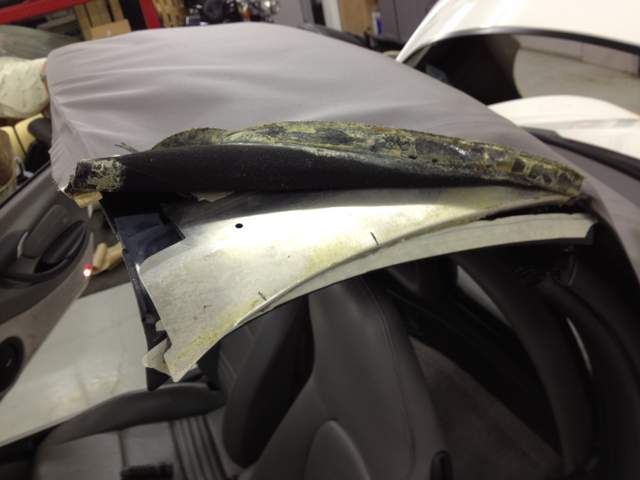
So...after having glued the front header panel and stretched it nicely, I decided to take it apart and fix the problem. This was a bit of a guessing game and actually where the forum posts called it "artsy". I marked the aluminum plates on top where the holes were on the sides to I could align the top holes in the same plane while stretching/pulling out the wrinkles. This all gets a little tricky because you're dealing with drying glue, an upside down aluminum plate, the top cable, and "art"... Doable, but not real easy. This is where the sharp punch tool and the awl come in... I used the awl to align and pull the aluminum plate into alignment while applying hand pressure downward enough to get a screw started...you'll know pretty quickly at this point if you got it close...or not.... it took me a couple of tries on both L and R sides to find the correct "art". Each time, I needed to pull the glued pieces apart and re-apply adhesive. BE VERY CAREFUL to NOT damage or mis-shape the aluminum panel or it won't lay properly on the top's frame and therefore won't let the top lay out correctly. After I got it where I actually felt it might be too much of a stretch, it worked out just about right.
 Please see Part 3