DIY top replacement. Part 1 of 3
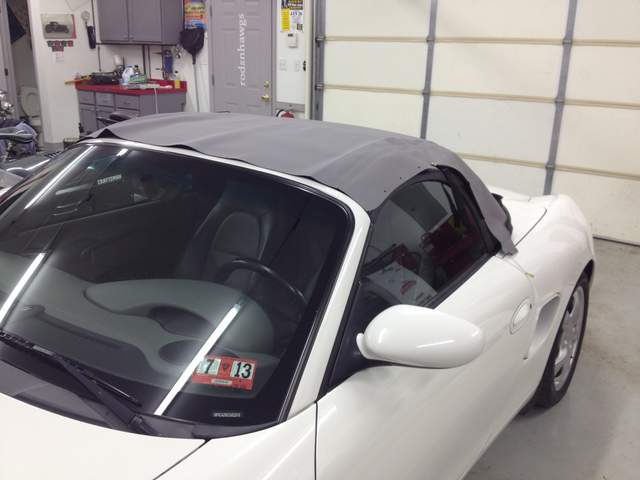
After much research, I decided to tackle this job myself. My wife's 02 top was faded (actually more than I realized until I got the new top), and the plastic back window was scratched and the stitching was coming loose.
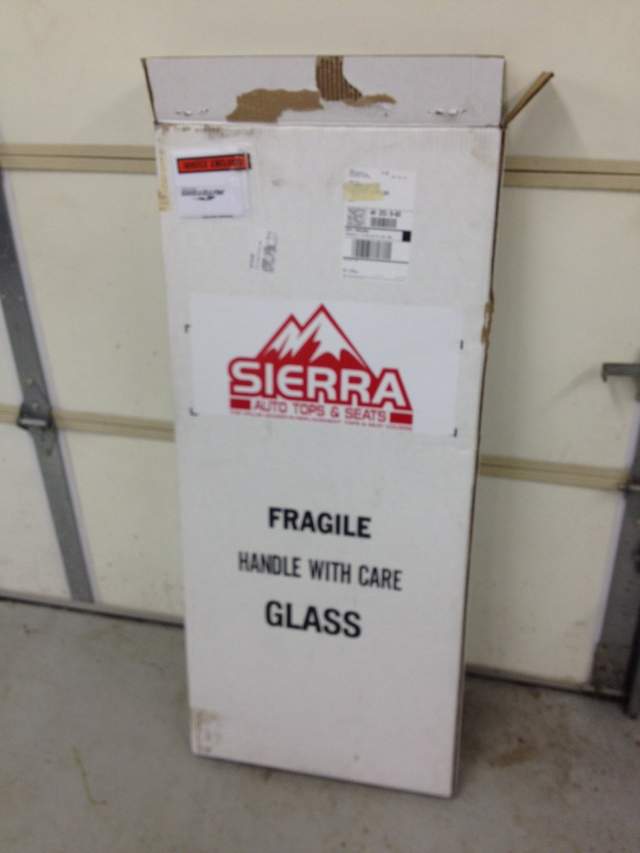
I read all the forum posts I could find, both here and on the Renn Tech site. Having determined that Auto Tops Direct (ATD) and GAHH are actually the same company (and that apparently GAHH has bought Robbins) selling the same top under different names, the choice was simple...I bought the ATD A5 top with glass back window and defroster off Ebay for $559 (and free shipping). It came quickly in a Sierra brand box.
http://986forum.com/forums/general-discussions/43183-atd-vs-gahh.html
Please note, I have worked on cars most of my life and have a pretty nice and well equipped garage...this is very doable as a DYI project, but...it's not for the faint of heart.
I referenced all the applicable forum(s) posts, as well as the downloaded PDF instructions from ATD. Even so, there is some thinking and problem solving required. I've included some information/tips/pics that may be of additional help. Hopefully, this may add enough to give a complete tutorial (coupled with the other fourm posts). So let's get started.
Here are the links I used:
https://sites.google.com/site/mikefocke2/replacingthetop-adiy
http://images.wikia.com/boxster/images/e/eb/DIY_Boxster_Conv_Top_Canvas_R_R.pdf
Top replacement about to take place - 986 Boxster Top Issues and Solutions - RennTech.org Forums
https://mail-attachment.googleusercontent.com/attachment/u/0/?ui=2&ik=dd11000383&view=att&th=13f76bc61ce25dd4&attid=0.1&disp=inline&safe=1&zw&sadssc=1&sadnir=1&saduie=AG9B_P__IJHD8kZhWOUCXh1rU1_d&sadet=1373137411733&sads=UNejx_wlH6Ijga9r6JSduBW634Q
First, let me emphasize (IMO) that new sliders need to be ordered and on hand prior to starting this project...these pieces are so very fragile, I'd recommend you just have new ones and plan on damaging/replacing the old ones.
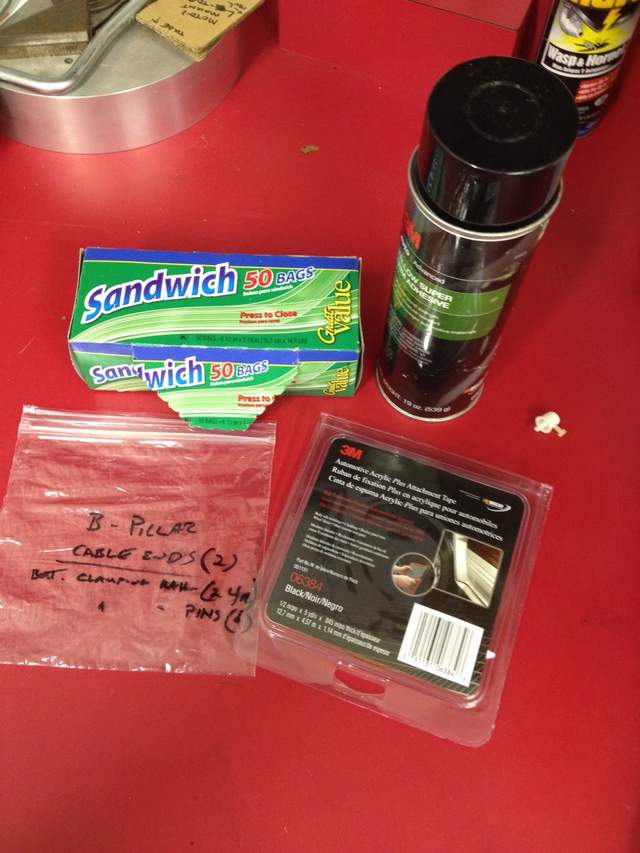
Second, I know some of the above links say this can be done with double sided tape alone...I did not find this to be the case, and I'm pretty sure Porsche used glue at the factory...so get THE CORRECT 3M YELLOW SUPER ADHESIVE. You will also need the 3M double sided tape (see the links).
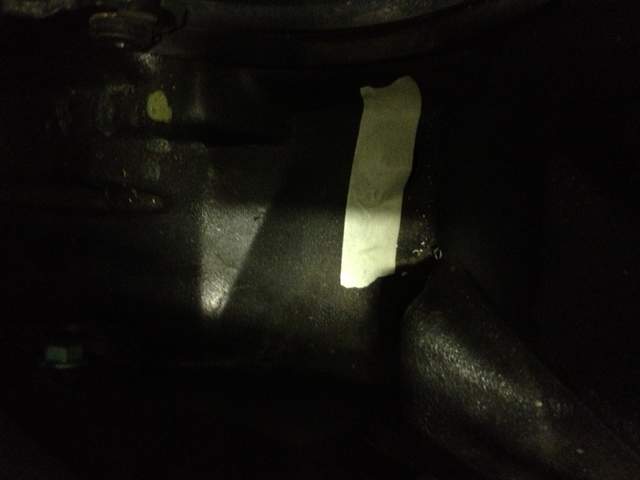
Third, cover any and all openings where you might drop a screw or small part before taking things apart...if you drop a tiny screw down the seat belt channel, it will be a chore to retrieve it. Be sure to put a piece of tape over the drain holes in the top cavity too.
And finally...COVER EVERYTHING WITH BLANKETS AND DROP CLOTHES PRIOR TO USING THE SPRAY ADHESIVE.

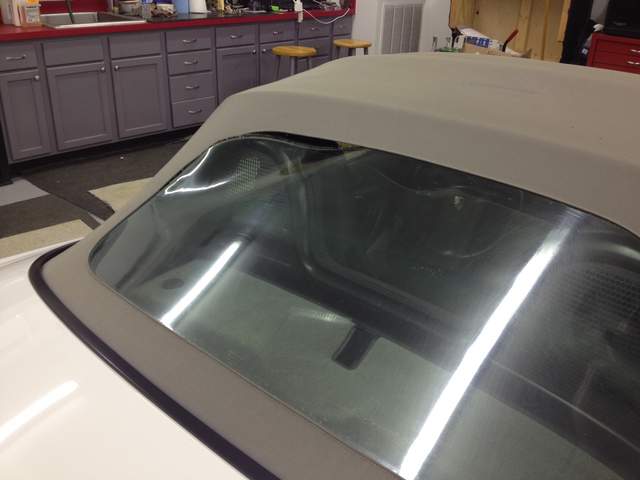
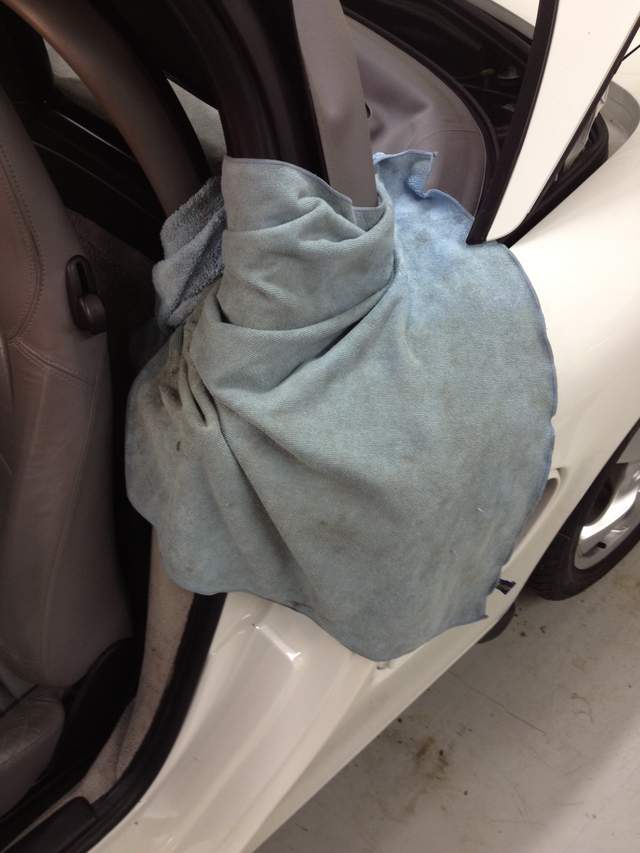
OK, so once the new ATD top was unboxed, the first thing I did was overlay it onto the old top for a quick size check...I wanted to make sure it was at least close! I was amazed at how discolored the old top had become.
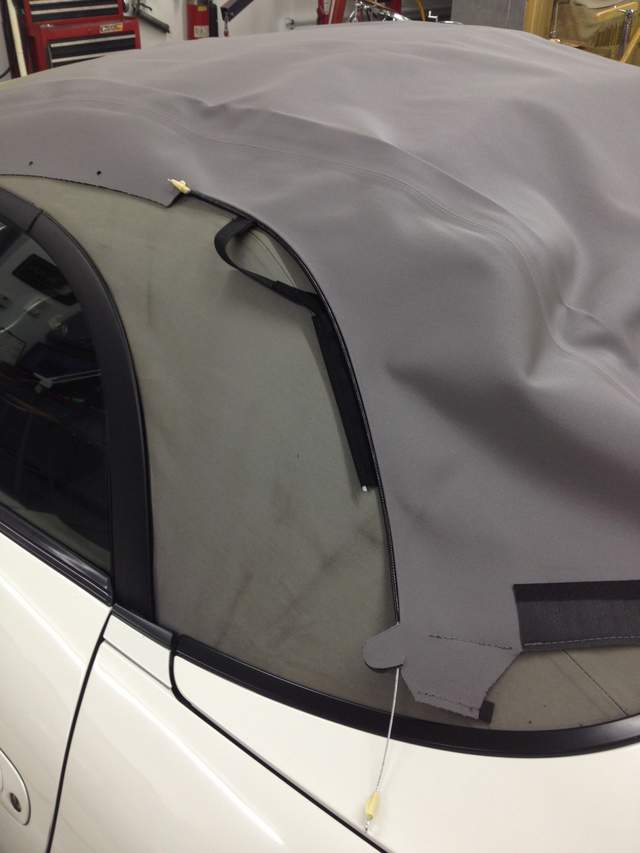
Satisfied, I proceeded to remove the old top with the forum discussions and the ATD instructions. The only problem I ran into was the part where the forums referenced a metal clip holding a plastic cover on the middle top bow...mine did not have any of this...therefore, I ended up having to slide the middle and rear piping out of their respective channels at the same time to remove the top. Not a big deal, just be aware that there may be some variations from car to car which will require a little problem solving...
I would also recommend a few additional tools/supplies. I had two different magnets and some mechanical fingers to retrieve dropped screws from those little cavities (remember, I recommend covering those places...there's a reason

).
Take plenty of pictures yourself along the way...you can use them as a reference when you start putting things back together. And be sure to utilize labeled ziploc bags for small parts and pieces. There are two small pieces of weatherstripping at the rear of the window channels...note how they come out and mark them "driver (D) and passenger (P)" sides.
Please see part 2 of 3