The projectors have a "stem" that mounts through the existing bulb hole in your headlight. There is a thick silicone washer that sits between the projector and the existing reflector in the headlight and serves two purposes; It acts as a mini shock absorber, and it also keeps the projector perfectly centered in the existing reflector. I didn't take very many pictures during my installation, but I found some online that may help illustrate this. Once mounted, the projectors are one with the old reflector. This means that adjusting them is exactly the same as it would be with a stock headlight; Just use the adjusting screws on the headlight. Since my original headlights were already adjusted correctly, after installing the projectors, no adjustment was needed. They were already perfectly aligned.

Also, I think different kits use different mounting methods, so I'm not sure about others. I was on a very tight budget, so I had to order a cheaper kit from Hong Kong. The kit that I ordered was $140 shipped(everything included), compared to about $325 from theretrofitsource.com.
Here is a picture of the kit that I ordered. Quality was good and I'm very happy with them.

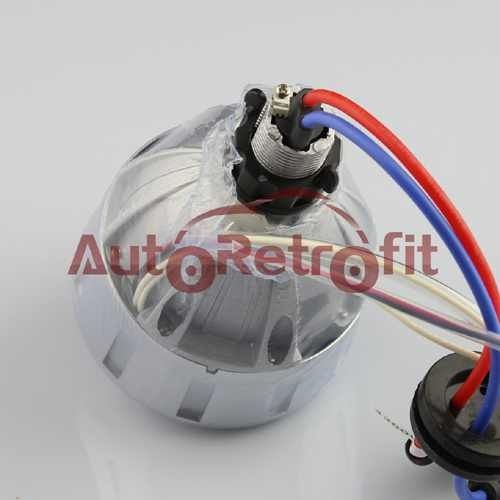
Here you can see the mounting stem. It is hollow and the bulb mounts directly into it.
Here is one of mine installed. Side note: Don't mount the ballast inside of the housing as shown in this picture. This will cause it to overheat. They should be mounted to the outside rear of the housing.
