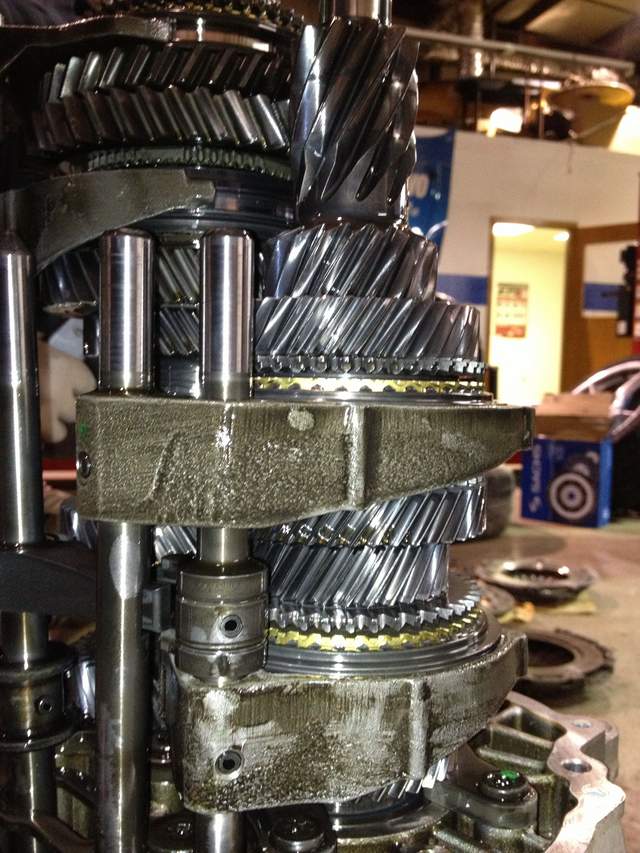
Getting the gearbox apart was not the challenge. Remove the bolts cap/spring/bolt of the shift catch and gingerly tap upwards on the case using one a dead-blow plastic hammer. I sprayed a penetrating spray at the location of the two dowels, I let it sit a while, and then taped upwards VERY carefully on the top half of the case (with the bell housing on the ground).
The trick was getting it back together. The shift fork shaft assemblies have some play in them and you need to have each lined up with the respective cage bearings on the case end.
I strongly recommend installing the CMS shift arrestor as long as you are in there. It made a night-and-day difference in how my box goes between gears. I no longer wonder if second gear will clunk when the clutch is released; I can now feel that it is in gear before releasing the clutch. It is good insurance, shouldn't take more than five or 10 minutes to change at this point, even if you don't have any apparent shifting problems.
After a few hours of teeth grinding (five to be exact), I found that the only way to get the case together correctly was by propping-up the bell housing on top of a chunk of 4x4 lumber (the side where the shift detent faces upwards). The weight of the gear racks will want to make the bell housing teeter and tip onto the floor and you will need two people; one to hold the bell housing against the 4x4 and another to guide the housing over the gears and shift fork shafts.
Another crucial trick was to take a gasket hook tool and grab the third (from right to left) shift fork shaft and pull it, using slight pressure, towards you. This shift fork shaft will pull the respective shafts on either side in alignment with the corresponding cage bearings on the case end. Just make sure that this shift fork position has not changed (it will line-up with a notch on each of the neighboring shift fork shafts).

Additionally, the round roller that rides on the shift catch needs to be stuck on using a bit of grease and you will need to be mindful that it takes a bit of wiggling/playing with the external shift linkage lever to get the roller to its place on the shift fork shaft. This cannot be lined up until the separation between the two halves is only an inch or two.
Finally, keep in mind that the main gear on the end of the case needs to mesh with the respective gear on the end of the gear assembly. My brother in-law guided the case end onto the rest of the gear box while I pulled on the shift fork shafts while spinning the input shaft, in order to get the two gears on the case end to mesh.
It was a bit of a dance and I could probably do it in a fraction of the five hours it took the first time around. I don't want to discourage you but please don't hold me responsible if you attempt this and do not get the same results as I had

. As a check before bolting the whole thing together, the external shift lever should "shift" without binding as you manually change the gears. If you are not familiar with what this feels like, check it out before disassembling the box.
It was a calculated risk and I knew I was either going to pay royally for someone else's education or else I was going to figure it out on my own and pay for my own education.
Best wishes and happy motoring.
