Sunday morning off to a little slower start as I realized that I missed a crucial step in the front suspension installation. I failed to head the "tighten the front wishbone when fully loaded" step as I found that my drop link was pushed up right against it. Loosened up the proper bolts, dropped the car down and loaded the front end and tightened everything back up...perfect. Felt a little silly about missing that, but that is why I write myself post it notes on my build board for secondary and final checks for each of the systems I complete.
Today was spark plug tube, spark plugs and coils day. In preparing for this I had my boat drain plug like is mentioned in Pedro's mods for pulling the tube.
Now, I would like to write that everything went smooth as cake, the tubes came out like butter and the whole thing went back in a easy fashion. This however would be a misnomer. The boat plug worked by itself on only one plug. If found the diameter of the plug tube exceeded the maximum expanded diameter of the boat plug.
As such, I needed more gripping power so I decided to use drywall sandpaper as a insert between the rubber and the tube. This allowed more gripping power and I was able to get one more tube out. After that, the tool did not work worth crap. Without boring you on the process of elimination of what would remove the tubes without dropping pieces into the engine, I ended up using a curved pry bar that was able to pull the tubes out.
Caution: Please, what ever you do...do not break off pieces of the tubes. They will drop right into the engine and unless you can fish them out, you are going to be in trouble.
For my case I was able to keep everything together and all the tube came out. Total time to pull the tubes ~90 minutes.
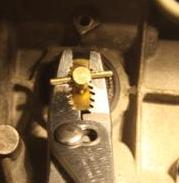
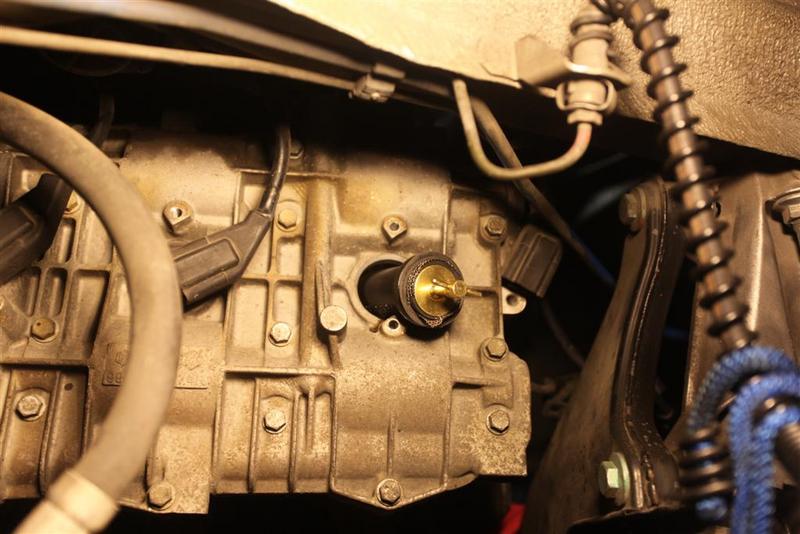
Getting the bolts out and the coils removed was not a big deal (with the suspension and removed this becomes an easy task). In the first picture if you look to the edge of the tube you can see the paper between the tube and the plug. You will also see a pair of offset pliers. I found that they worked better than the standard screwdriver Pedro recommended.
In the end I was able to get all the work done in about 2 1/2 hours. However, with the cylinders open I decided to take a look inside each of the cylinders to see how everything looked. Pulled the borescope out and had a look around each. I will say that for an engine that now has over 90K miles on the odometer, I was impressed to see clean cylinder walls.
Cylinder 1:
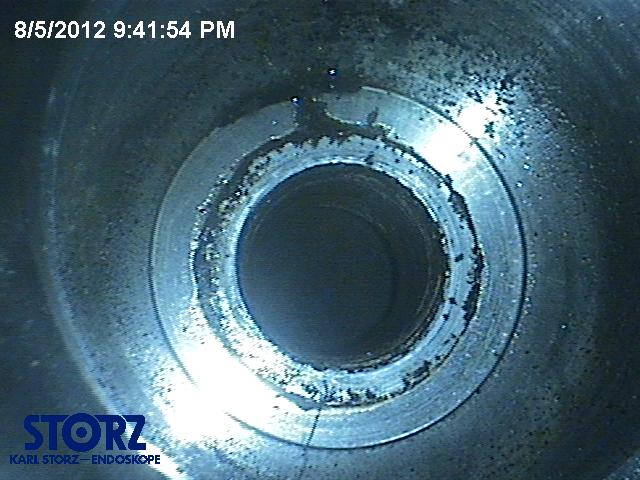

Cylinder 2:

Cylinder 3:

Cylinder 4:

Cylinder 5:
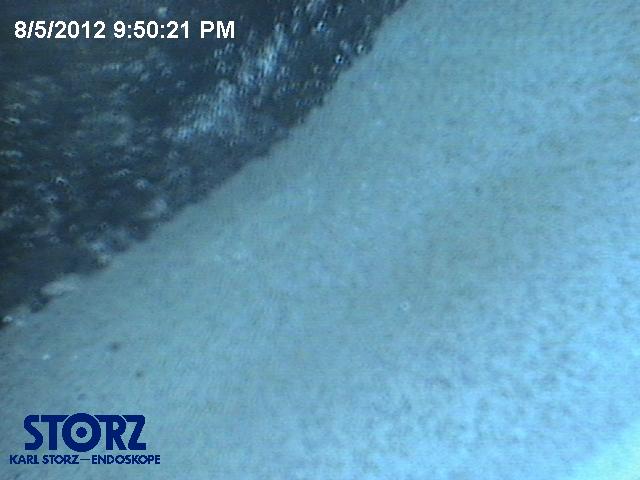
Cylinder 6:
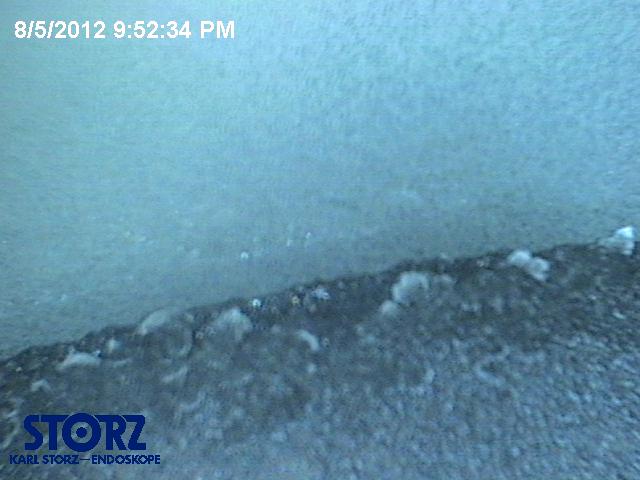
While some of the cylinders may look "dirty" this is actually minimal carbon build up on the pistons and the cylinder walls are smooth as butter. This makes me feel good as there is no immediate issue on the rings or pistons that needs to be dealt with.
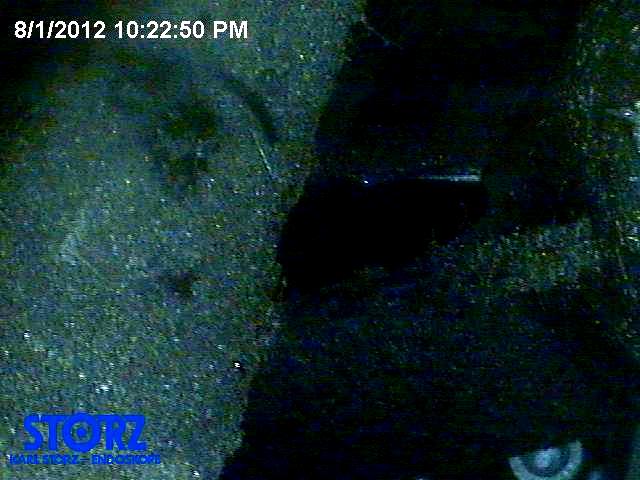
One final picture for today...I indicated that I found a broken "third" tube on my oil filler tube when replacing the reservoir tank. Here is what I found (the center of the picture shows the hole! How the car kept a solid idle I don't know...but hopefully the tube will be in to Pelican next week and I can get it installed the week after.
So, where do I go next? As soon as I have the two additional parts in for the slave cylinder, I will be installing the new master and slave cylinders for the clutch and installing the rebuild kit onto the transmission. After that it will be the water pump and low temp thermostat.
One of the best aspects of this build is that by setting manageable daily goals, I don't get overwhelmed with tasks, I don't have the car so far disassembled that parts and pieces become overwhelming in how they are spread out. My end goal is to have the car done by the end of the month.