OK.. here it goes.
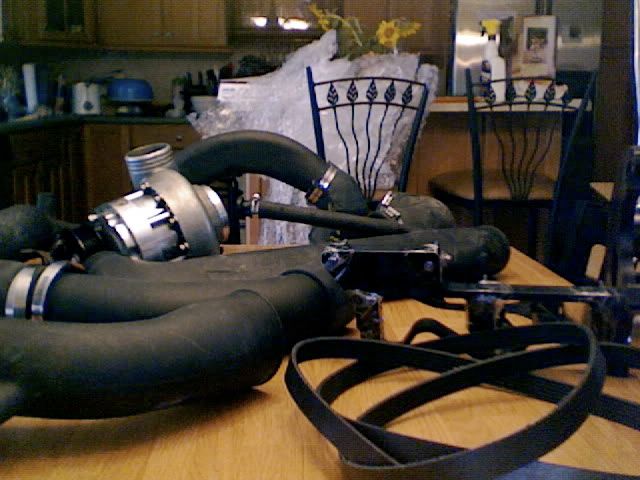
I started the project at 11am monday morning. When I first got the kit It looked simple to do.
My first step was to jack up the passanger side rear and put it up on jack stands. Remove the rear wheel and then move to the inside cabin to get to the belt.
I did not remove the seats for the install I just pulled them all the way foward and leaned them foward. I then took off the 3 clips/nuts 10mm that hold the carpet on the back wall in its spot. Once that was removed I removed the tin cover that seperates us from the belts. That too was held on by a few 10mm nuts. I did at that time take a breaker bar and the correct socket, I don't remember which one and pulled the tensioner clockwise to free the belt. Once that was removed it was time to go under ther car.
Under the car
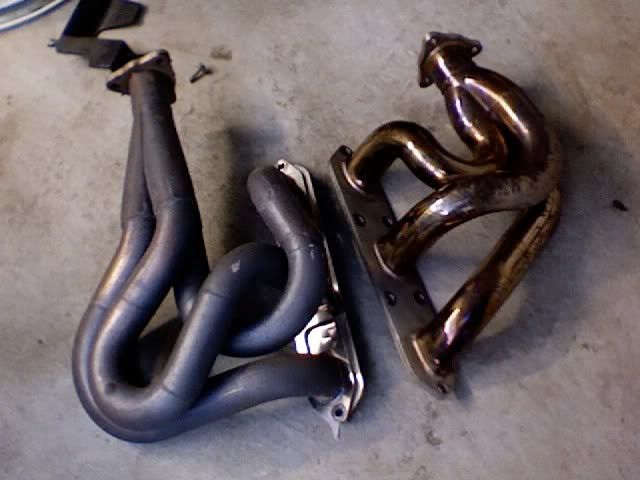
I had S-Car-Go headers on the car. They had to be removed because of the placement of the supercharger. I did not put my new headers on till the end of the install.
Now that the headers were gone I had plenty of room to go to work
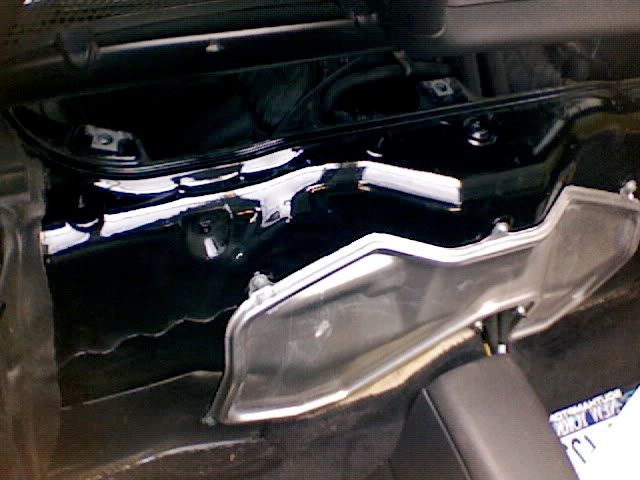
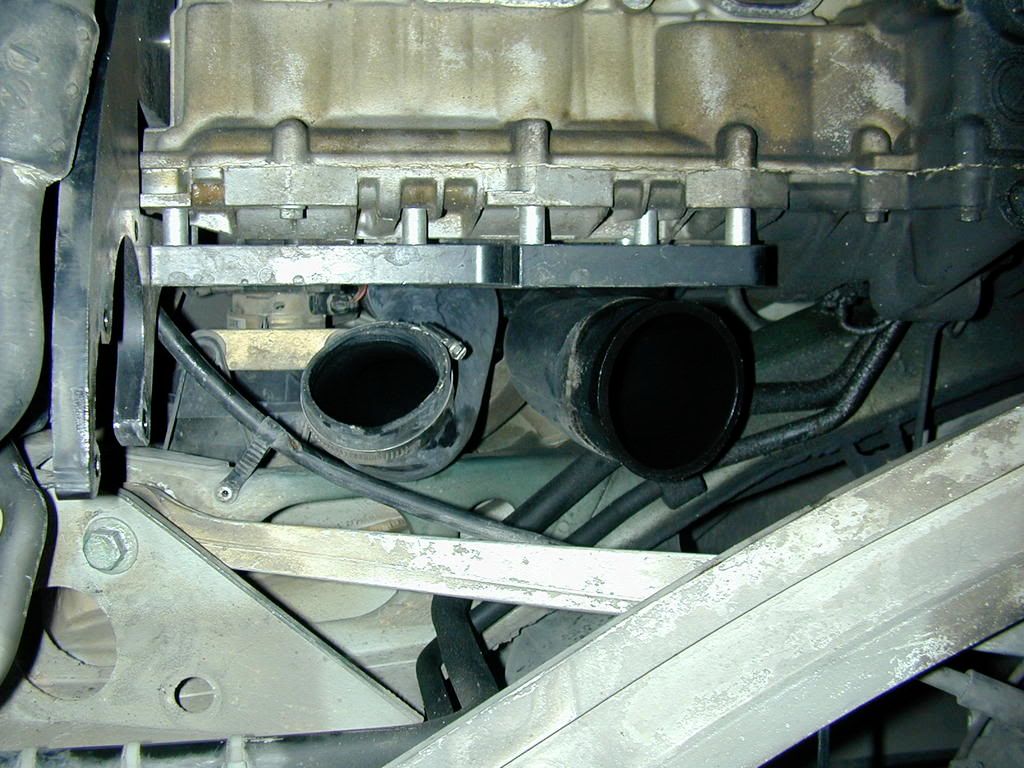
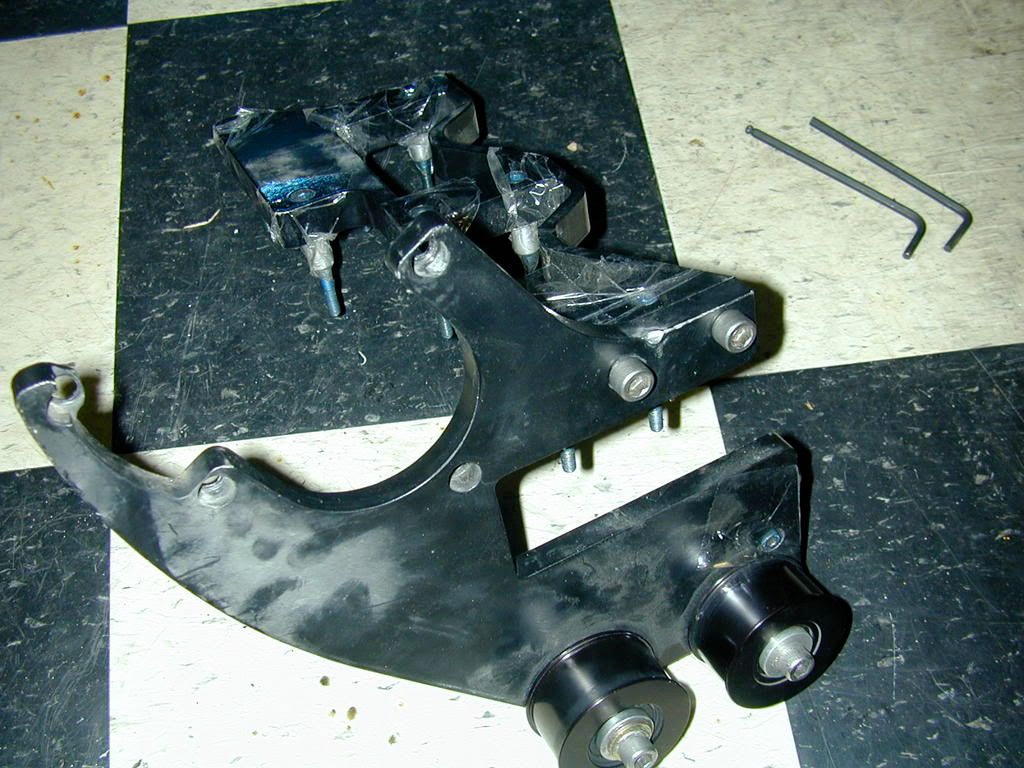
I first tried to mount the the main bracket that mounts to the valve cover not the header bolts like the tpc kit. I layed it out and figured out which 10mm bolts had to be remove. There were 8 of them. The bracket that bolts to the valve cover comes with nice aluminum spacers and extended bolts to fit back in. I lined it up and went to bolt it back on and found out that it fits like crap. To fit the first bracket you have to wizwheel off 2 nubs of aluminum off the valve cover and then grind them down with an air grinder. Along with grinding them down I also had to grind a little bit of the supercharger bracket, not taking any strength from it. That got bolted up and then I relized I need the bracket on it also for the supercharger before I got it up there. I uninstalled that and put the other piece of the bracket that holds the supercharger in place together. I used lock tight on the allens that hold those 2 peices together. When putting that back onto the valve cover it took some brain power and patients to get it up there. Not too bad.
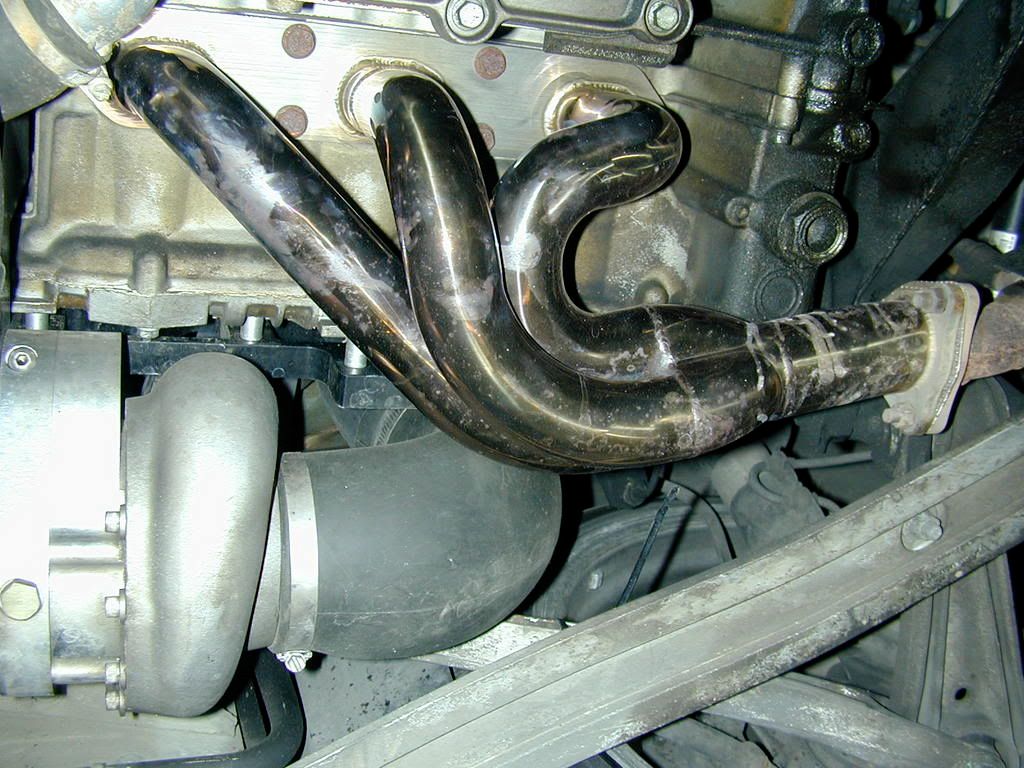
S-Car-Go headers on the left, Turbo Werx Headers on the Right
Also photos of the main bracket off and on the car.

Fitting the Supercharger
Now came time to mount the supercharger in place. My advice on this one is, call a shrink and make an appointment. There is little to no room to make this go in it's spot. To get this in I had to zip tie off some A/C cables off to the side and then jack the rear suspension up, that made some clearance from one of the control arms. With all this room now it was possible to get the charger near its new home. Getting the charger in still took about 30 mins of twisting and pushing until it finally slipped right in to the bracket. Now you have to shrink your arm and hand and bolt it to the bracket with 3 allen bolts. I used a allen wrench and a allen socket. It was not that bad to get them in there.
Photo of the chager in place.. Photo from previouse install on the car this kit came from.
Belt Installation
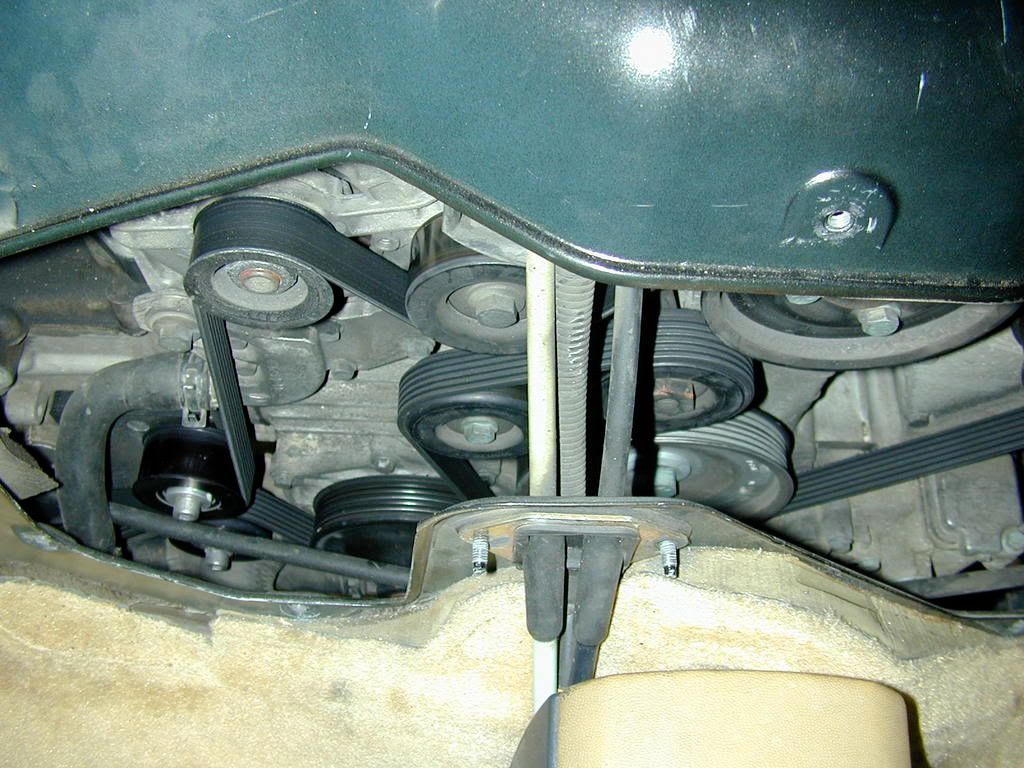
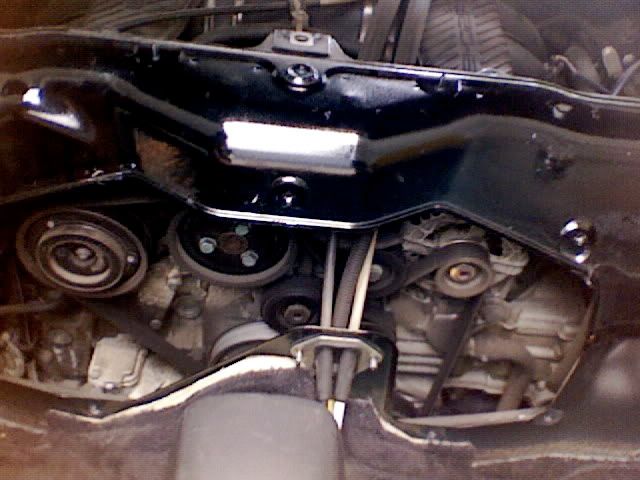
I used a photo that was sent to me of the belt on the car with the charger and just followed that. Took only a couple minutes. I did have to pull to the side a waterline and E-brake line towards the front of the car. These were located from in the engine compartment in the cockpit of the car. Very easy to do just some zip ties again. The reason they had to be moved was the new location of the belt just barely grazed these lines. There was plenty of play to give them alittle pull. While in this position there is also a small bolt to tighten in to the engine that is part of the charger bracket.
Photo of the bracket and and new pulleys on the bracket with the belt installed.
This photo was taken during the uninstall of this by marc over at turbo werx. There are a few photos that I did not take because I was in the heat of the moment and just did not care to go get cleaned up to shoot photos.. Sorry
