Go Back   986 Forum - The Community for Porsche Boxster & Cayman Owners > Porsche Boxster & Cayman Forums > DIY Project Guides

Post Reply
 
LinkBack Thread Tools Display Modes
Old 07-06-2013, 11:45 AM   #1
Registered User
 
Join Date: Apr 2006
Location: wv
Posts: 57
DIY top replacement. Part 1 of 3

DIY top replacement. Part 1 of 3

After much research, I decided to tackle this job myself. My wife's 02 top was faded (actually more than I realized until I got the new top), and the plastic back window was scratched and the stitching was coming loose.

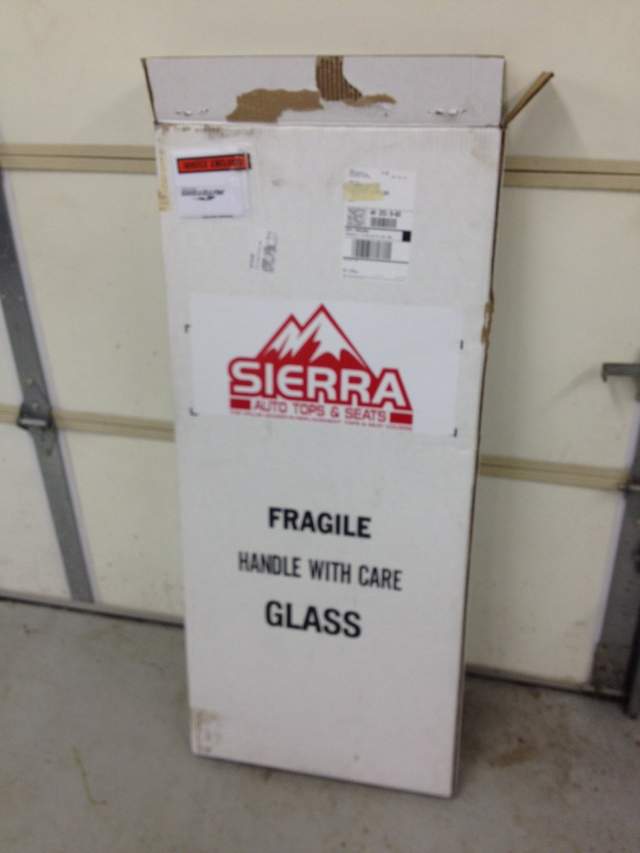
I read all the forum posts I could find, both here and on the Renn Tech site. Having determined that Auto Tops Direct (ATD) and GAHH are actually the same company (and that apparently GAHH has bought Robbins) selling the same top under different names, the choice was simple...I bought the ATD A5 top with glass back window and defroster off Ebay for $559 (and free shipping). It came quickly in a Sierra brand box.
http://986forum.com/forums/general-discussions/43183-atd-vs-gahh.html

Please note, I have worked on cars most of my life and have a pretty nice and well equipped garage...this is very doable as a DYI project, but...it's not for the faint of heart.

I referenced all the applicable forum(s) posts, as well as the downloaded PDF instructions from ATD. Even so, there is some thinking and problem solving required. I've included some information/tips/pics that may be of additional help. Hopefully, this may add enough to give a complete tutorial (coupled with the other fourm posts). So let's get started.

Here are the links I used:

https://sites.google.com/site/mikefocke2/replacingthetop-adiy

http://images.wikia.com/boxster/images/e/eb/DIY_Boxster_Conv_Top_Canvas_R_R.pdf

Top replacement about to take place - 986 Boxster Top Issues and Solutions - RennTech.org Forums

https://mail-attachment.googleusercontent.com/attachment/u/0/?ui=2&ik=dd11000383&view=att&th=13f76bc61ce25dd4&attid=0.1&disp=inline&safe=1&zw&sadssc=1&sadnir=1&saduie=AG9B_P__IJHD8kZhWOUCXh1rU1_d&sadet=1373137411733&sads=UNejx_wlH6Ijga9r6JSduBW634Q

First, let me emphasize (IMO) that new sliders need to be ordered and on hand prior to starting this project...these pieces are so very fragile, I'd recommend you just have new ones and plan on damaging/replacing the old ones.

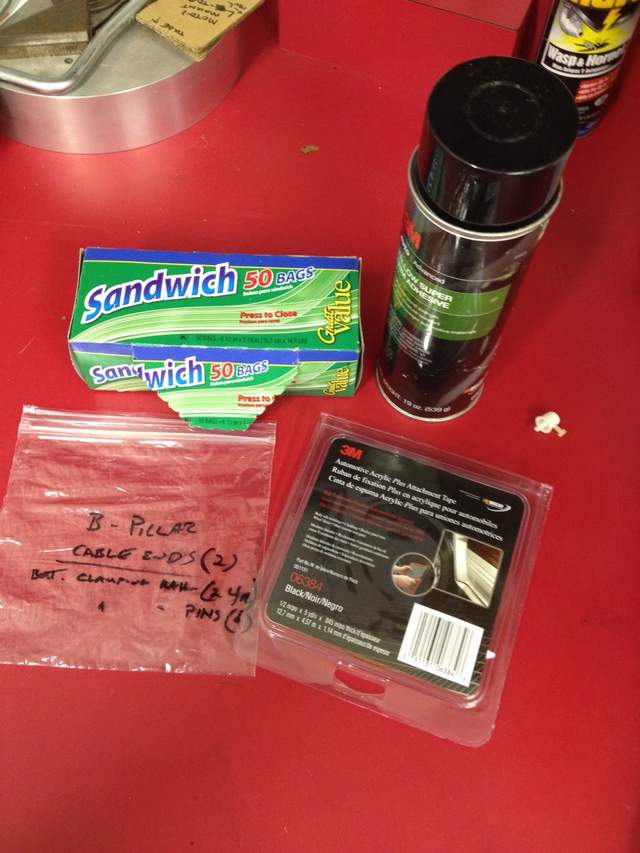
Second, I know some of the above links say this can be done with double sided tape alone...I did not find this to be the case, and I'm pretty sure Porsche used glue at the factory...so get THE CORRECT 3M YELLOW SUPER ADHESIVE. You will also need the 3M double sided tape (see the links).

Third, cover any and all openings where you might drop a screw or small part before taking things apart...if you drop a tiny screw down the seat belt channel, it will be a chore to retrieve it. Be sure to put a piece of tape over the drain holes in the top cavity too.

And finally...COVER EVERYTHING WITH BLANKETS AND DROP CLOTHES PRIOR TO USING THE SPRAY ADHESIVE.
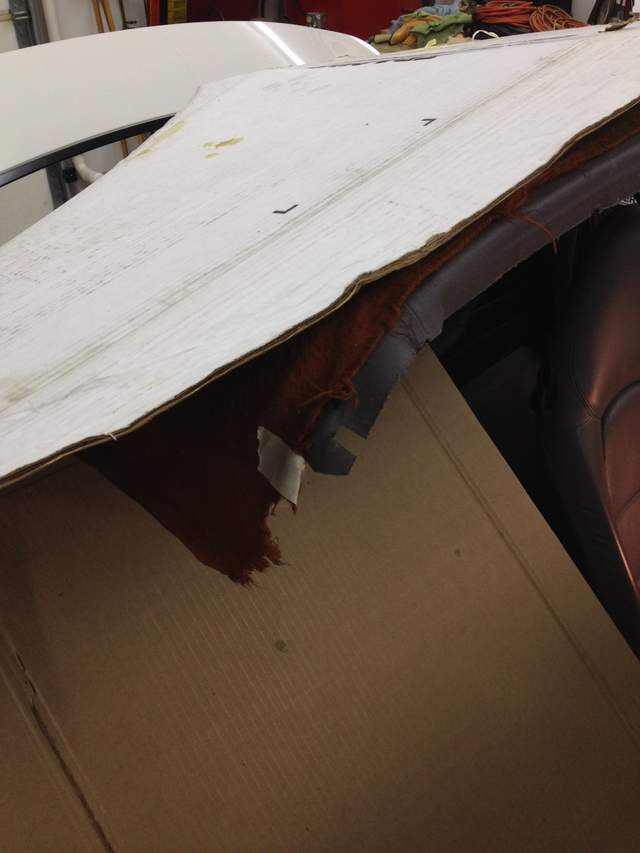

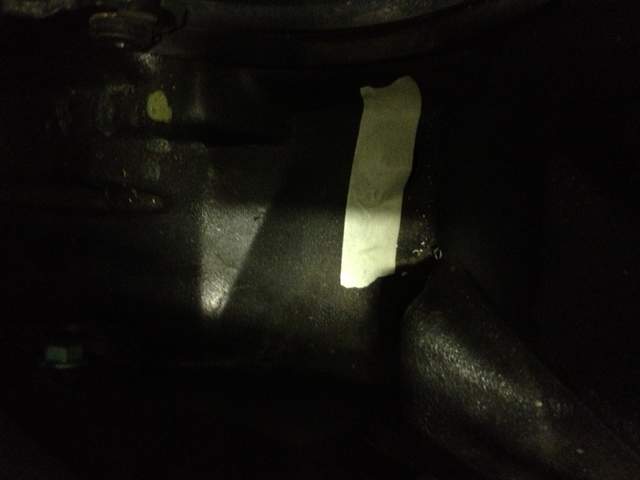
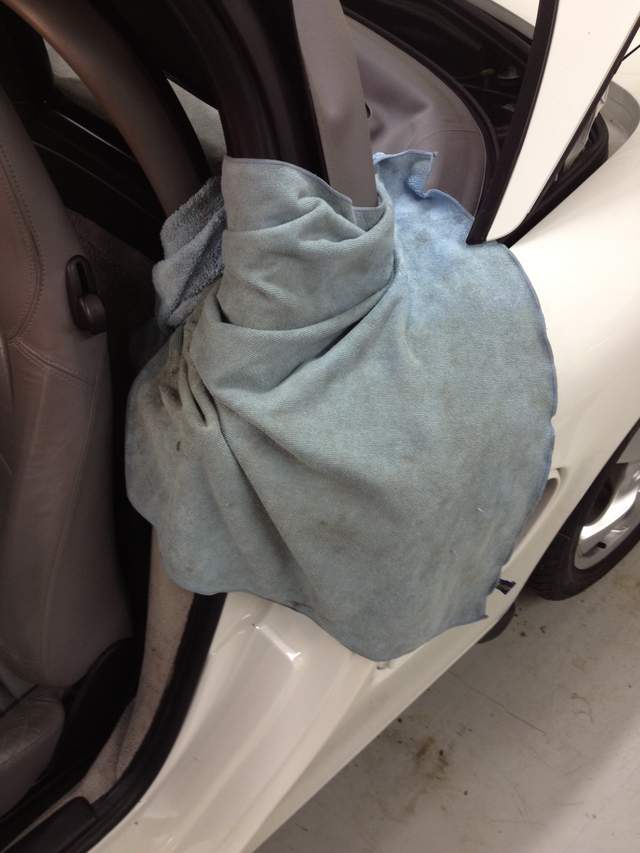
OK, so once the new ATD top was unboxed, the first thing I did was overlay it onto the old top for a quick size check...I wanted to make sure it was at least close! I was amazed at how discolored the old top had become.
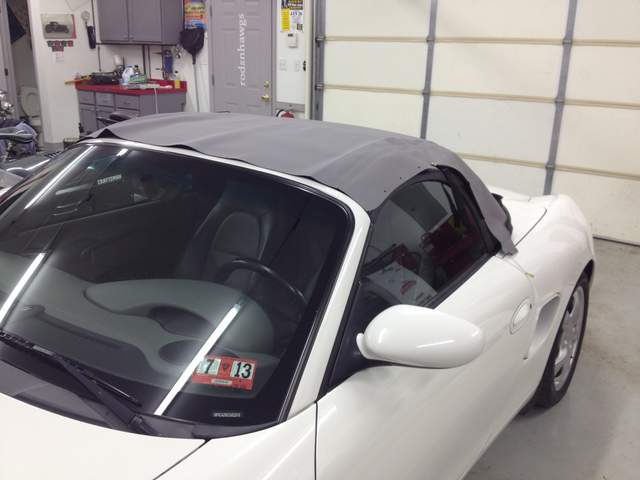
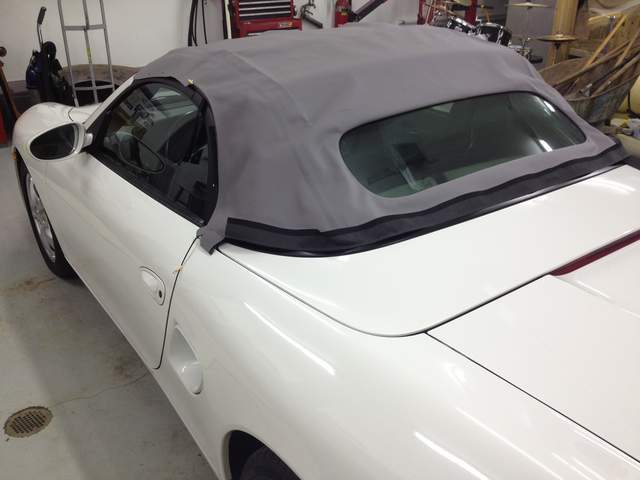


Satisfied, I proceeded to remove the old top with the forum discussions and the ATD instructions. The only problem I ran into was the part where the forums referenced a metal clip holding a plastic cover on the middle top bow...mine did not have any of this...therefore, I ended up having to slide the middle and rear piping out of their respective channels at the same time to remove the top. Not a big deal, just be aware that there may be some variations from car to car which will require a little problem solving...

I would also recommend a few additional tools/supplies. I had two different magnets and some mechanical fingers to retrieve dropped screws from those little cavities (remember, I recommend covering those places...there's a reason ).

Take plenty of pictures yourself along the way...you can use them as a reference when you start putting things back together. And be sure to utilize labeled ziploc bags for small parts and pieces. There are two small pieces of weatherstripping at the rear of the window channels...note how they come out and mark them "driver (D) and passenger (P)" sides.

Please see part 2 of 3

__________________
02 boxster
chopped 48 Chev pickup (under construction)
99 Harley Road King
04 Honda Element
07 Nissan Murano

Last edited by rodsnhawgs; 07-06-2013 at 01:54 PM. Reason: text editing
rodsnhawgs is offline   Reply With Quote
Old 07-06-2013, 12:05 PM   #2
Registered User
 
Join Date: Apr 2006
Location: wv
Posts: 57
DIY top replacement. Part 2 of 3

DIY top replacement. Part 2 of 3

I had a fiberglass windshield tool that can work against the top and paint without causing damage (see pic). A sharp punch and an awl for a few new screw holes in the new top since they may not be in the exact location required for a good fit, and also the rear cable location. Masking tape, duct tape, and GOOD electric tape. Lacquer thinner, Q-tips, and Dawn soap to clean any glue that might find its way onto the top...ughhh... In addition, you would do well to have masking paper and, as I said, drop cloths to cover everything when you start using the spray adhesive. I used the Sierra shipping box to cover some things and to catch drips.


IF you happen to get some glue on your new top, use a piece of cutoff top fabric (you'll have some most likely from around the very back channel) as a test piece to find the best formula for removing the glue PRIOR to actually working on your new top....the voice of experience here But even though my top was a light color, it all cleaned up very nicely with no traces

And finally, use rubber/latex gloves when pulling, stretching, and otherwise installing the new top...your hands get more dirty than you realize...not to mention sweat and natural oils from your hands that get the top soiled before its time


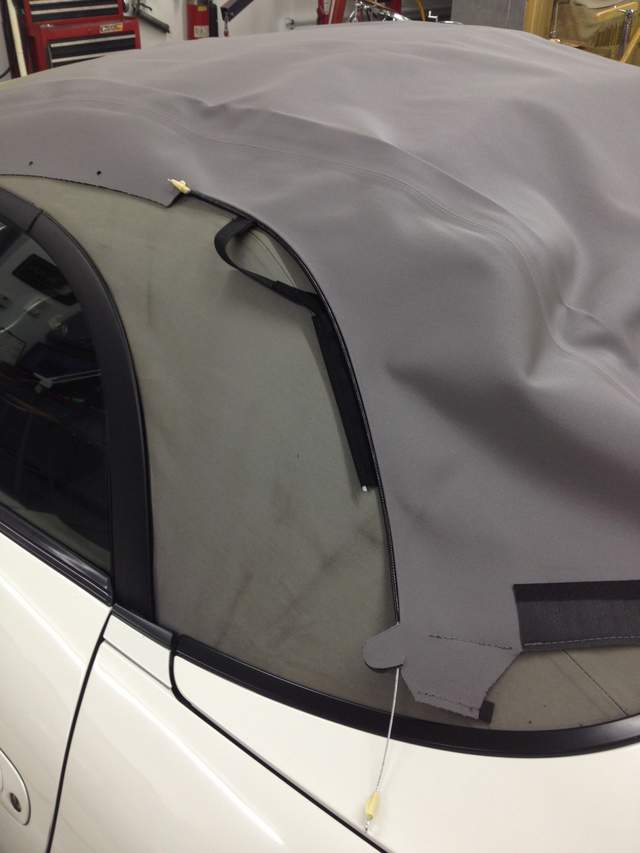
The most problematic areas I found were over the side windows. Getting the top stretched properly over the aluminum pieces proved to be tricky. On first attempt, I used the pre-punched holes in the top. Even though there were wrinkles, I presumed the factory new more than I, and therefore I went with their holdes...WRONG!!


So...after having glued the front header panel and stretched it nicely, I decided to take it apart and fix the problem. This was a bit of a guessing game and actually where the forum posts called it "artsy". I marked the aluminum plates on top where the holes were on the sides to I could align the top holes in the same plane while stretching/pulling out the wrinkles. This all gets a little tricky because you're dealing with drying glue, an upside down aluminum plate, the top cable, and "art"... Doable, but not real easy. This is where the sharp punch tool and the awl come in... I used the awl to align and pull the aluminum plate into alignment while applying hand pressure downward enough to get a screw started...you'll know pretty quickly at this point if you got it close...or not.... it took me a couple of tries on both L and R sides to find the correct "art". Each time, I needed to pull the glued pieces apart and re-apply adhesive. BE VERY CAREFUL to NOT damage or mis-shape the aluminum panel or it won't lay properly on the top's frame and therefore won't let the top lay out correctly. After I got it where I actually felt it might be too much of a stretch, it worked out just about right.


Please see Part 3
__________________
02 boxster
chopped 48 Chev pickup (under construction)
99 Harley Road King
04 Honda Element
07 Nissan Murano

Last edited by rodsnhawgs; 07-06-2013 at 01:55 PM. Reason: text editing
rodsnhawgs is offline   Reply With Quote
Old 07-06-2013, 12:29 PM   #3
Registered User
 
Join Date: Apr 2006
Location: wv
Posts: 57
DIY top replacement. Part 3 of 3

DIY top replacement. Part 3 of 3

Two interesting differences in the factory top and the ATD - One is the amount of fabric around the back where it tucks and locks in the back channel. I found there was more than needed on the new top. After trying it as it came, I had problems with it wanting to "bunch" in the locking channel. Several failed attempts and I ended up cutting about 5/8" off. The top then folded perfectly and locked very well with the locking strips. This cutoff piece is what I used later to test removing the glue goofup... The other area of difference was across the header panel. The factory cardboard strip was stitched to the top but the ATD top came with the cardboard unattached. It wasn't a big deal and the instruction were very clear as to how to glue the cardboard. This, however, is another "artsy" area where the front of the top must fold over the header panel just right in order for the top to lay out without wrinkles. The good news is once the sides are correct, this part is relatively simple to figure out. A little trim work may be required, but it's not much of an issue to accomplish. I used some clamps to hold things while I worked out the correct lengths and proper stretching before making the final gluing. TIP: I would recommend masking the fiberglass frame/header panel before spraying the adhesive so you don't have to clean it later. Also, be diligent to cover the interior of the car and the top completely because the adhesive will overspray while spraying the bottom side of the top where it will folds under to the header. Pay particular attention to where double-sided tape was used when you disassembled the top and use it again in the same (corner) spots going back with the new top.

I let the top sit outside (in the closed position) in the sun several times over several days to let it stretch and settle in...this really seemed to help. One final note...once installed and closed completely, the red top light would not go out and I got a warning stating the top limit (switch) had not been satisfied...once I cycled the new top down and back up , the limit was satisfied.

The glass defrost hookup was the nicest surprise - Porsche had the female plug-in already supplied (since the S models came with glass) and the defrost button/switch was already on the dash. ATD supplied the harness, so it was a very simple plug and play.

All-in-all not a terrible job to execute and very well worth the cost savings of having to pay a top shop....it just requires patience, planning, and the old carpenter's adage: measure twice, cut once.


__________________
02 boxster
chopped 48 Chev pickup (under construction)
99 Harley Road King
04 Honda Element
07 Nissan Murano

Last edited by rodsnhawgs; 07-06-2013 at 02:04 PM. Reason: edit text
rodsnhawgs is offline   Reply With Quote
Old 07-06-2013, 03:57 PM   #4
Registered User
 
Join Date: May 2012
Location: Northern California
Posts: 319
Garage
Looks great. Very nicely done & well written up.
Bryan topping is offline   Reply With Quote
Old 07-08-2013, 04:59 PM   #5
Registered User
 
Join Date: Jun 2011
Location: Minneapolis,Mn
Posts: 98
looks great! i recentlyly replaced mine, and it leaks on both sides, i'm pretty sure I put it back together right, but maybe I messed something up, any ideas on what it could be?
Penland is offline   Reply With Quote
Old 07-10-2013, 08:25 AM   #6
Registered User
 
Join Date: Apr 2006
Location: wv
Posts: 57
No ideas without knowing WHERE the leaks are... two ideas come immediately to mind tho. The foam seals and/or the double sided tape at each front corner.
__________________
02 boxster
chopped 48 Chev pickup (under construction)
99 Harley Road King
04 Honda Element
07 Nissan Murano
rodsnhawgs is offline   Reply With Quote
Old 07-10-2013, 11:39 AM   #7
Registered User
 
Join Date: Jun 2011
Location: Minneapolis,Mn
Posts: 98
I'm guessing it's probably the foam
Penland is offline   Reply With Quote
Old 09-03-2014, 07:47 AM   #8
Registered User
 
jb92563's Avatar
 
Join Date: Apr 2012
Location: Riverside, CA
Posts: 1,665
Just giving this a bump since a few folks are looking to do the top replacement and this thread has good detail info and pictures that will be helpful.
__________________
"It broke because it wants to be Upgraded "
2012 Porsche Performance Driving School - SanDiego region
2001 Boxster S, Top Speed muffler, (Fred's) Mini Morimotto Projectors, Tarret UDP,
Short Shifter, Touch Screen Dual Din Radio, 03 4 Bow glass Top (DD & Auto-X since May 17,2012)
jb92563 is offline   Reply With Quote
Old 04-30-2019, 02:32 AM   #9
Registered User
 
Join Date: Oct 2018
Location: New England
Posts: 58
Thanks for the community contributions here. This is an excellent resource. I also used the "roaring tigers" youtube reference and fumbled my way through a replacement top on myy 1999 Boxster. Very satisfied with the result. Overall fit looks excellent and much better than the tired and worn original. No bags or wrinkles although the top is not as tight on the sides near where the cable fits into the rear of the front/side mounted aluminum panels. I probably wouldn't even notice if I hadn't installed everything myself. Expect the roof tension will even out once it sits in the heat and sun for awhile.

Quote:
Originally Posted by jb92563 View Post
Just giving this a bump since a few folks are looking to do the top replacement and this thread has good detail info and pictures that will be helpful.
geekdaddy is offline   Reply With Quote
Old 05-28-2019, 03:23 PM   #10
Registered User
 
Join Date: Oct 2018
Location: New England
Posts: 58
Convertible top expert advice???

OK so I thought the install was "good enough" but I'd like to make it perfect...

Overall fit seems good but having two issues:
1. Slight baggy/puffy area on the sides near where the cable connects to the aluminum plates and where the frame pieces mate.
2. Some frame component outlines visible from the outside. Slight raised areas near the back edge of each window.

See attached photos where I cast a shadow with a light to make the areas more visible and pronounced. In natural lighting you can only see from ~10 ft.

At first I thought I hadn't pulled the top tight enough on each side near the rear of the aluminum plates so I removed the front edge and refitted the top around the aluminum pieces. I pulled the fabric in-board so the original pilot holes were now on the inside of the plates and I had to punch new holes in the top. This didn't remove the loose section and in-fact may have made it slightly worse. This baffles me since I pulled it in ~3/32" on each side. Also, the cable is physically attached to the top in this area so pulling/rolling the area further under and inside on the plate would likely misalign the cable point too far inside (as opposed to the edge).

This language may be confusing to some but hopefully clear to those who have installed their tops.

Any recommendations here? WRT the 2nd issue I am surprised that I can see some of the inner frame shapes slightly outlined in the top near the rear of the window. Not very visible in natural light although you can see it better here as I used the light angle to accentuate shadows. Perhaps the original was like this as well but I don't recall and this area isn't "adjustable." If it were, I suppose I could loosen it so the top wasn't pulled as taught across the frame. Perhaps I am being too picky??

Lower rear of the top shows creases but this is due to recently raising it -- they go away in the warm sun. Open to suggestions! Pls share your ideas.


geekdaddy is offline   Reply With Quote
Post Reply


Thread Tools
Display Modes

Posting Rules
You may not post new threads
You may not post replies
You may not post attachments
You may not edit your posts

BB code is On
Smilies are On
[IMG] code is On
HTML code is On
Trackbacks are On
Pingbacks are On
Refbacks are On


All times are GMT -8. The time now is 06:40 AM.


Powered by vBulletin® Version 3.8.7
Copyright ©2000 - 2024, vBulletin Solutions, Inc.
Content Relevant URLs by vBSEO 3.6.0
Copyright 2024 Pelican Parts, LLC - Posts may be archived for display on the Pelican Parts Website -    DMCA Registered Agent Contact Page