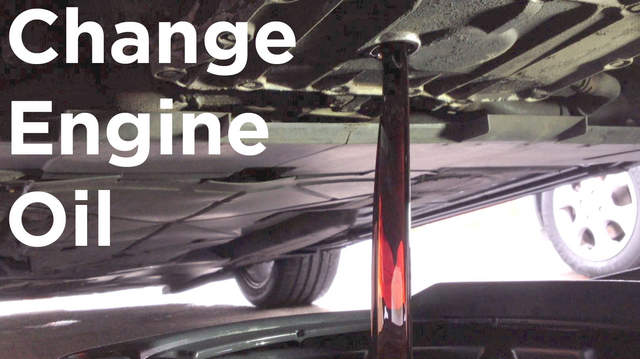
Used the search but couldn’t find a guide on how to change the engine oil on a 986 Boxster so thought I’d post how I do it.
I’ve also made a video of all this and it’s at
https://youtu.be/-1crjE8HDCI
Porsche recommend changing the oil every 12,000 miles or every two year whichever comes first but I change the oil every 6000 miles to help protect the IMS bearing.
As I track my car occasionally I use Fuchs Titan Race Pro 5W40 and I get it from Opie Oils.
The process is actually quite simple :
• Heat the engine
• Drain the oil
• Replace the filter
• Fill with new oil
Here are the tools and parts you’ll need
• Breaker bar
• Socket set
• Drain pan
• Rubber gloves
• Oil filter housing removal tool
• Funnel
• Eye protection
• Torque wrench
• 9 litres of Engine oil
• Oil filter and new o-ring
• And a new Drain plug washer
I’ve listed all the tools I use on my website if anyone’s interested
Oil will drain more efficiently if it’s hot so run the engine for 10 minutes to get it up to temperature.
Using ramps or a jack and stands lift the front or rear of the car depending on where the engine is. I’ve done a video for the Boxster if you’d like to know how to do this.
https://youtu.be/La6i3TwMB8k
Remove the oil filler cap to allow the oil to drain more freely
As my Boxster is mid-engined I’ve raised the rear of the car.
Place a 10 liter drain pan down to collect the used oil. Put on eye protection then using a ratchet or breaker bar loosen the drain bolt.
Put on a rubber glove and remove the drain bolt.
Now remove the oil filter housing. You may be able to remove it by hand, if not use the correct sized removal tool for your car. The correct one to buy is listed.
Remove the old filter and fit the new one.
Remove the old o-ring, then put some fresh oil on the new one and fit it on the housing. Half fill it with oil then fit it back onto the car. Torque to the correct spec. In this case its 25 newton meters.
Once all the oil has drained out fit a new washer on the drain plug and screw back in. Torque to the correct spec. In this case it’s 50 newton meters.
Now we are going to put new oil in the car.
For my Boxster the oil capacity including the oil filter is 8.75 liters so to start I will pour 8 liters into the oil filler.
You should only check the oil level on a horizontal surface to lower your car and wait 10 minutes for the oil to drain through the engine.
Using the dip stick check the oil level. It should be just before the max line. If it’s not slowly pour more oil in then check the level again in 10 minutes. Repeat until it’s correctly filled. Remember it’s just a damaging to have too much oil in the engine as too little.
Go 20 minute for a drive then check the drain plug and filter for any leaks. Write down your current mileage or reset the trip meter on the car so you’ll know when the next oil change is due.
