 05-16-2018, 01:00 PM
|
#1
|
|
Registered User
Join Date: Jun 2013
Location: Columbia SC
Posts: 50
|
Quote:
Originally Posted by Starter986

Not a purist. Not a poser.
Painted mine black. Stock. Base.
98.
I believe that while you can advance a custom look, with a Porsche you should stay better than half-way true to form. It's not a ricer car... so there must be more coloring inside the lines than outside. jmho
|
LOL Ricer car!!! Although I went relatively conservative with the calipers, I've never been accused of being a purist!!! If I had the means, my Boxster would look like Janis Joplin's Porsche 356!!!
|

|

|
|
05-14-2018, 08:09 AM
|
#2
|
|
Registered User
Join Date: Feb 2018
Location: Portland OR
Posts: 35
|
Quote:
Originally Posted by particlewave
|
Very much appreciate the link! Ordered.
Andrew.
|
|
|
|
|
05-13-2018, 12:03 PM
|
#3
|
|
There Is No Substitute.
Join Date: May 2007
Location: West Coast
Posts: 3,253
|
Hard to find now, but any vinyl shop should be able to print them for you. Standard size is 3", but I think you can go a bit bigger.
__________________
1999 Ocean Blue Metallic Boxster - blueboxster.com
|
|
|
|
|
05-13-2018, 12:10 PM
|
#4
|
|
Registered User
Join Date: Oct 2015
Location: Scituate MA
Posts: 929
|
Probably a dickhead move for me to recommend colors. Your car, do what you like. I was just trying to protect you from the ridicule I get from different things I do. My intentions were good. Anyhow, make sure to clean. 😄
|
|
|
|
|
05-13-2018, 02:27 PM
|
#5
|
|
Registered User
Join Date: Jun 2013
Location: Columbia SC
Posts: 50
|
Quote:
Originally Posted by DWBOX2000
Probably a dickhead move for me to recommend colors. Your car, do what you like. I was just trying to protect you from the ridicule I get from different things I do. My intentions were good. Anyhow, make sure to clean. 😄
|
I didn't take it as such at all and I appreciate the feedback. In fact I was thinking the same. I do want something different, but at the same time I don't want it looking like a 14 year old girl's car!!!!
|
|
|
|
|
05-13-2018, 01:29 PM
|
#6
|
|
Registered User
Join Date: Jun 2012
Location: Bedford, TX
Posts: 2,745
|
__________________
______________________________________________
2001 Boxster S Lapis Blue
TS Cat Bypass Pipes and exhaust
iPad Mini Dash Install
DEPO Tail Lights
|

|
|
|
05-13-2018, 03:05 PM
|
#7
|
|
Registered User
Join Date: Jun 2013
Location: Columbia SC
Posts: 50
|
BruceH thanks... good info!!!
|
|
|
|
|
05-13-2018, 04:08 PM
|
#8
|
|
Registered User
Join Date: Sep 2015
Location: Rochester Hills, Michigan
Posts: 194
|
Painting Calipers
I did this two years ago. I think one important technique is to lightly wet sand the calipers, after theyve dried thoroughly. Then clean them and then apply decals and clear coat. Mine came out very nice. The tough part of the project is that it takes so long, because its crtical to let the paint really dry before you apply clear coat and then then let that really dry too. So, that takes many days to achieve properly. After all is done, I did a nice polish. Good luck.
__________________
David Preston
2008 Cayman S
|
|
|
|
|
05-13-2018, 07:04 PM
|
#9
|
|
Registered User
Join Date: Jun 2007
Location: Unionville, CT
Posts: 442
|
I bought a recommended brush on red around 5 yrs ago and it still looks good. But paint will not stand up to brake cleaner so I must be careful if servicing. I took the calipers off to paint them. I don't think you'll ever do a really good job with them on the car.
__________________
2001 Boxster, GT3 console delete, lower stress bar, RoW M030 suspension package, painted bumperettes.
|
|
|
|
|
05-14-2018, 10:18 AM
|
#10
|
|
Registered User
Join Date: Jun 2013
Location: Columbia SC
Posts: 50
|
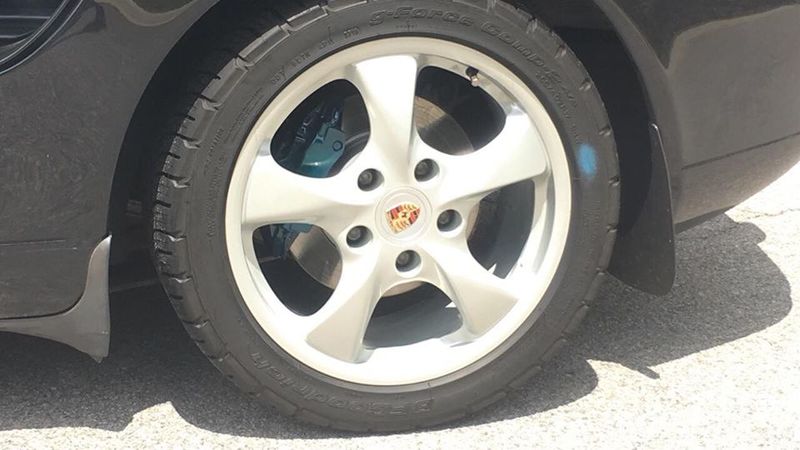
One done... three to go... I went with an "anodized blue". I'm having a heck of a time uploading photos and wanted to show the progression, but.... it's a translucent blue intended to be painted over a chrome or metal finish for an anodized look. Since my calipers aren't chrome, I put down a gold flake under the blue. In total 3 coats of each primer, gold, blue, clear. It's a little darker blue than I anticipated, but I kinda like it. I was tempted to leave it as the gold flake, but no. I'll add more pictures once I figure this out.
Lessons learned for the next three....
1) Apply thinner coats. A little sloppy and ran a bit.
2) Allow to cure more before reassembling the wheel. I rubbed a little paint off and afraid it will start to peel on me.
3)Borrow my neighbor's lift stands to do two wheels at a time. I do have two jacks, but wasn't comfortable with the safety of having two up on jacks.
4)Those 10 minute intervals between coats is an opportunity to clean your wheels inside and out while waiting!!!
https://1drv.ms/u/s!AtBvftZcv14Y90OiUR4F7cQJMMoO
|
|
|
|
|
05-14-2018, 10:47 AM
|
#11
|
|
Custom User Title Here
Join Date: Mar 2012
Location: Ft. Leonard Wood
Posts: 6,164
|
Quote:
Originally Posted by samg1965
One done... three to go... I went with an "anodized blue"
|
Looks great! 
Here you go 

|
|
|
|
|
05-14-2018, 11:09 AM
|
#12
|
|
Registered User
Join Date: Jun 2013
Location: Columbia SC
Posts: 50
|
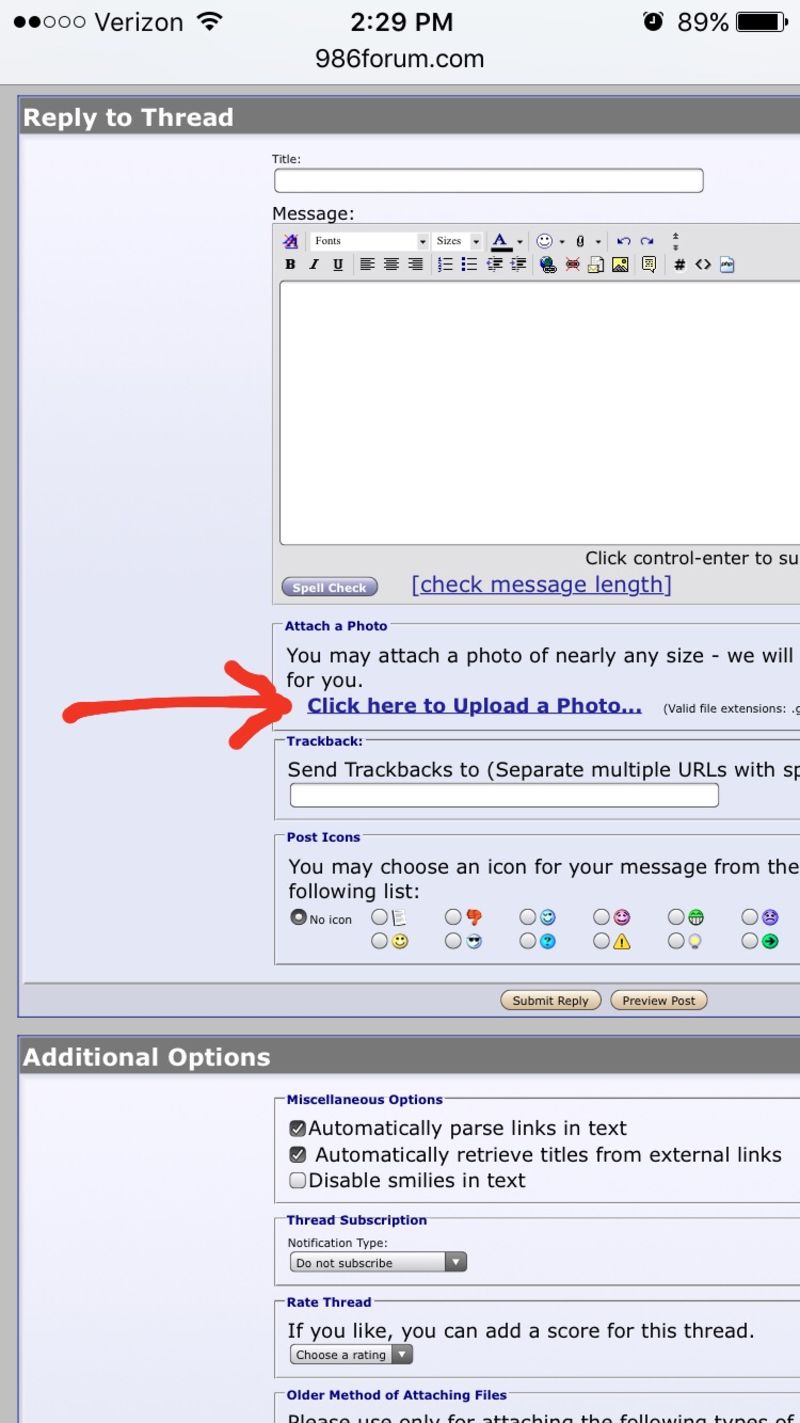
Particle what am I doing wrong? Is there a way to simply attach a photo? It's prompting me for a URL link and I ain't no good with them computer things.... I have progressive pictures with the wheel off and the gold flake, etc
|
|
|
|
|
05-14-2018, 11:32 AM
|
#13
|
|
Custom User Title Here
Join Date: Mar 2012
Location: Ft. Leonard Wood
Posts: 6,164
|
It looks like you're uploading from your phone. If you tap this link, it will allow you to upload straight from your phone.
With my phone, it will only allow one photo per post, though.
|
|
|
|
|
05-16-2018, 10:48 AM
|
#14
|
|
Registered User
Join Date: Jun 2013
Location: Columbia SC
Posts: 50
|
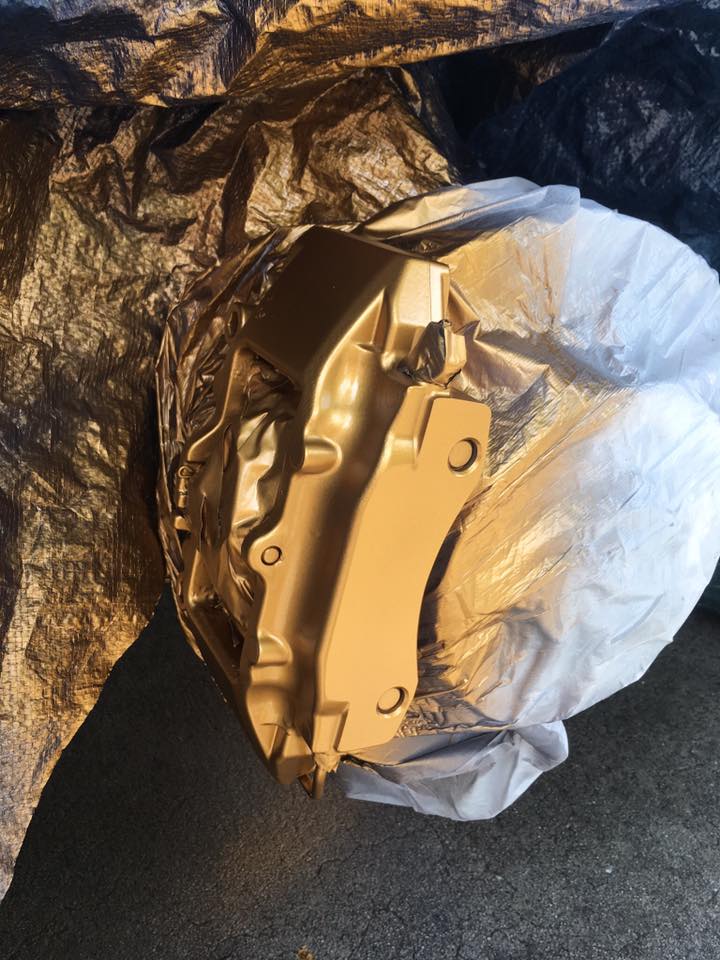
Caliper Gold Flake
Three coats of primer, then three coats gold flake....
|
|
|
|
|
05-16-2018, 10:54 AM
|
#15
|
|
Registered User
Join Date: Jun 2013
Location: Columbia SC
Posts: 50
|
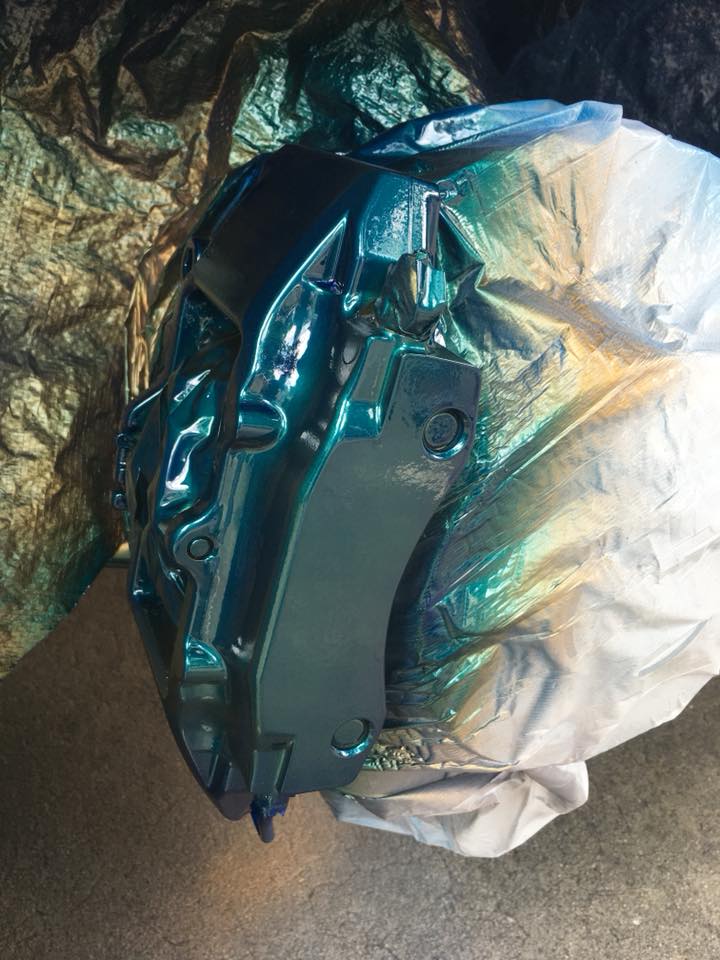
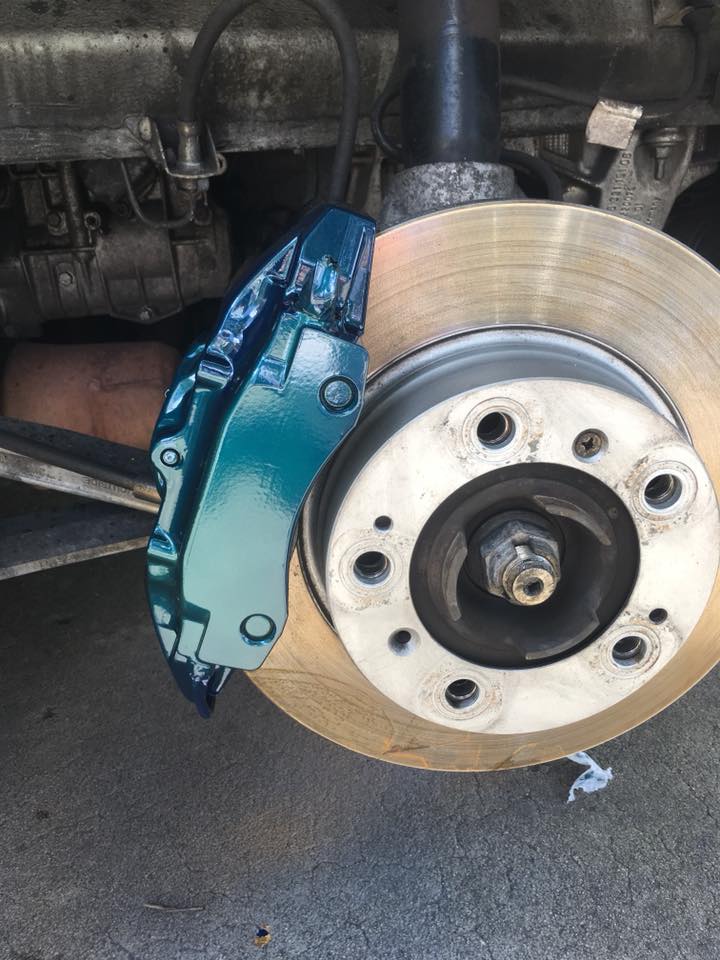
Caliper Anodized Blue
|
|
|
|
|
05-16-2018, 11:09 AM
|
#16
|
|
Registered User
Join Date: Jun 2013
Location: Columbia SC
Posts: 50
|
Front vs. Rear Lesson Learned
Can you tell the difference in shades between the two calipers? The "anodized blue" paint is a translucent color intended to be painted over a chrome finish for a metallic effect. Since my calipers aren't chromed, I painted over a gold flake instead. The first picture was my first try with the front caliper. I applied too many coats of blue which didn't produce that anodized effect with gold flake gleaming through. The second picture is the rear caliper where I only applied two coats of blue with better results. I read somewhere that applying these colors and clear is like drinking beer.... you've applied the right amount, but will be tempted for one more coat. Just like beer, that one more will be too many!!!!

|
|
|
|
|
05-16-2018, 11:42 AM
|
#17
|
|
Registered User
Join Date: Jun 2012
Location: Peoria IL
Posts: 529
|
With no prior painting experience, I did mine with a Porsche decal I found on ebay or amazon. I left the caliper connected and I was replacing my discs at the same time, so I didn't have to mask those off.
I took my time and sanded and cleaned them well. Taped off the lines and such. Several coats of red, then a couple coats of clear coat. (Both VHT bought on one of those websites). I don't remember if I put the decal on before the clear coat. I think I did.
Anyway, from a distance, they look amazing. When you get up close, not terrible, but not perfect either. I'm OK with it being my first time painting anything.
Once I figure out how to make a .png into a .jpg, I can post some pics.
|
|
|
|
 Posting Rules
|
You may not post new threads
You may not post replies
You may not post attachments
You may not edit your posts
HTML code is On
|
|
|
All times are GMT -8. The time now is 03:35 PM.
| |


 Boxster
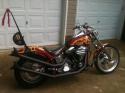 Harley
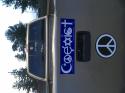 Chick Magnet
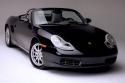 Porscha
 2001 Boxster S
 1997 Porsche Boxster
 Hybrid Mode


