Good spot guys, the top has been painted 3 times
September 2021
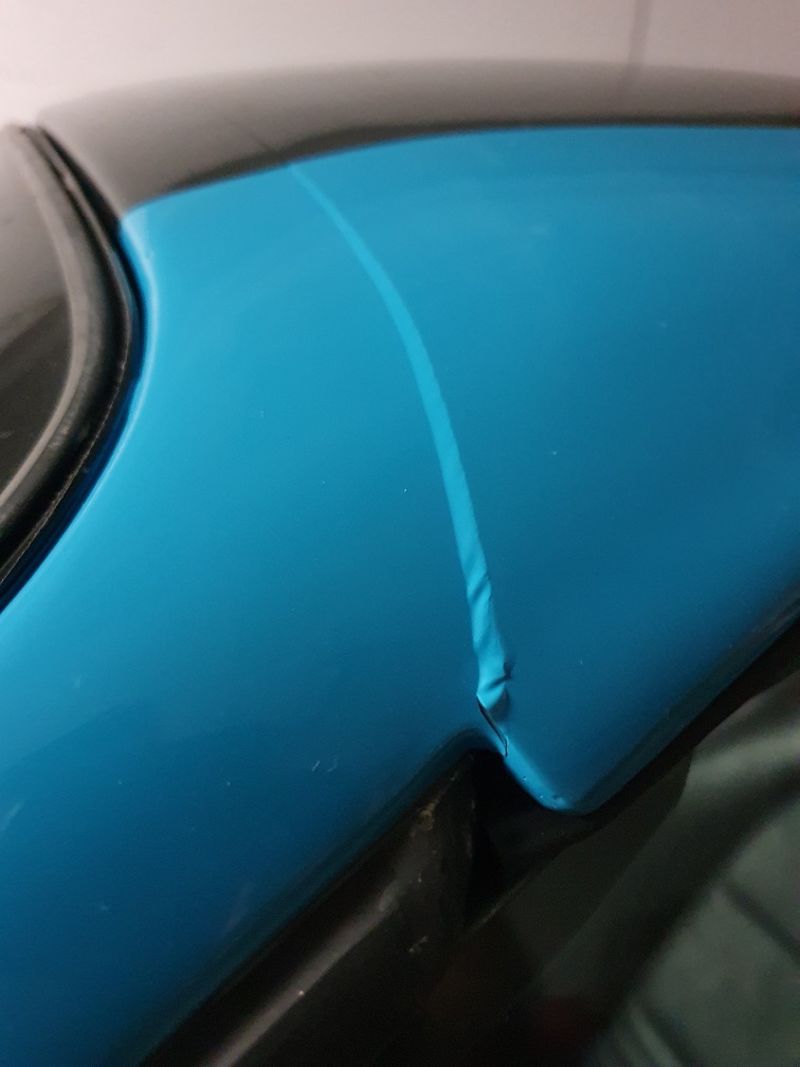
In this instance expansion foam and filler was used to bond the two parts.
The connection between top and windshield developed cracks the next day and the connection between rear-side body and the top sized and left some marks.
October 2021
In this instance some industrial glue was used to bond the two parts.
The connection between top and windshield developed cracks the next two weeks on one side and the connection between rear-side body also only one side left thin hair marks.
November 2021
In this instance an epoxy glue used for wakeboards was used to bond the two parts.
Two months later (and 3000KM) included bumpy roads, there is no sign of imperfections.
If you're interested, I can ask the shop for exact epoxy details.


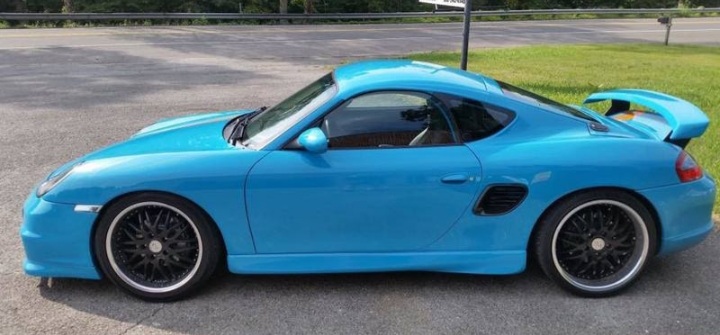


 986 S
986 S 986 S
986 S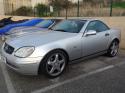 SLK
SLK


 Hybrid Mode


