After having owned my boxster for a few months, and seeing all the nice cars on this website - I got the itch to paint my bumperettes. Rather than pay for the ones from bumperplugs, I figured since I was off for two weeks over the holidays, I'd get the kit from paintscratch and do it myself. I followed the instructions as closely as I could - and I must say the end result is very nice. I spread the job out over a few days and did sanding, priming, painting, and clear on different days.
I also picked up a 986 emblem. The car was debadged when I got it, and I thought the trunk looked a little "plain" so the emblem went on this morning.
I also did the 987 shifter assembly - so not only is the car looking good, it's shifting GREAT!
the before pic was before the cleared tails went on.... so teh before/after shots show a big difference in what tails, painted bumperettes and an emblem will do
BEFORE


AFTER


Overall, the changes are subtle. The bumperettes never stuck out THAT bad since my car is so dark - there's just not enough contrast, unlike silver/red cars. It does, however, still look a lot better. The satisfaction of knowing I did it myself is worth something too. The combo of the emblem and the painted bumperettes - turned out nice.
I'm dying to take her out for a drive. No one on the road (other than porsche fanatics) would EVER know the difference from before - but I do...and that's teh whole point!


 2004 Porsche Boxster S
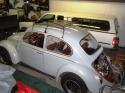 1966 VW Bug/Type 1
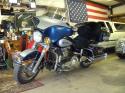 1999 Harley-Davidson FLHTC
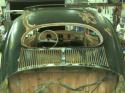 Future Volksrod

 Hybrid Mode


