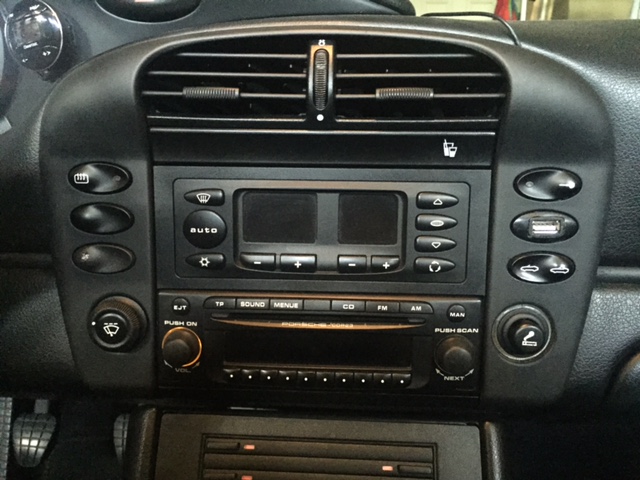
With the older non MOST bus radios, its a simple cable to add and AUX input or even a phone connection. You can just plug into the CD changer connection on the radio. That is not possible with the CDR-23 from 2002 on
Since the CDR-23 does not have an AUX input or Bluetooth, I have been searching for a low cost solution to add Bluetooth for hands free phone and streaming audio.
I was using a JABRA Freeway Bluetooth handsfree on my visor and it has a FM modulator in it. Worked pretty well, just had to keep remembering to charge it.
In searching I came across this little Bluetooth FM modulator that was not integrated into a lighter plug. I use that for my GPS unit
I came across this
Amazon.com: Rii ® Geartist GB01 Wireless Bluetooth Car Kit FM Transmitter with LCD Screen and Hands Free Calling
I ordered it and it works great.
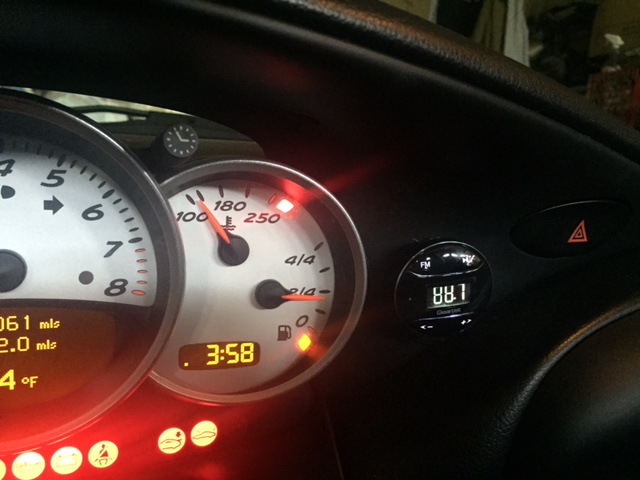
I mounted it just to the right of the gauge cluster

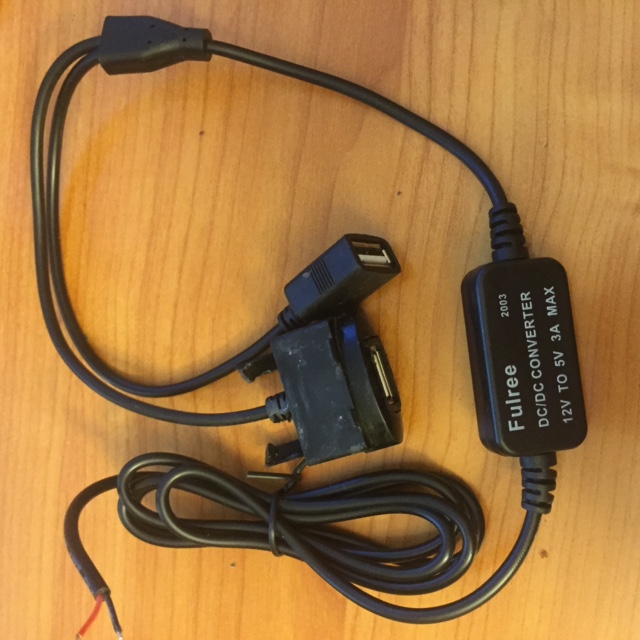
I did not want to have a cord dangling and have to plug it in every time I drive the car, so I searched for a USB converter. At first I was going to go with one that had a single USB output, then thought it would be cool to have a 2nd one as well . I found this one that looked perfect for what I had in mind.
I powered it up from the switched 12V in the phone connector under the console
Amazon.com: DROK® 8-22V 12V to 5V/3A DC Power Transformer DC Buck Voltage Converter Volt Step Down Module with Dual USB Cable Connector
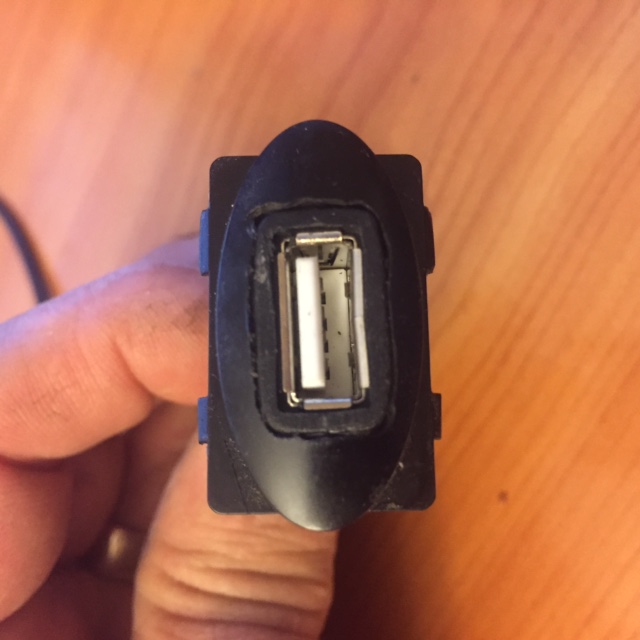
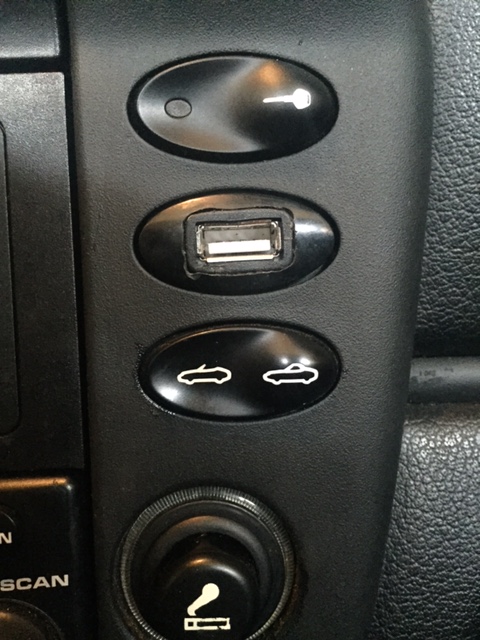
Then a light bulb went off and I thought it would be great to have the USB port dash mounted rather than just dangling
Had a spare older style switch blank and saw that a USB connector would fit nicely. You want an older style as they are not sculpted on top like the newer ones
The older part number is: 996.552.425.00. the newer one is 996.613.425.10
You can see the difference below. The top one is the newer style

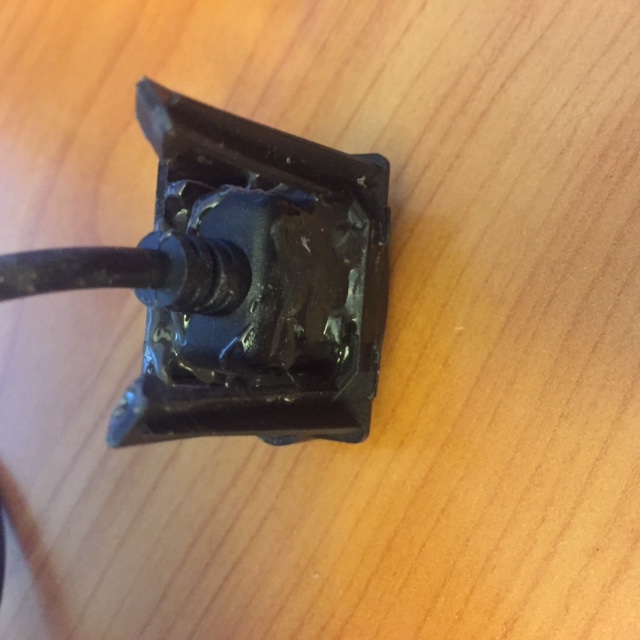
I used a dremel to cut out the switch blank for the USB connector and then JB Weld to glue it in place
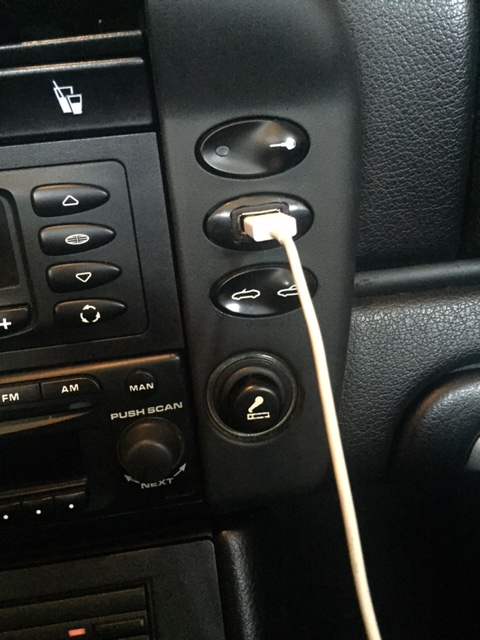
I had to move the rear window defogger switch to the other side as I did not want a plugged in USB cable to interfere with the gear shift
I ran the cable from the Bluetooth thing around the back of the cluster surround and underneath the horseshoe. You can see a little bit of the cable in the pic


 2004 Porsche Boxster S
 2004 Porsche 996 Targa

 1998 Porsche 986
 . Looks good.
 Red Box

 Linear Mode


