Quote:
Originally Posted by particlewave

Shifter and leather stretching/molding.
|
Nice work!
I think you may have just save me a lot of pain with an issue i have with a used replacement shifter i bought.
Can you elaborate on the leather molding/stretching and just how you got the white portion applied to the shifter?
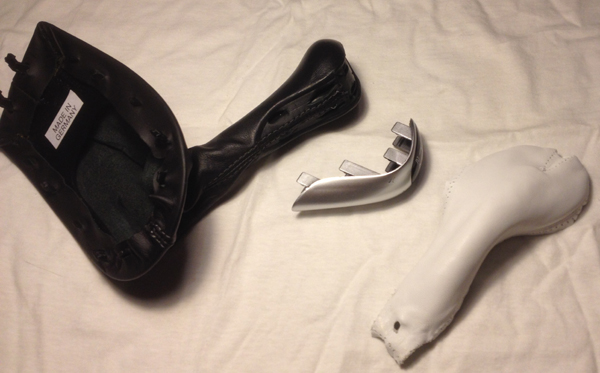
I'm also curious as to how hard the silver portion of the shifter was to remove.
Cheers!


 Threaded Mode


